Update Time !!!!!
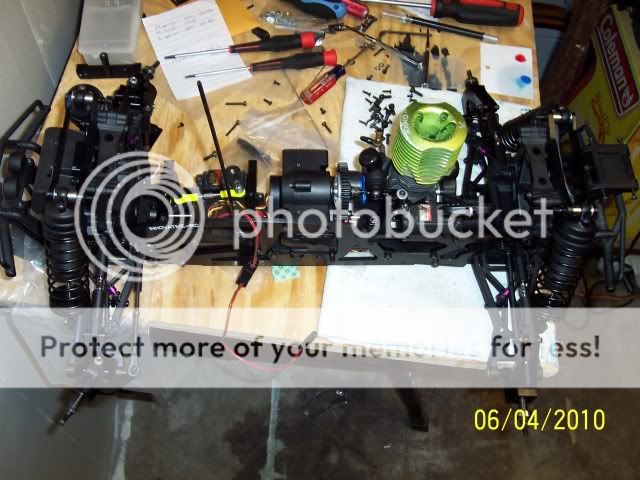
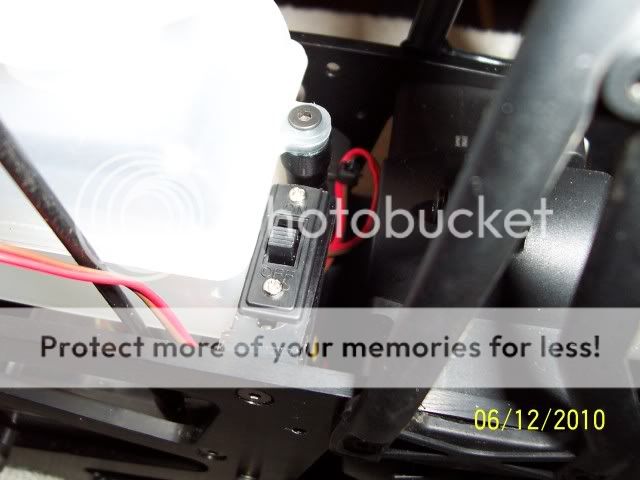
Well. here's the latest update on this build. I'm about 90-95% done. All I have left to do is mount up the exhaust, air filter, and rims/tires and she'll be ready to roll. Also, I have to adjust/set-up all the suspension settings still, camber, toe, and ride height. So far, I've been pretty happy with this build, just wish I had more time to have gotten it done sooner. Only problems I ran into were tryin to figure out where to mount the on/off switch and a steering linkage fitment issue. Both are now straightened out. Getting the switch mounted just took alot of studying, thinking, and grinding/trimming the switch mount to get it to fit somewhere. The problem I had with the steering linkage was first, I installed the screw backwards (but correctly according the the instructions) and second, the turnbuckle was way to short. Only about 3-4mm of the threads were into the turnbuckle ends. Luckily I was able to find a longer turnbuckle at the LHS. Ok, enough of the :blahblah::blahblah: , here are the pics,
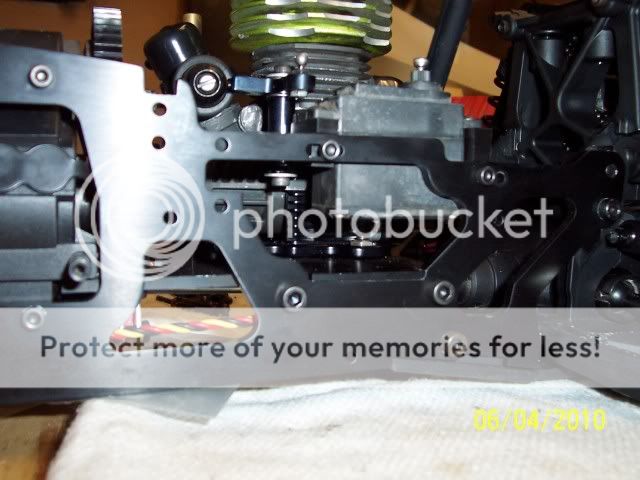
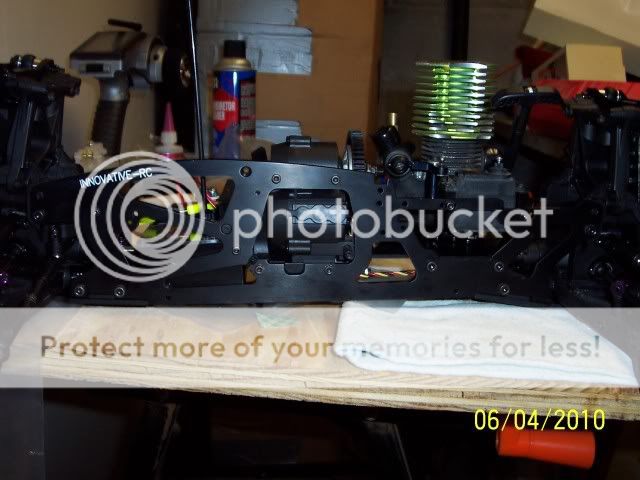
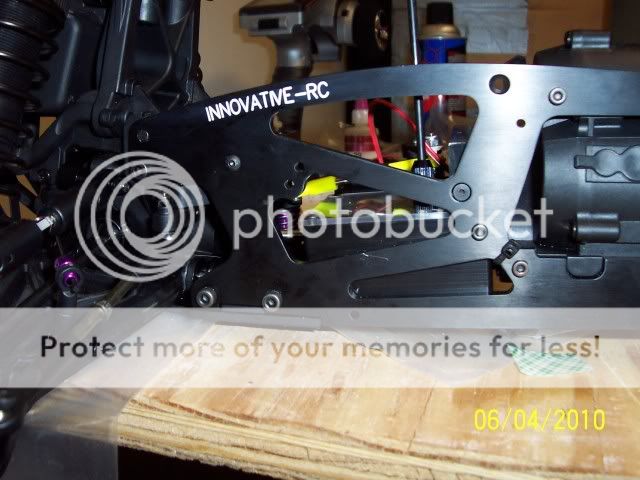
The first couple pics are the ones during final assembly before my camera acted up.
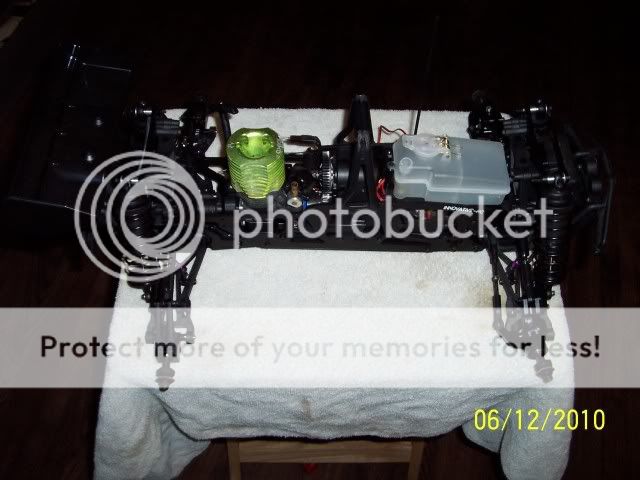
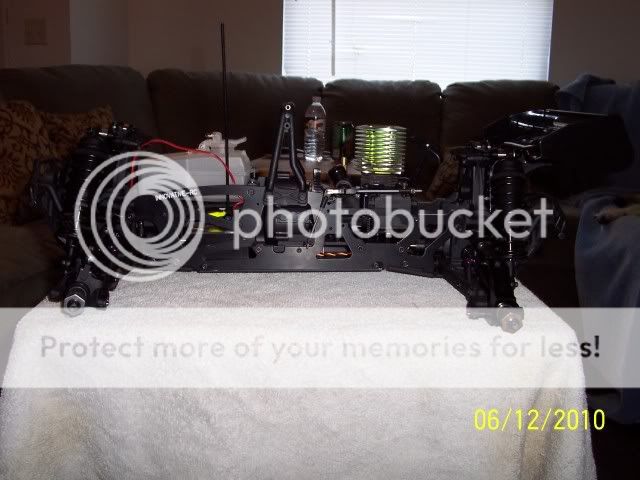
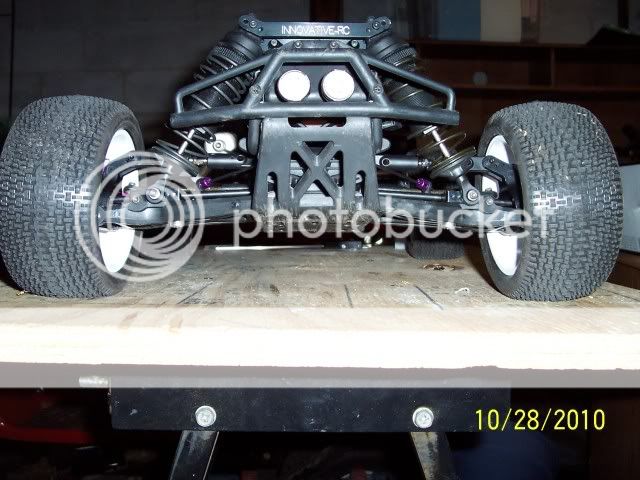
Full view
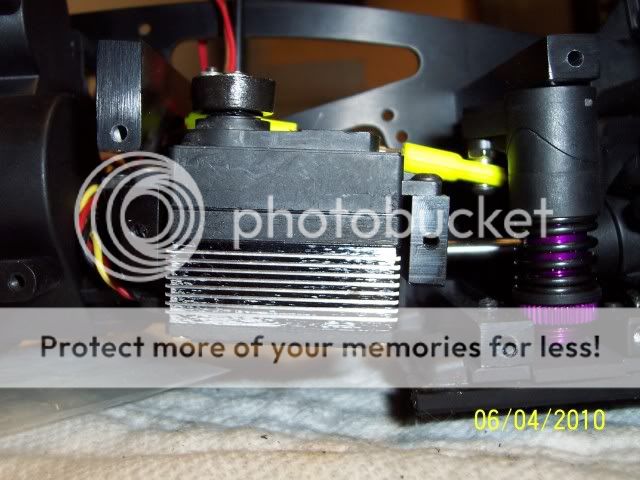
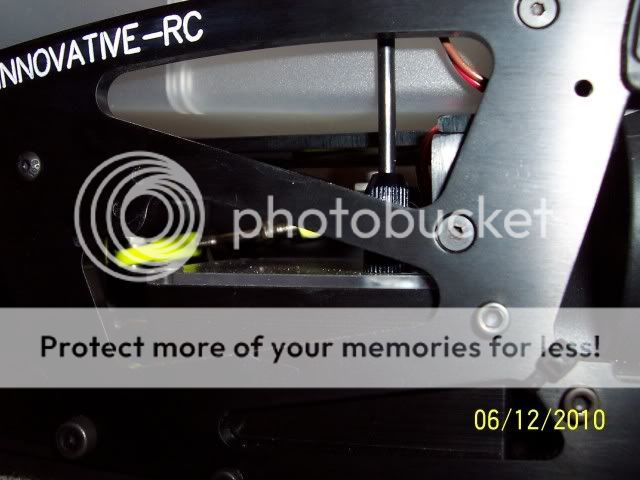
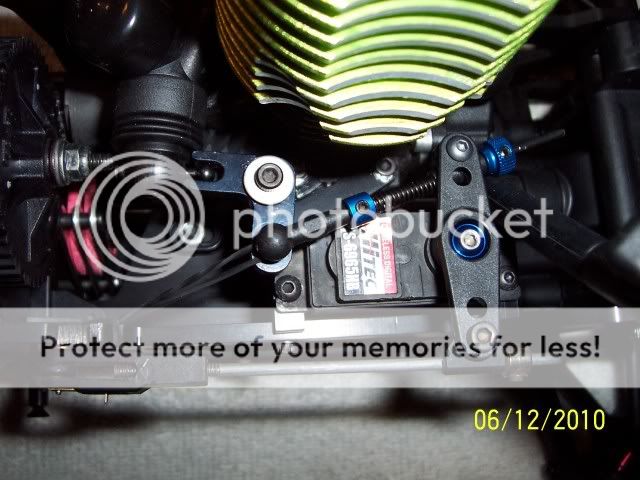
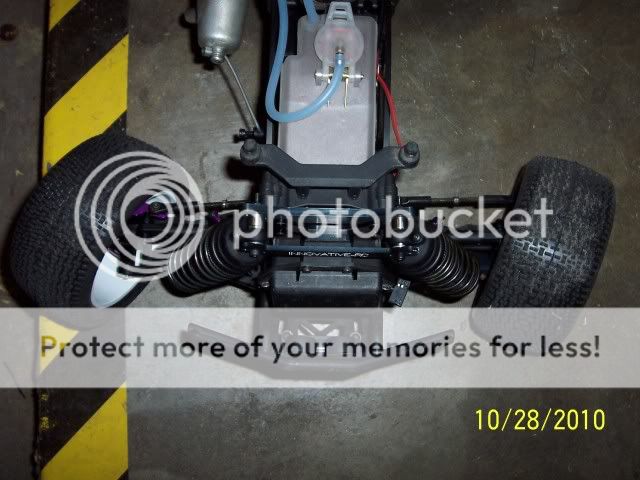
Close up of throttle/brake servo and throttle linkage.
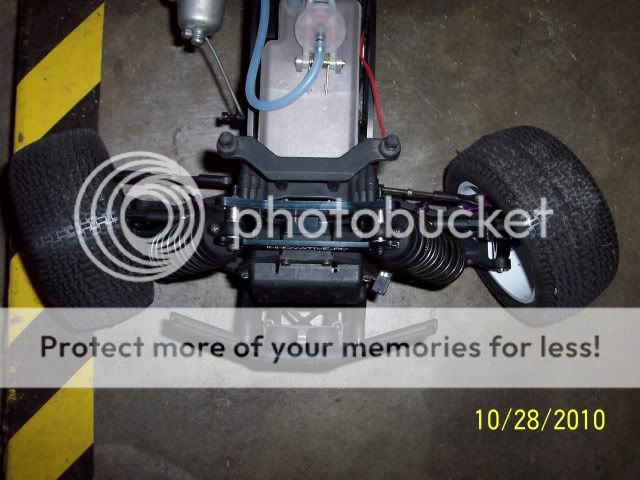
Full side close-up
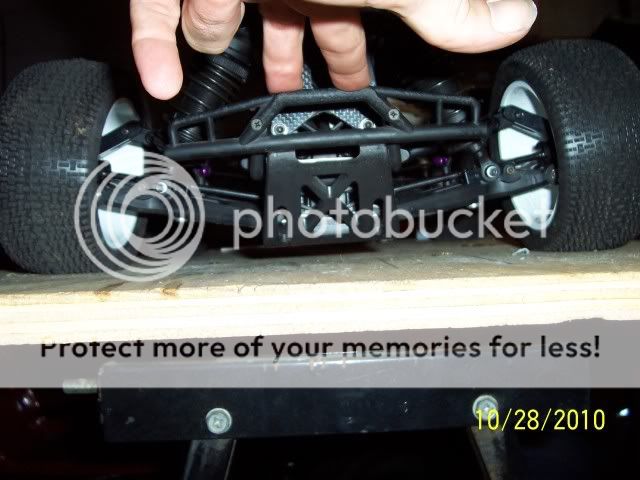
Front half close-up
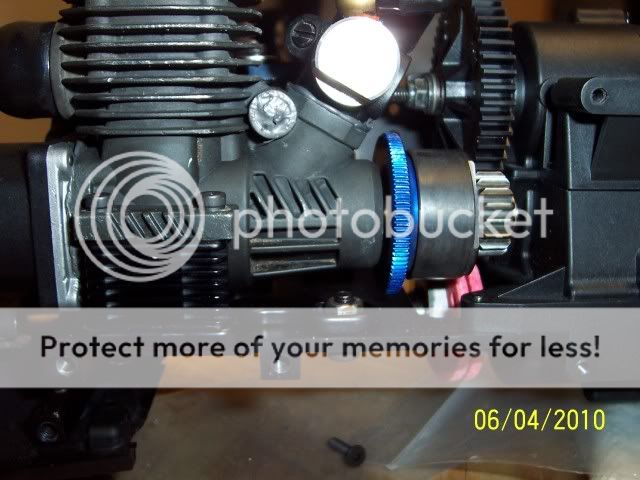
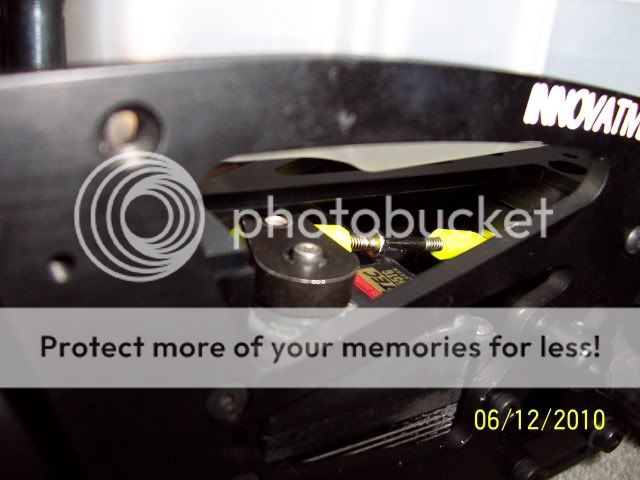
Close-up of motor, motor mount, and motor mount plate. Also brakes.
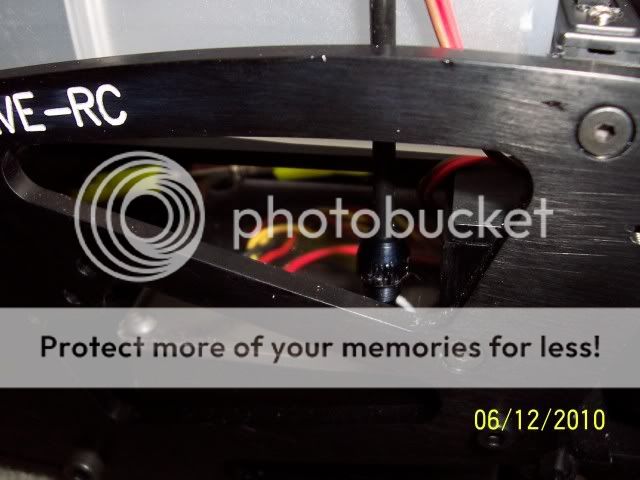
Close-up of steering servo and inside of the TVPs up front.
Full left side of main final build.
Full right side of main final build.
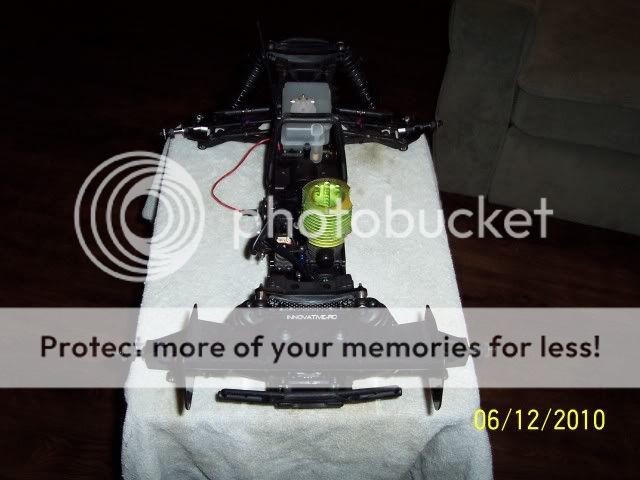
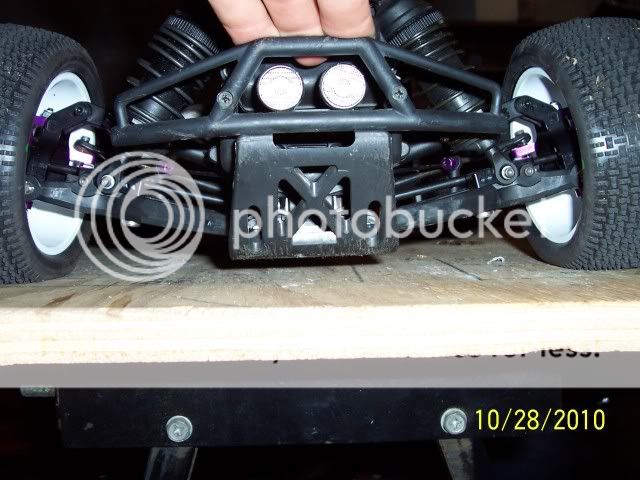
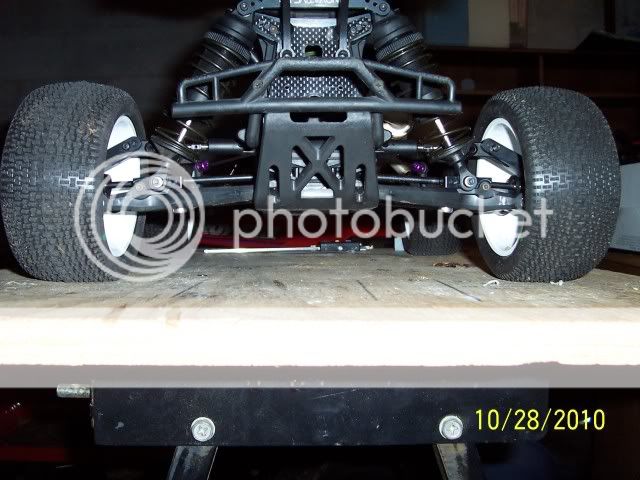
Full front view.
Full rear view.
Closer left side view.