HPI Big Bore Shocks - Install & Pics (Now with upper mount fix!)
FINALLY...the HPI Big-Bore shocks arrived at my doorstep today. I was just starting my FLM build when I got on the group buy list, and that seems like forever ago. It was definitely worth waiting for, read on...
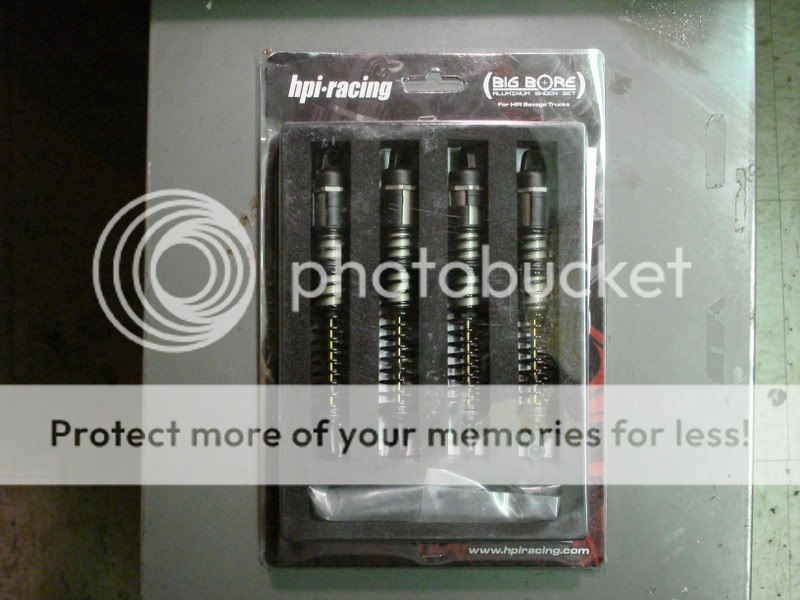
The shocks come nicely packaged in clear plastic with a foam insert...I'm sure it will look good on the LHS's shelves.
Once they were out of the package (about 5 minutes after they arrived), I just had to compare them to my other shocks.
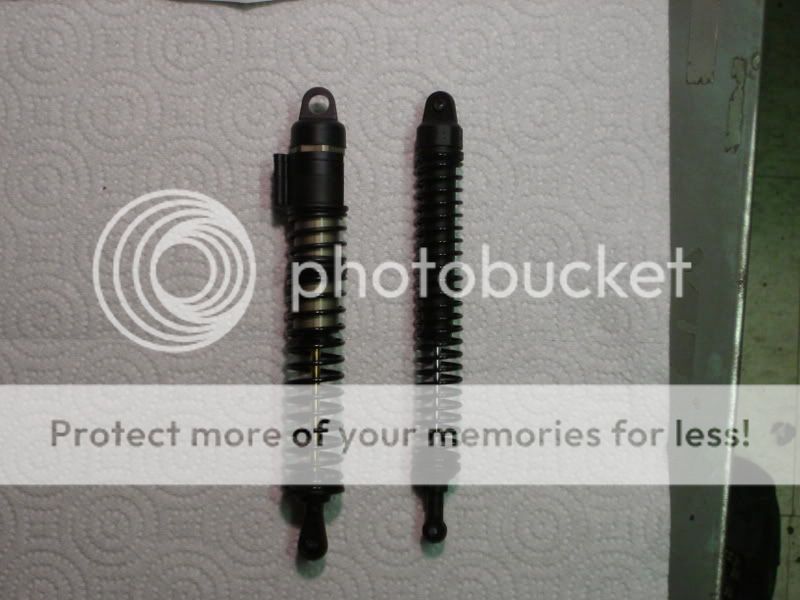
Big-bore vs. stock Savage shock...(Note that I have 3/8" of fuel tubing inside my stockers, so they're about that much shorter than the Big-Bores)
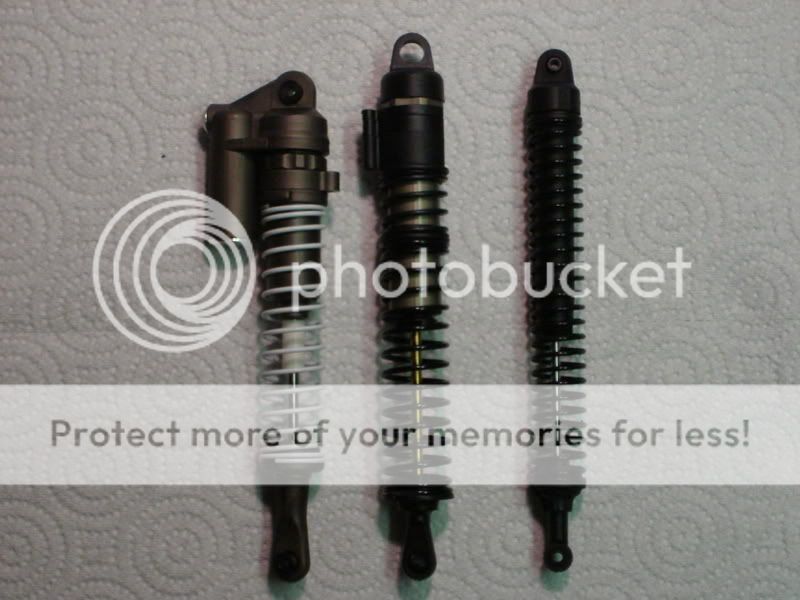
...and also next to a CEN shock...
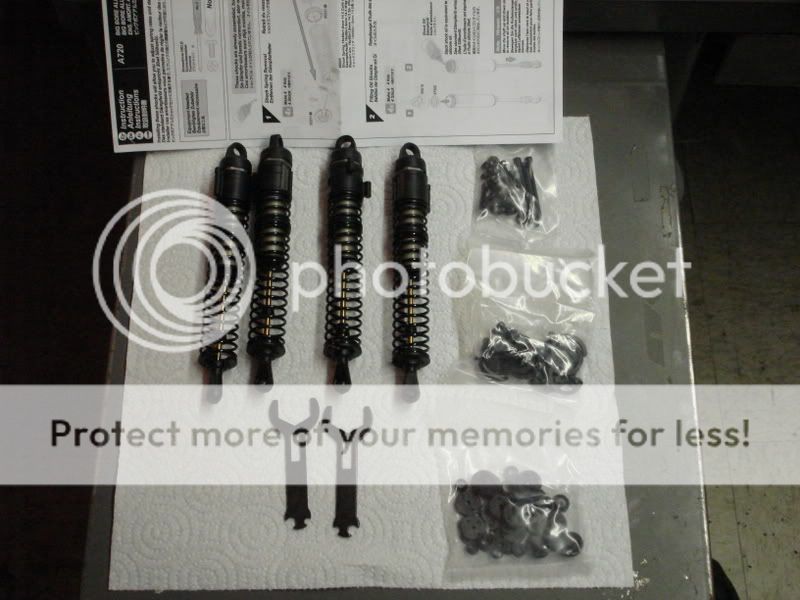
Here's everything you get, and it's a lot...4 assembled shocks, instructions, and 3 bags; one with hardware, one with shock pistons and some odd stuff, and one full of spring preload clips. You also get 2 very cool shock wrenches for disassembly.
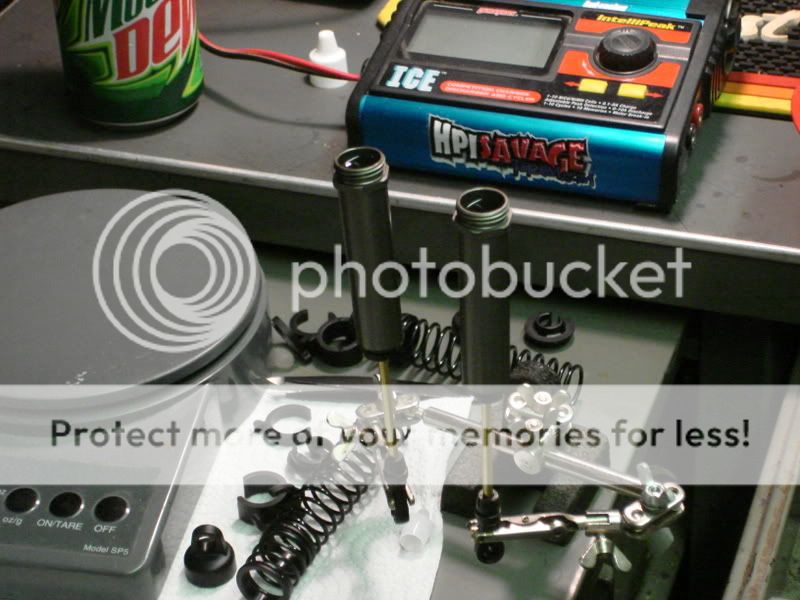
Here's a shock taken apart for filling with oil; I am using 30w. You can see the white 4-hole piston in there.
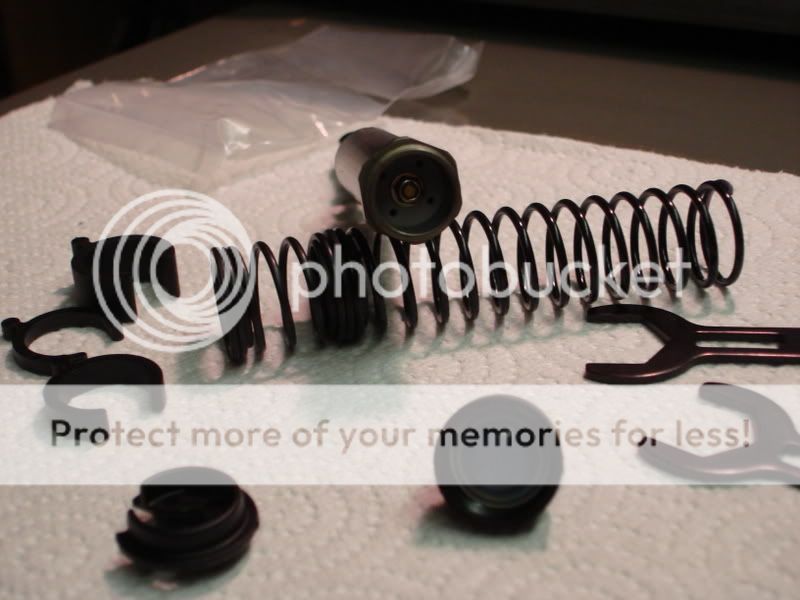
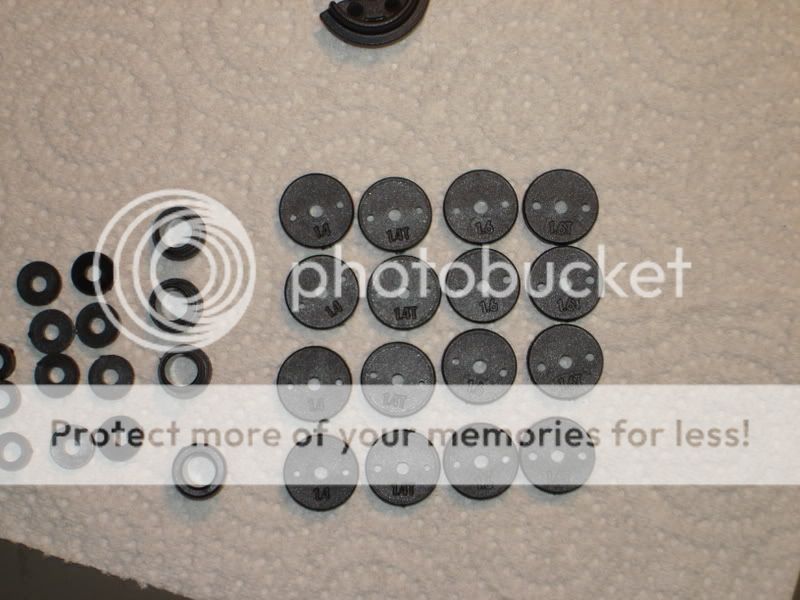
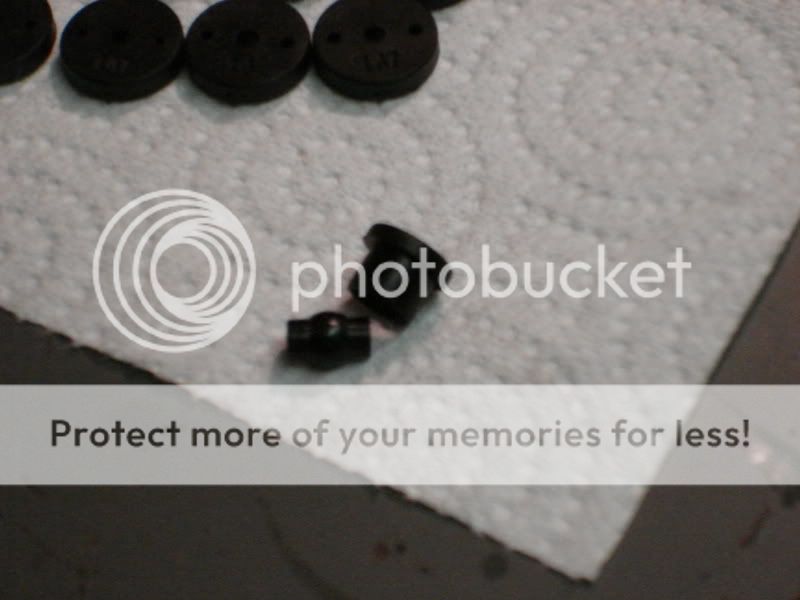
Check this out...HPI included 4 different extra pistons for each shock. There are 1.4mm straight and tapered holes, and 1.6mm straight and tapered holes. The tapered ones will soften either the compression or rebound of the shock, depending on which way they're facing. How cool is that? You can find this out in the Hellfire SS manual on HPI's site.
Filling and bleeding the shocks:
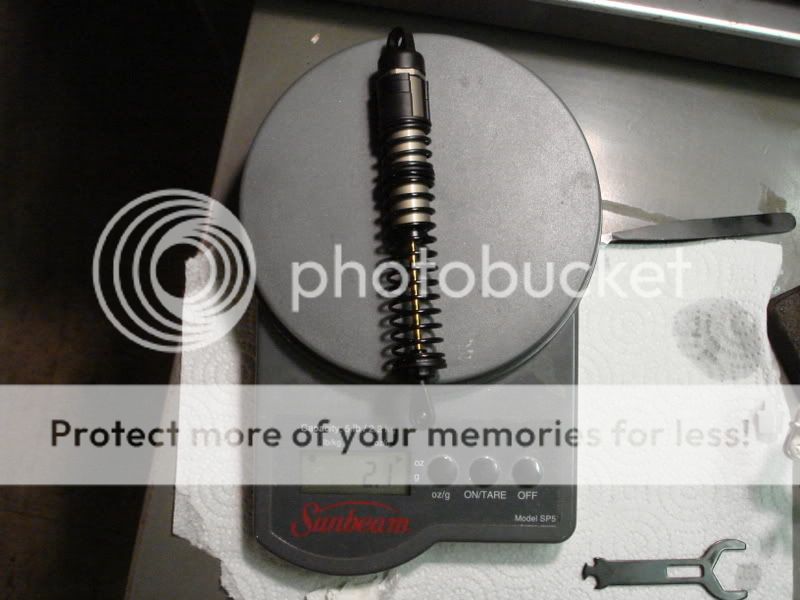
Once they were filled and ready to install, I took one to the scale to see if they would save any weight.
2 stock Savage shocks: 2.4oz.
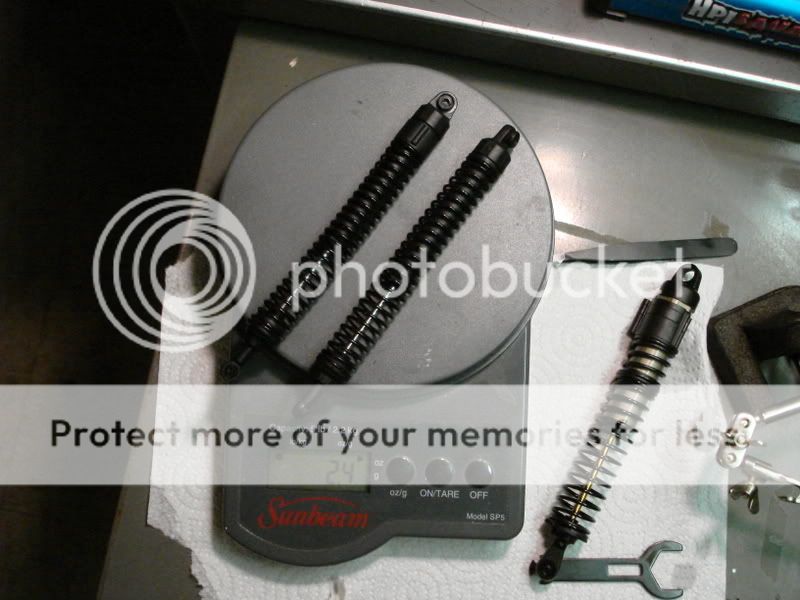
1 Big-Bore: 2.1oz. (Well, I guess it's better than nothin'!)
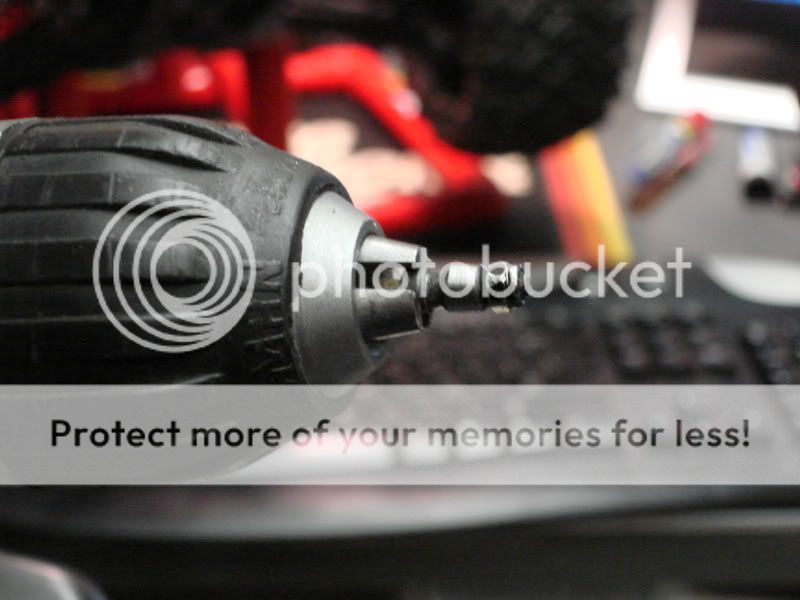
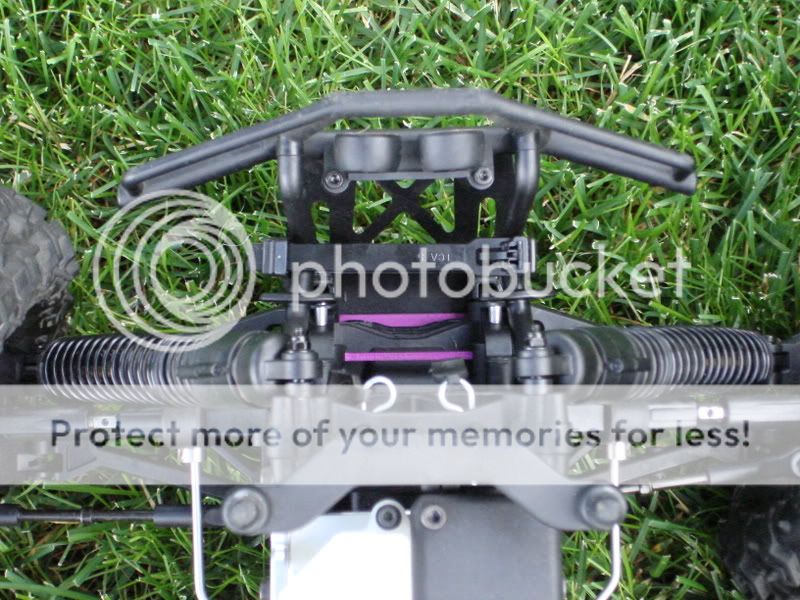
The actual installation was a simple deal. First, I threaded the supplied screw (which is the same as stock) through the tower, with a metal washer on one side and 2 plastic spacers on the other.
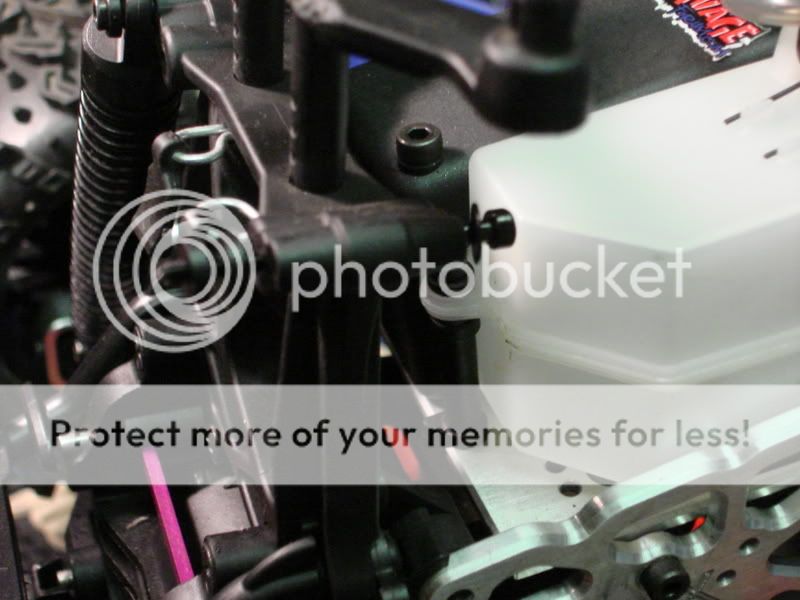
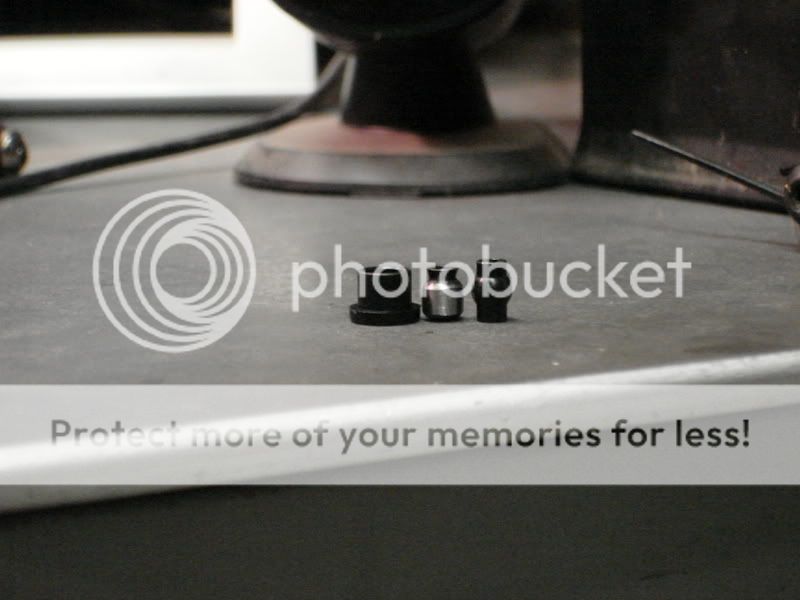
The metal ball goes inside this plastic sleeve, which then fits into the upper shock eye. This is the only part I really didn't like...the ball fits loosely into the sleeve and has some play to it. Also, the sleeve is shorter than the ball, allowing front-to back play. I need to find a better way someday!
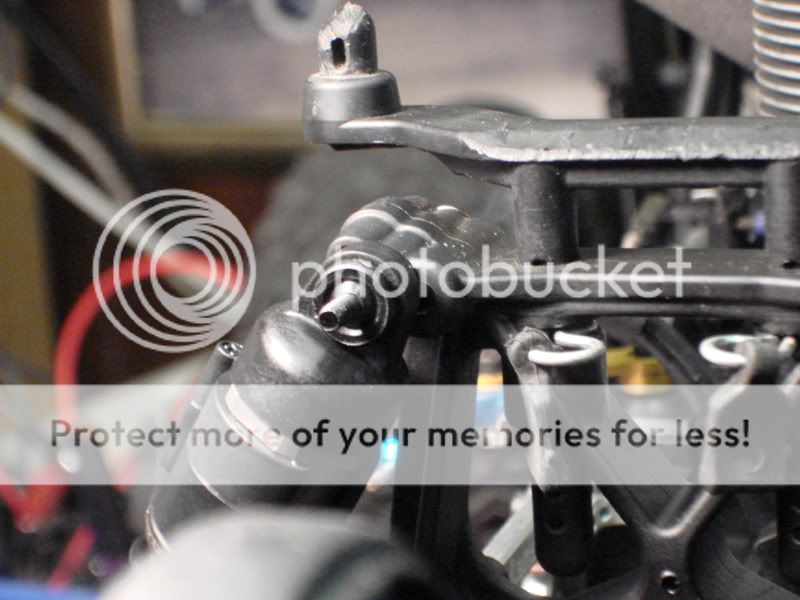
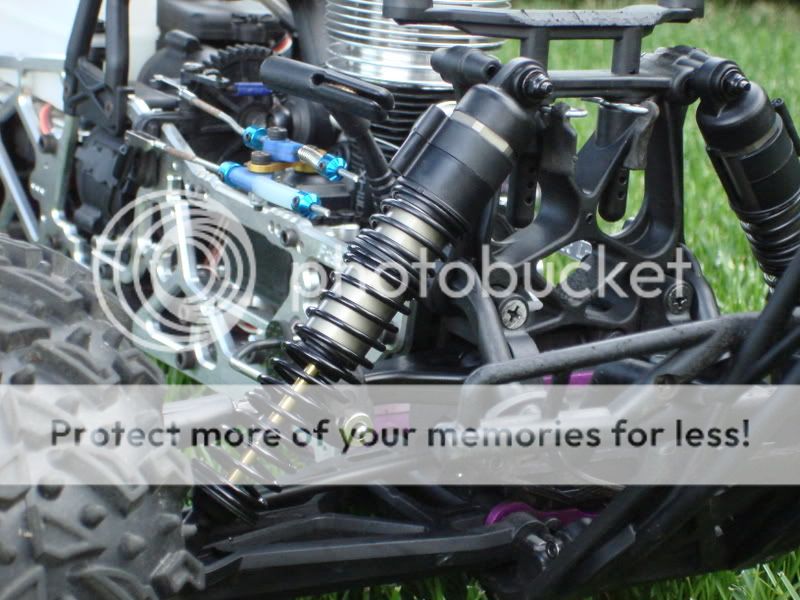
Closeup of the upper mounting...
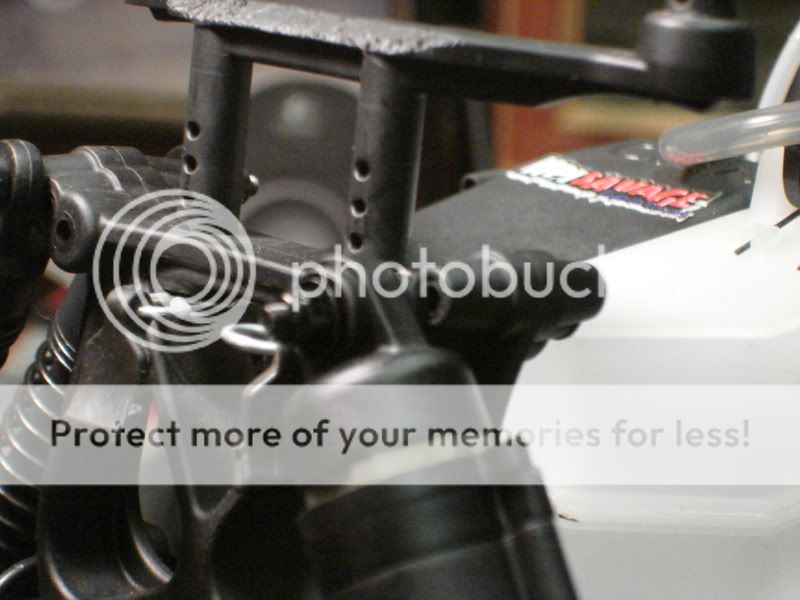
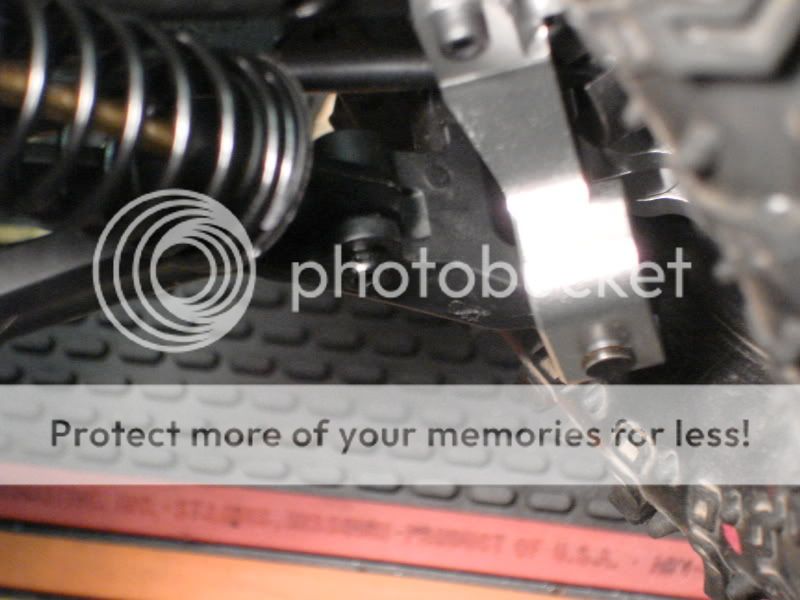
The lower mount is just like the stock shocks, and they include allen-head screws too. No complaints here!
A Big bore mounted, compared to the stockers...hee hee

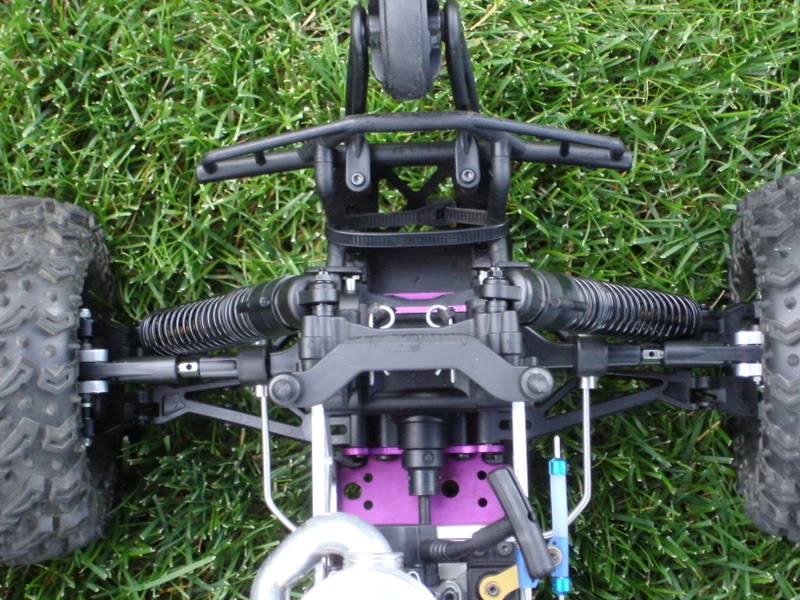
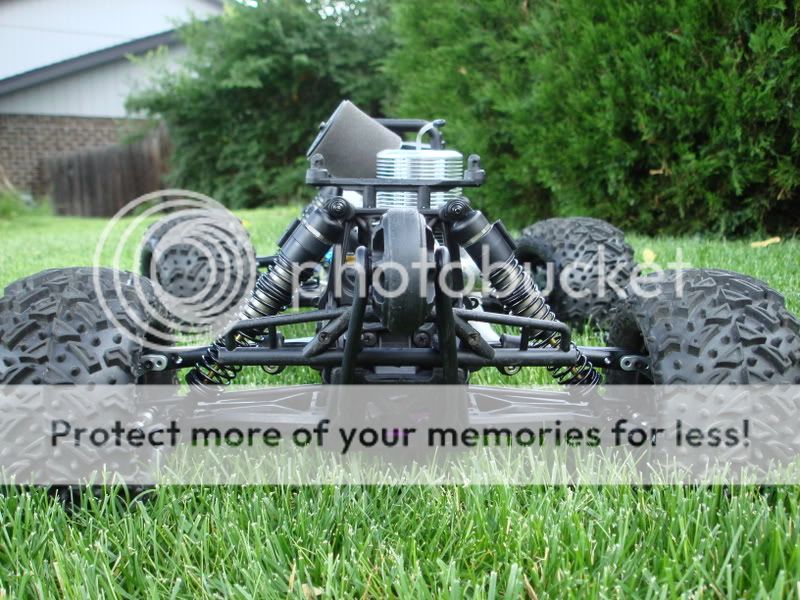
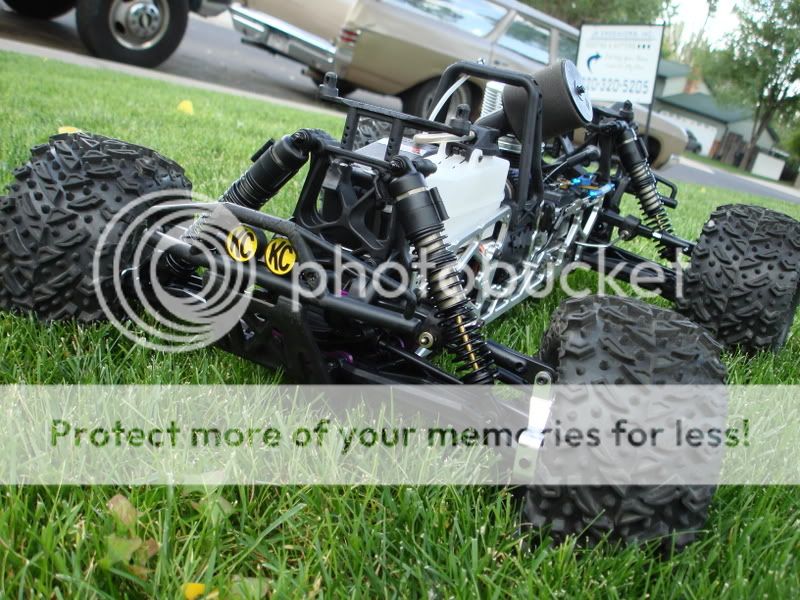
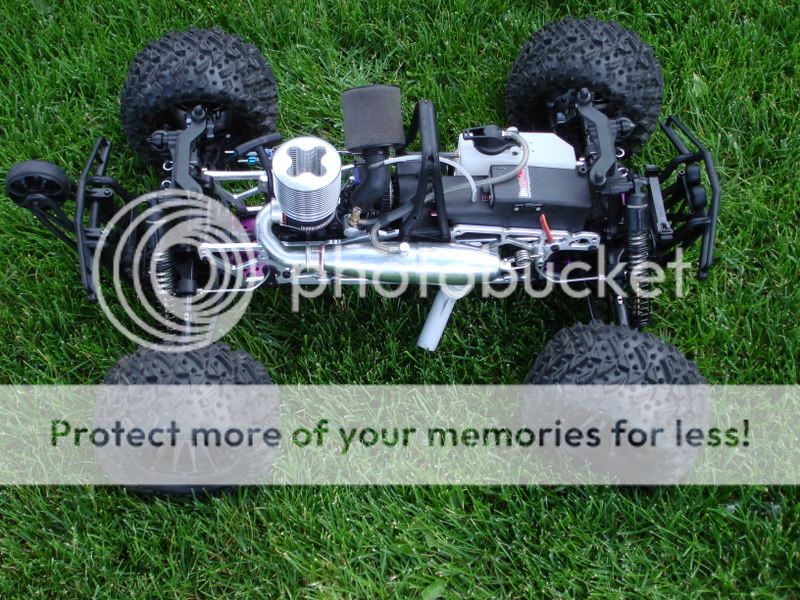
...and here's the mounted pictures, showing the stance with the (stock) 18mm of preload clips. Enjoy!

FINALLY...the HPI Big-Bore shocks arrived at my doorstep today. I was just starting my FLM build when I got on the group buy list, and that seems like forever ago. It was definitely worth waiting for, read on...
The shocks come nicely packaged in clear plastic with a foam insert...I'm sure it will look good on the LHS's shelves.
Once they were out of the package (about 5 minutes after they arrived), I just had to compare them to my other shocks.
Big-bore vs. stock Savage shock...(Note that I have 3/8" of fuel tubing inside my stockers, so they're about that much shorter than the Big-Bores)
...and also next to a CEN shock...
Here's everything you get, and it's a lot...4 assembled shocks, instructions, and 3 bags; one with hardware, one with shock pistons and some odd stuff, and one full of spring preload clips. You also get 2 very cool shock wrenches for disassembly.
Here's a shock taken apart for filling with oil; I am using 30w. You can see the white 4-hole piston in there.
Check this out...HPI included 4 different extra pistons for each shock. There are 1.4mm straight and tapered holes, and 1.6mm straight and tapered holes. The tapered ones will soften either the compression or rebound of the shock, depending on which way they're facing. How cool is that? You can find this out in the Hellfire SS manual on HPI's site.
Filling and bleeding the shocks:
Once they were filled and ready to install, I took one to the scale to see if they would save any weight.
2 stock Savage shocks: 2.4oz.
1 Big-Bore: 2.1oz. (Well, I guess it's better than nothin'!)
The actual installation was a simple deal. First, I threaded the supplied screw (which is the same as stock) through the tower, with a metal washer on one side and 2 plastic spacers on the other.
The metal ball goes inside this plastic sleeve, which then fits into the upper shock eye. This is the only part I really didn't like...the ball fits loosely into the sleeve and has some play to it. Also, the sleeve is shorter than the ball, allowing front-to back play. I need to find a better way someday!
Closeup of the upper mounting...
The lower mount is just like the stock shocks, and they include allen-head screws too. No complaints here!
A Big bore mounted, compared to the stockers...hee hee
...and here's the mounted pictures, showing the stance with the (stock) 18mm of preload clips. Enjoy!
Last edited by a moderator: