👍that looks killa bro 🔥👊I didn't plan to run this particular one as its build for show, beside the rotostart can't be reach due to the rear pipe blocking access to it. If I want to run it, I need to convert it back to pullstart or inside the pipe on the side, which I don't want to do. As for the runtime, I really don't know as its about 75cc larger than a regular Savage's tank.

Navigation
Install the app
How to install the app on iOS
Follow along with the video below to see how to install our site as a web app on your home screen.
Note: This feature may not be available in some browsers.
More options
Style variation
-
Ask questions. Share your HPI Savage knowledge. Register TODAY!
You are using an out of date browser. It may not display this or other websites correctly.
You should upgrade or use an alternative browser.
You should upgrade or use an alternative browser.
FLM Ofna 250 Mid Tank Build
- Thread starter Dazn
- Start date
This site may earn a commission from merchant affiliate
links, including eBay, Amazon, and others.
links, including eBay, Amazon, and others.
- Thread starter
- #37
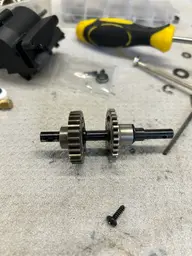
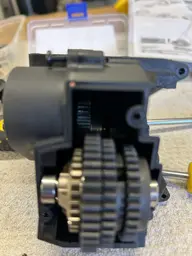
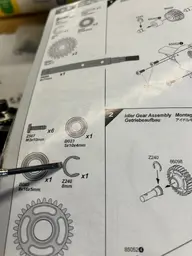
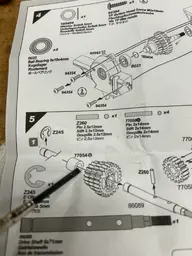
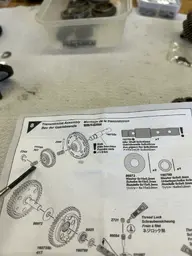
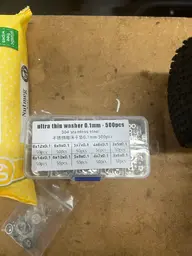
There was so much give in the gears when building that I thought I needed to shim - so I shimmed where I thought was needed and then found that it was best to stick to the guide because if one shim solved a bit of wobble in one gear - this would mean a tight gear somewhere else - this took me hours of back and forth - bear in mind that - also - when you screw the gear box case together - there is actually more tightness than you would think
- Thread starter
- #45
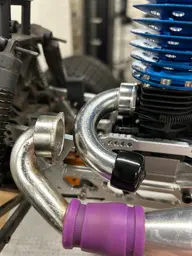
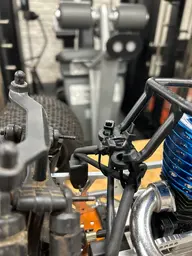
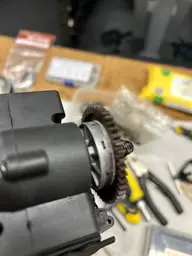
I have a Dynamite exaust and header on another savage and cannot find just another manifold - which is what I need - so instead - I purchased a XL exhaust header becuase the sweep is a lot better - in turn - means better exhaust outflow and less restriction - here we have the standard Savage header vs the XL header:
Attachments
- Thread starter
- #48
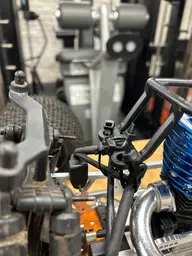
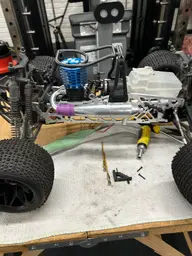
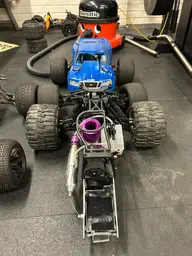
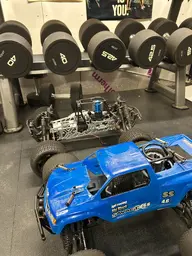
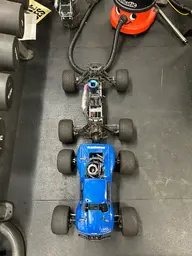
Some more photos of the build so far - just mocking up:
Attachments
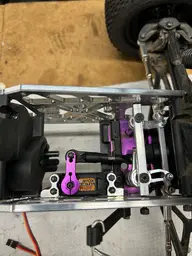
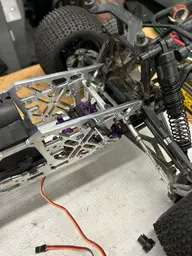
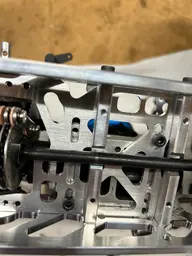
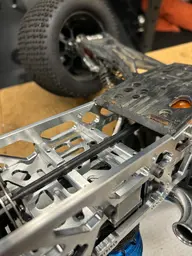
- Thread starter
- #49


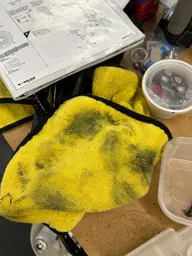
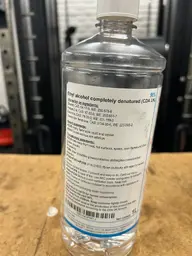


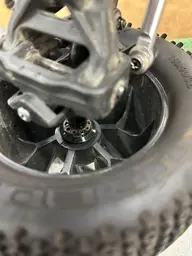
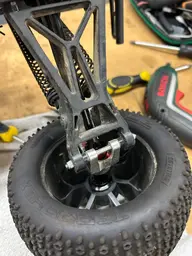
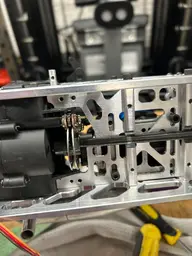
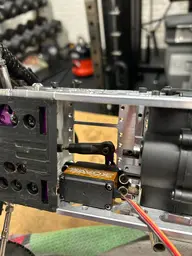
I've found that dabbing some alchohol into a microfiber cloth - and then setting the drill into reverse - while the screw is in the bit - cleans a load of much off - then when putting some fresh blue loctiteon - it secures better
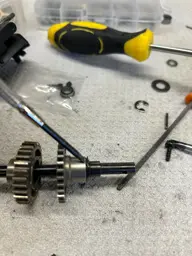
Ye you gotta put the 3 speed idler gear wi the 3 speed 👍👊I got stumped when converting a 2-speed gear box to a 3 speed because of the ideler gear - the ideler gear in the 2-speed is a lot thicker than the 3 speed can accept:
How many shimms you got on 3 speed centre cluster ? The old gears av 1 shimm n new 1s av 3 shimms ? There still slop -play on centre cluster wi the 3 shimms tho ? 👍👊There was so much give in the gears when building that I thought I needed to shim - so I shimmed where I thought was needed and then found that it was best to stick to the guide because if one shim solved a bit of wobble in one gear - this would mean a tight gear somewhere else - this took me hours of back and forth - bear in mind that - also - when you screw the gear box case together - there is actually more tightness than you would think
Ye them X headers get super hot n melt the coupler n zipties on them Lrp beasts nowt but probe deffo nd XL header I grabbed a bynamite 053 n jp2 pipes no more melting issues 👍👊I have a Dynamite exaust and header on another savage and cannot find just another manifold - which is what I need - so instead - I purchased a XL exhaust header becuase the sweep is a lot better - in turn - means better exhaust outflow and less restriction - here we have the standard Savage header vs the XL header:
- Thread starter
- #55
For the extra shims in the three speed transmission - I used some extra shims to push the idle gear closer to the main cluster - and then an extra clip mentioned above - there was still slop but am hoping that once in the case the gears will stay nicely lined up where they are supposed to be.
- Thread starter
- #56
On the theme of gears - I'm having a hard time trying to find the right combintaion of Spur and Clutch Bell - it seems that anything larger the a 47t spur won't work - anyone else come across this before?
Also, I think I am going to need to get a thicker spur gear as the contact between spur and clutch - once the engine mount is around where it should be - does seem like much - bit out of ideas.
Also, I think I am going to need to get a thicker spur gear as the contact between spur and clutch - once the engine mount is around where it should be - does seem like much - bit out of ideas.
Wot clutchbell you using ? N the older spur gears are lot thicker than the new Hpi 1s ? Cant you shimm ya clutch to bring forwood fo full contact ? 👍On the theme of gears - I'm having a hard time trying to find the right combintaion of Spur and Clutch Bell - it seems that anything larger the a 47t spur won't work - anyone else come across this before?
Also, I think I am going to need to get a thicker spur gear as the contact between spur and clutch - once the engine mount is around where it should be - does seem like much - bit out of ideas.
ohsnap
Well-Known Member
- Messages
- 161
- Location
- North Carolina
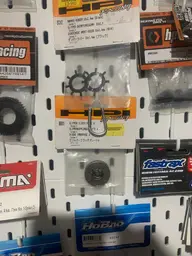
Can anyone tell me what this if from:
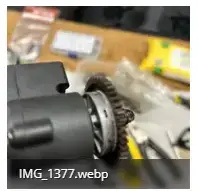
HPI part number - 86800 - Slipper Clutch Hub Savage X SS 3.5
Plus 86801 and 86802 and the rubber piece is a "damper rubber" part number 87243.
86800 is listed as discontinued and replaced by 86130
I ive got them it’s the old dual slipper clutch system 👍View attachment 13131
HPI part number - 86800 - Slipper Clutch Hub Savage X SS 3.5
Plus 86801 and 86802 and the rubber piece is a "damper rubber" part number 87243.
86800 is listed as discontinued and replaced by 86130
Attachments
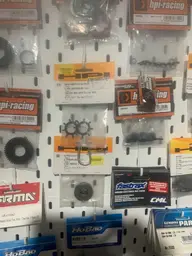
It’s the old 4.1 systemView attachment 13131
HPI part number - 86800 - Slipper Clutch Hub Savage X SS 3.5
Plus 86801 and 86802 and the rubber piece is a "damper rubber" part number 87243.
86800 is listed as discontinued and replaced by 86130