Biddie_fiddler
Well-Known Member
- Messages
- 332
- Location
- Perth, WA
Hi All,
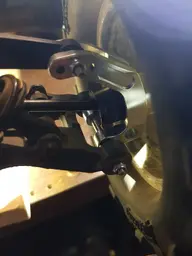
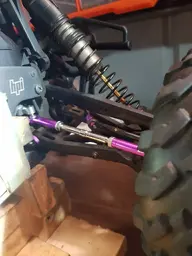
I've replaced the steering linkages (I think thats what their called) with the aluminium linkages from the rear - I broke the plastic ones after a fail of a jump.
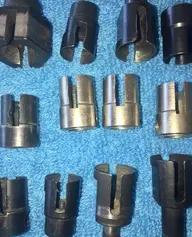
I've ordered some aluminium carriers for the rear so I don't have to worry about the adjustments any more. They were pretty cheap from aliexpress.

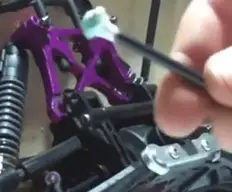
What is the easiest way of adjusting these linkages?
It seems simple but I just wanted to make sure I do it right the first time so I don't have to constantly adjust them.
Thanks in advance! 🙂
I've replaced the steering linkages (I think thats what their called) with the aluminium linkages from the rear - I broke the plastic ones after a fail of a jump.
I've ordered some aluminium carriers for the rear so I don't have to worry about the adjustments any more. They were pretty cheap from aliexpress.
What is the easiest way of adjusting these linkages?
It seems simple but I just wanted to make sure I do it right the first time so I don't have to constantly adjust them.
Thanks in advance! 🙂