Bankrupter
Well-Known Member
- Messages
- 4,792
i agree with bank, you should try not to pop a bone.
You had to didn't you ... bad word
Follow along with the video below to see how to install our site as a web app on your home screen.
Note: This feature may not be available in some browsers.
i agree with bank, you should try not to pop a bone.
You had to didn't you ... bad word
I'm afraid to ask what's this goin on between you too. lol!!!
I have nothing to do with it ...
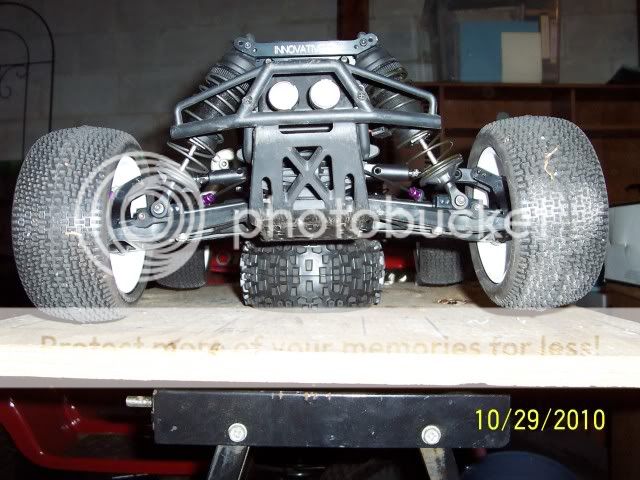
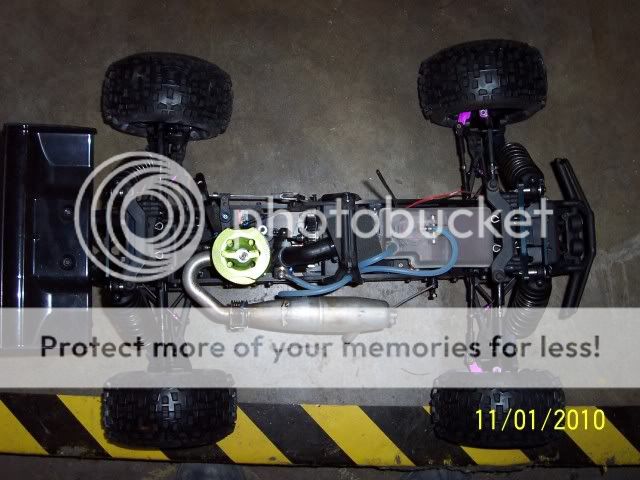
The pics look good. Now run it :stressed:
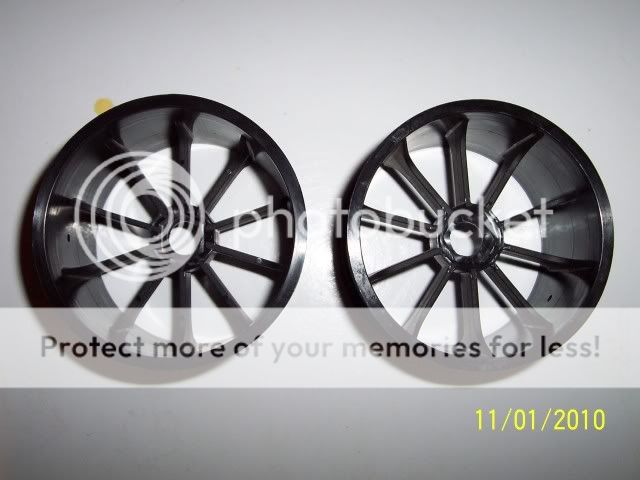
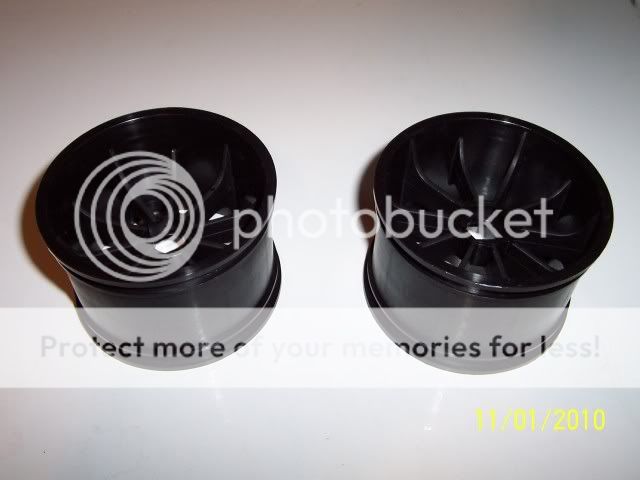
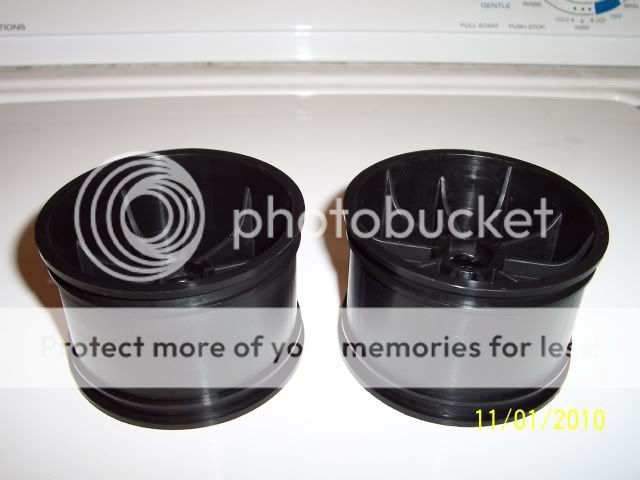
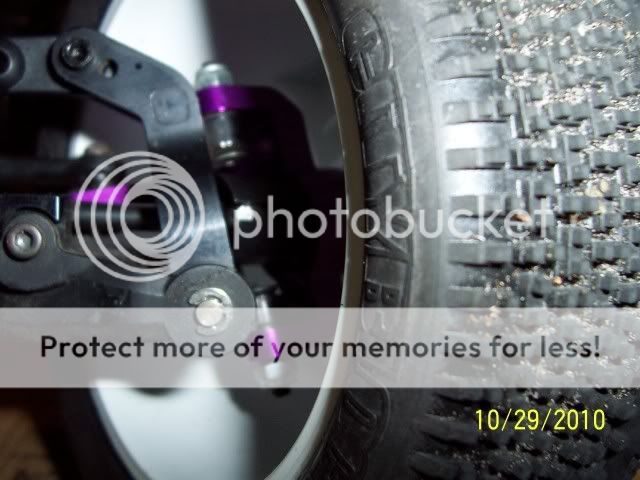
do you have a link for where you got these rims from?can you post a link? gotta love those Badlands.thanks
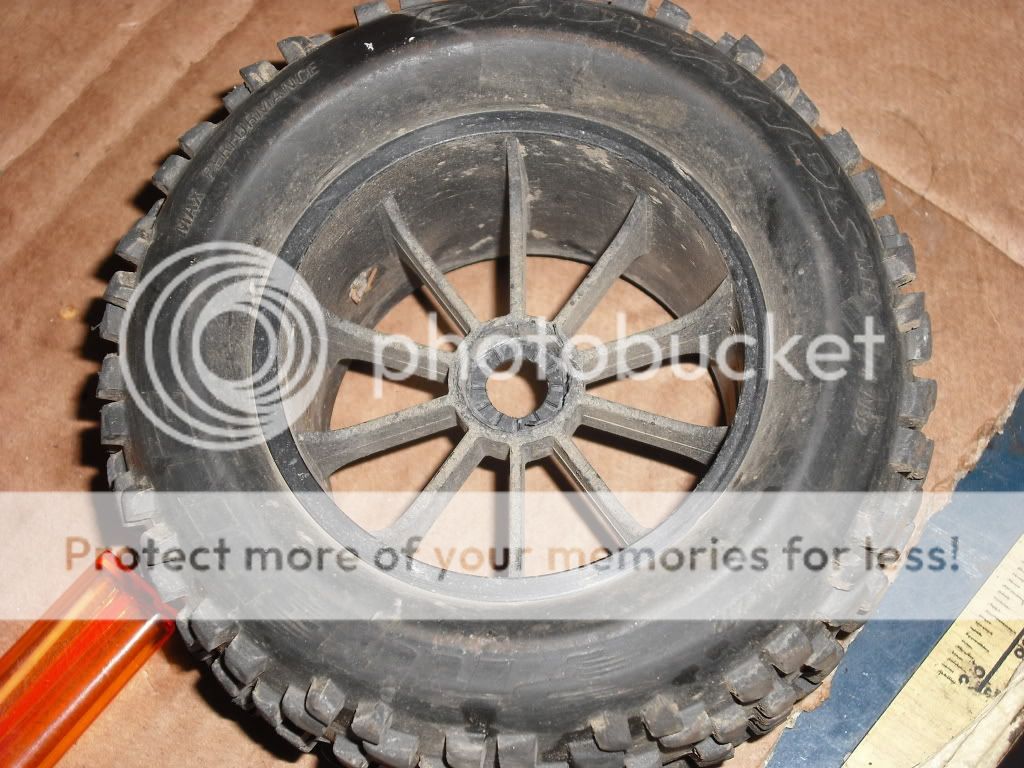
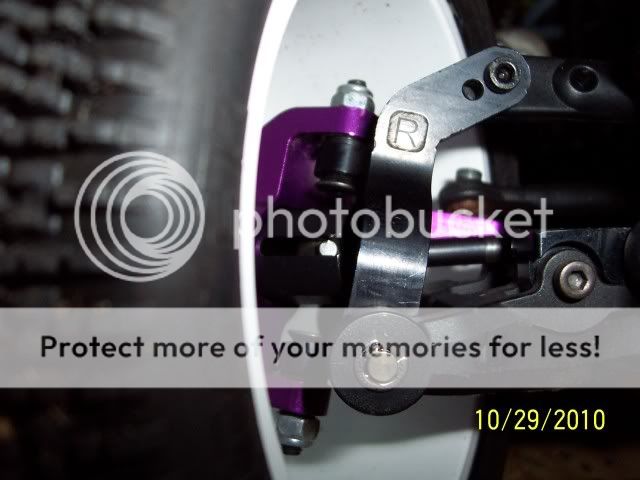
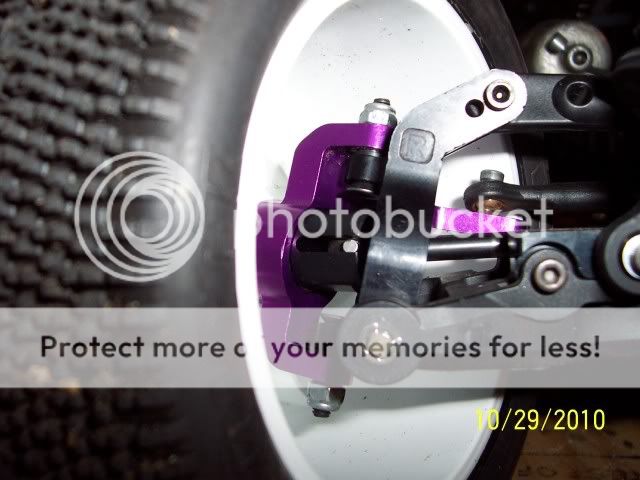
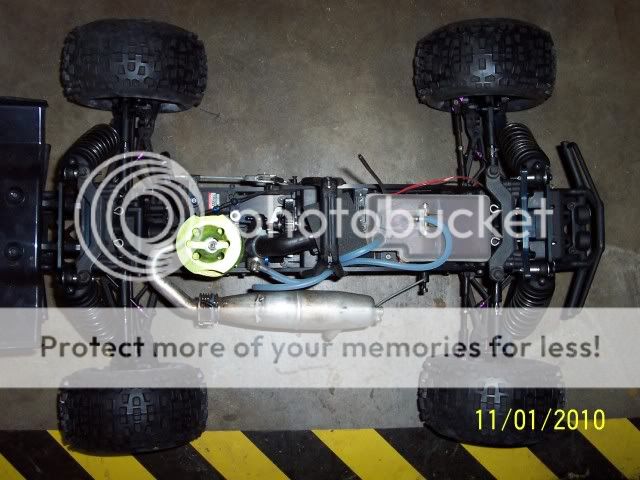
xtreme what hex adaptors are you running on those blue groove rims. i hope you are using there 17mm adaptor that has to be modified for the savage. if not there is no warrenty against the hexes being spun out of them. and it will happen trust me.
that sucks man


]-[0pa]0ng;199278 said:I just bought a set of Cen 7.7 to try out as well. These have teh oil res. and are gray in color with white springs. Could you tell what the difference is between the ones I have and the ones you have?
Welcome to HPISavageForum, a friendly forum to discuss the Savage RC Truck.
Your voice is missing! You will need to register to get access to the following site features:We hope to see you as a part of our community soon!