Project XLLL

This site may earn a commission from merchant affiliate
links, including eBay, Amazon, and others.
I mount the wing to the rear tower. I'm :puke: about the way the PRC wing mount mounts to the tower.
DSCF1794.jpg

DSCF1793.jpg

and got most of the rear put together
DSCF1802.jpg

fitted the rear
DSCF1809.jpg

dam it's big:rock:
DSCF1810.jpg

DSCF1811.jpg

DSCF1804.jpg

DSCF1805.jpg

DSCF1807.jpg

It's got no droop. I'll try softer spring. Any suggestion would be great.:thumb:
:cheers:
 
that looks so light weight!!!!!! please weigh it fully loaded with lipos when its finished...

Those are small wheels and tyres... planning on racing it???
 
:duh: :hardlaugh:I always do, thanks 88

Yeah it is very light with out the motor and LiPo's. I'll definitely being weighing it when it's fully loaded.
No not racing, I've got a set of Mulcher's that I wanted to use and I brought the Hyper st wheels thinking they were max/mt for them. Turned out they were lpr's and to top it off they've got a different style bead to every other lrp tyre on the market, so I got the Hyper st tyres as well. They were cheap tho, only $12 for the wheels and I got the tyres for $20 on :ebay:.
 
i forget the center drive shafts all the time, don't feel bad. lol So are you 100% sold on the integy then? I still think a truck of this caliber deserves the HPI kit. helps handling a lot.
 
lol yeah I do that to. From what freddy has said I wont really need it with the lcg towers. No about 98% sold lol.

I've been cutting out some part today I reckon they all turned out bad word sweet.
To give the ESC and on/off switch more protection I made this guard for it to sit on.
DSCF1813.jpg

relief to clear the outdrive
DSCF1820.jpg

The skid plate.
DSCF1819.jpg

Stone guards for the suspension.
DSCF1824.jpg

DSCF1823.jpg


Shaved some off the steering so how I get the same throw each side.
DSCF1817.jpg

DSCF1816.jpg

DSCF1815.jpg


Time to watch the V8 supercars:homer:
 
just lookin at your pics and wondering...

if you were to to leave the servo mounts on that plate as is & flip your servo, would that put your linkage at more a 90 degree angle to the servo horn and bell-crank?
 
oh & your truck rocks btw :jamout:
i also expoxied a 1/8" piece of hard plastic to my c/f skidder (on b/r's advice) and it was a great idea :rocker:
 
i need to make some stone guards desperately!

hopefully make cleaning jobs like this a little easier . so much crap gets tangled in the shafts!!!

2010-10-15173955.jpg
 
just lookin at your pics and wondering...

if you were to to leave the servo mounts on that plate as is & flip your servo, would that put your linkage at more a 90 degree angle to the servo horn and bell-crank?

It does straighten up a little more, still not 90 degree's tho.

I'll just use the 3mm hard plastic lol. If it looks like it can't handle it I've got enough kydex left for another one, and I'll stick them together. Thanks mate

:lmao: what for Josh.
 
can you explain in a bit more detail what exactly you are having problems with involving the steering?

Is it just having the alloy horn at 90degrees when the steering is straight to allow correct use of the servo saver?

Also, i may have asked elsewhere...
but did you use the screw holes for the sway bars and shocks to hold the mud guards on???

Thanks

Josh
 
Thanks 88

Josh the main problem I was have was I wasn't getting the same amount of turn left and right, but I fixed that by shaving some off the servo mount and servo saver arm.

What freddy was talking about is get the linkage/turnbuckle from the servo horn to the servo saver, 90 degrees to the saver saver.

Yeah mate the sway bar and shock mount holes.
 
Fitted the skid plate this morning.
DSCF1833.jpg

Put it on the scales as it is now, it's 4.3kg :rock:
DSCF1835.jpg

DSCF1838.jpg

DSCF1837.jpg

To fix my lack of droop I'm going to get a set of front springs, hopefully I'll have enough preload.
DSCF1840.jpg

DSCF1841.jpg


:blpower::peace:
 
4.3!!!!! that is so light!!!!
did you make the skid? didnt think it was worth getting one from prc?
 
Yes I made it. Kydex is very hard and stiff. The sheet cost me $10, and I got 2 skid plates plus the guards I made.
$40 for a skid plate, no thanks. :resp:
 
looks like awesome material... i think i heard somewhere that they use to use it on gun holsters in the states... but cant remember...

I have some 2mm nylon sheeting. Very strong, flexible stuff... But the prob is that its gloss finish... Hopefully it wont look too shiny after i skuff it up on its first run :)
 
the nylon being flexible will be easier to fit to the arms. I don't think it will be shiny for to long, if that pic is anything to go by lol.

thanks Mickey
 
Just need to paint the body and I'll be ready rock :rock:
DSCF1858.jpg

DSCF1852.jpg

DSCF1855.jpg

DSCF1857-1.jpg

the body a little short but it will do for now. bad word

Jason gave me an idea on mounting the wing mount plate, but I wont use it with this body, the fit will look even worse.
 
looks so good!!! even though the body is too short... the wing helps you out a little!

That wheelie bar, although suseptible to damage still looks awesome too!!!

I WANT TO SEE IT RUNNING NOW!!!
 
Thanks fellas.

I got the body painted today. I was to heavy on the silver, but it turned out pretty cool any way.

DSCF1884.jpg

DSCF1886.jpg

DSCF1892.jpg

DSCF1891.jpg

I'll post more pix tomorrow with in the decals on, it looks sweet in direct sunlight.
 
OH MATE MATE MATE!

that looks awesome!!! how did you do the carbon style stencil? similar to joes method?
 
Thanks for the rep Josh. I haven't seen Joe's, but it's probably the same. I used non slip matting, got it at the supermarket 50cm x 2m, I brought it awhile ago but I think it was less than $10.

DSCF1876.jpg
 
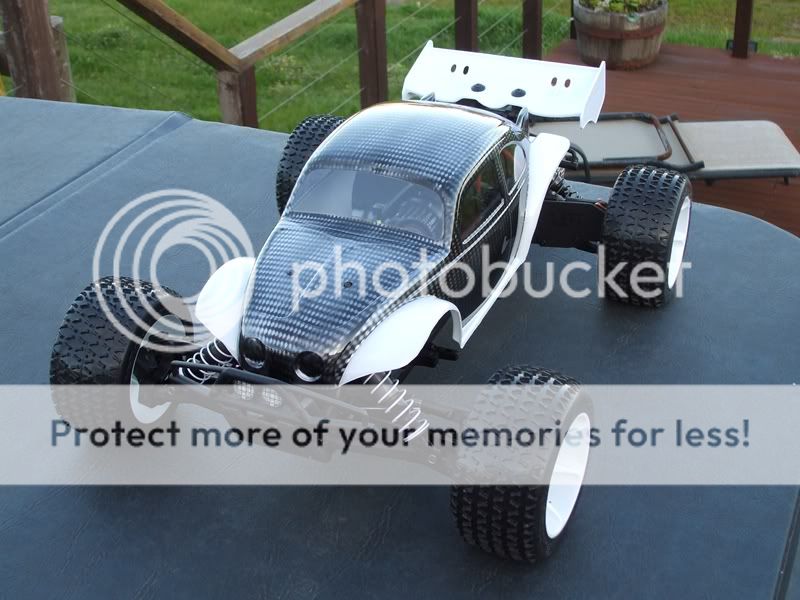
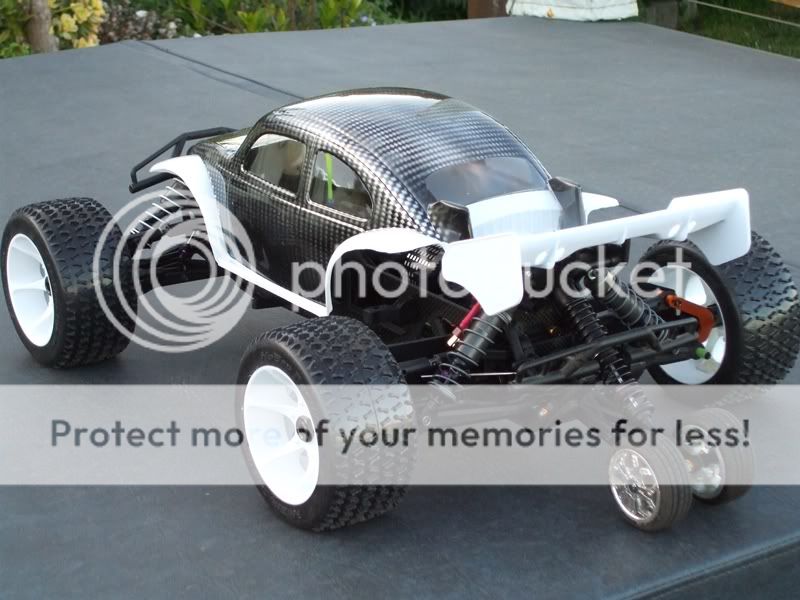
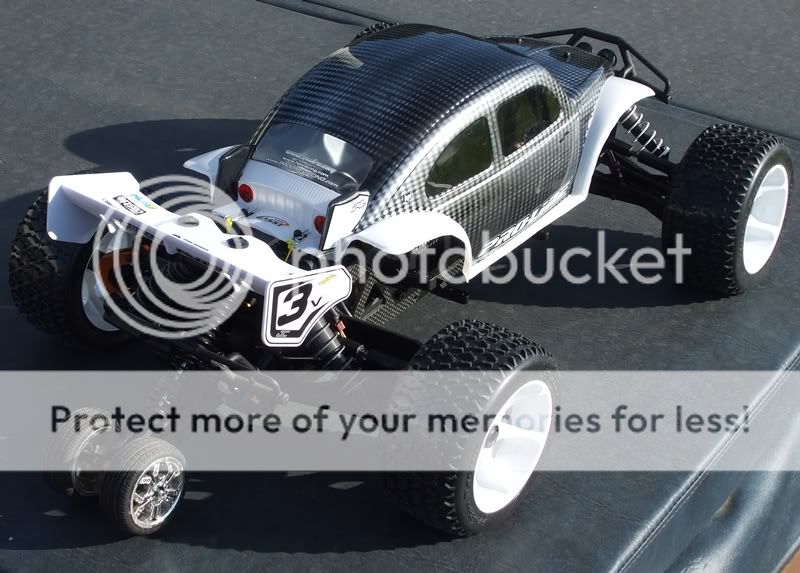
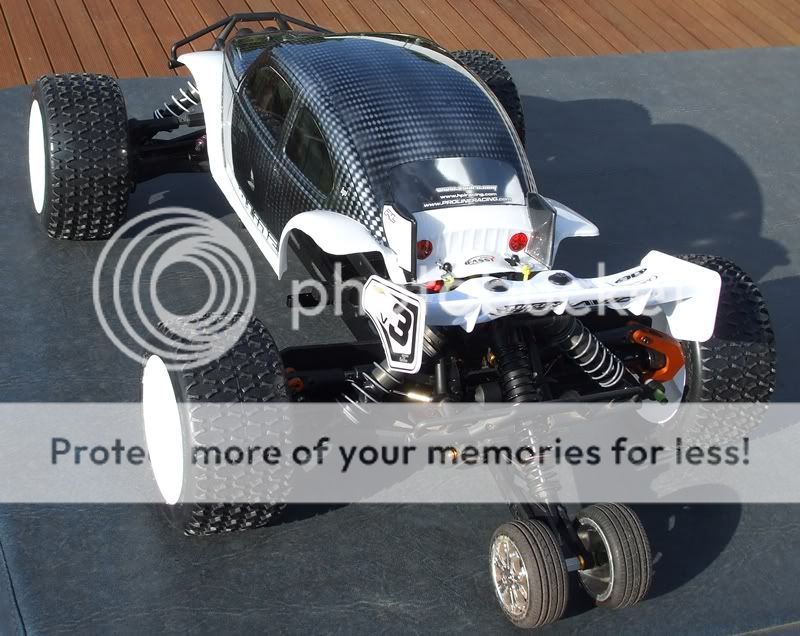
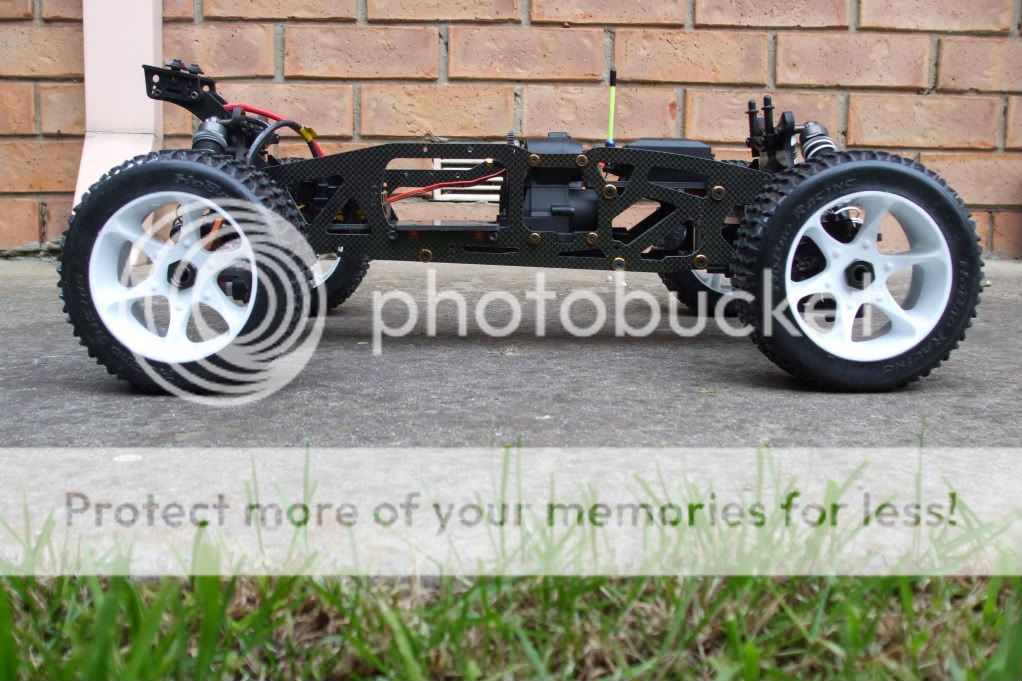
do a write up on the whilly bar plz that looks sick

It's not the strongest wheely bar in the world.
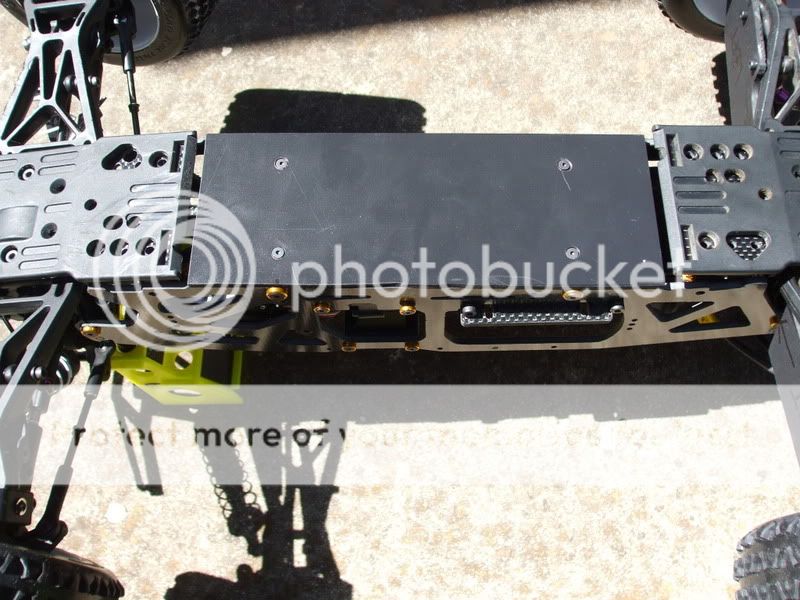
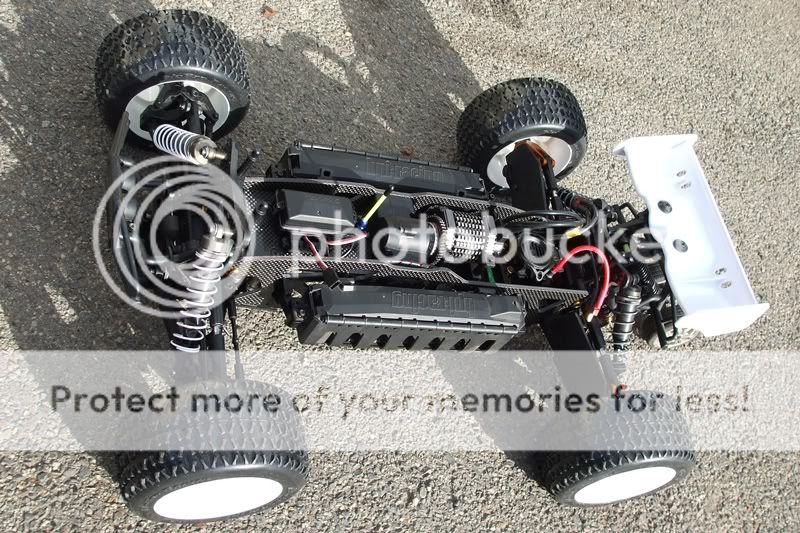
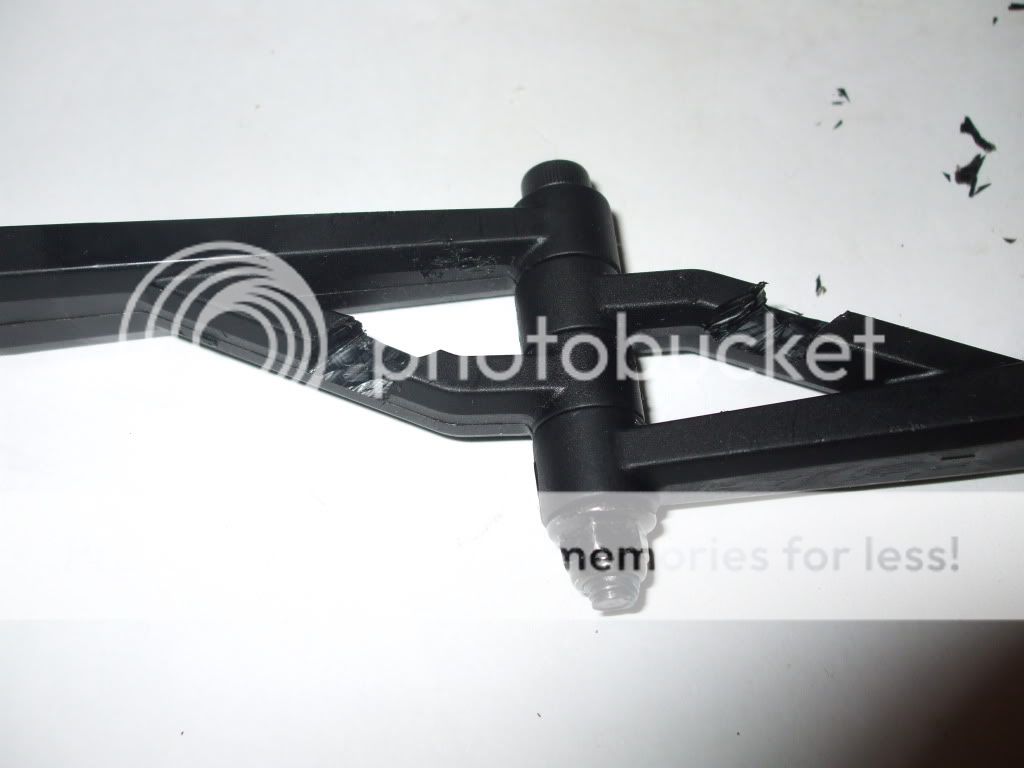
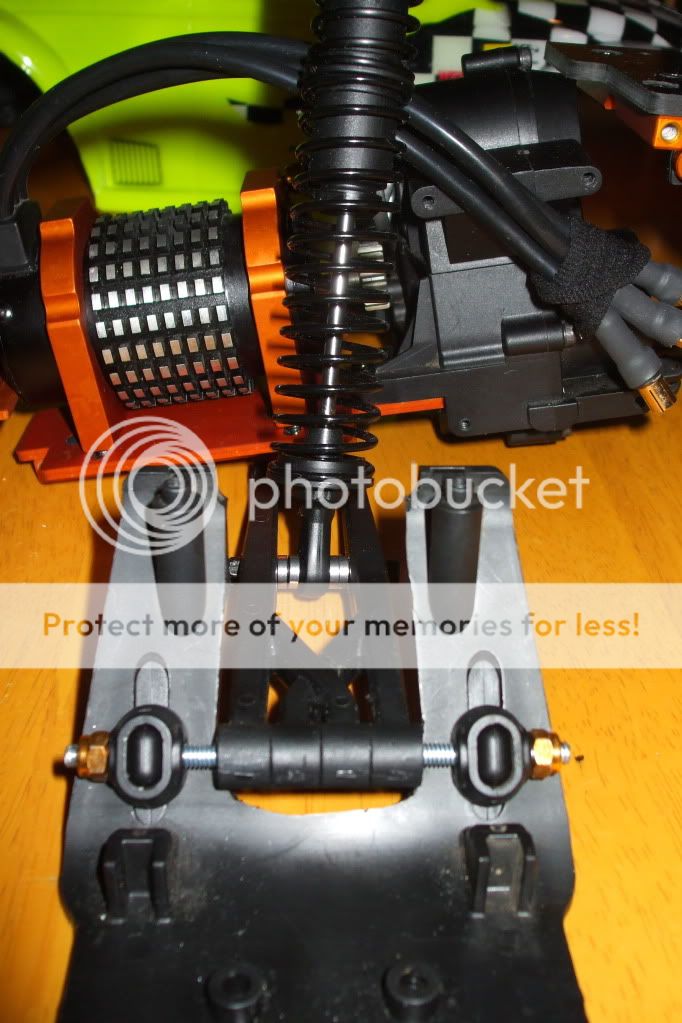
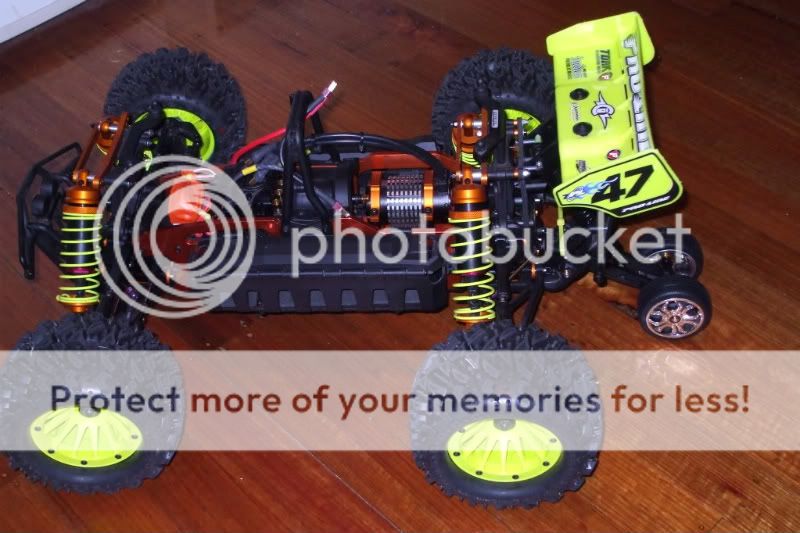
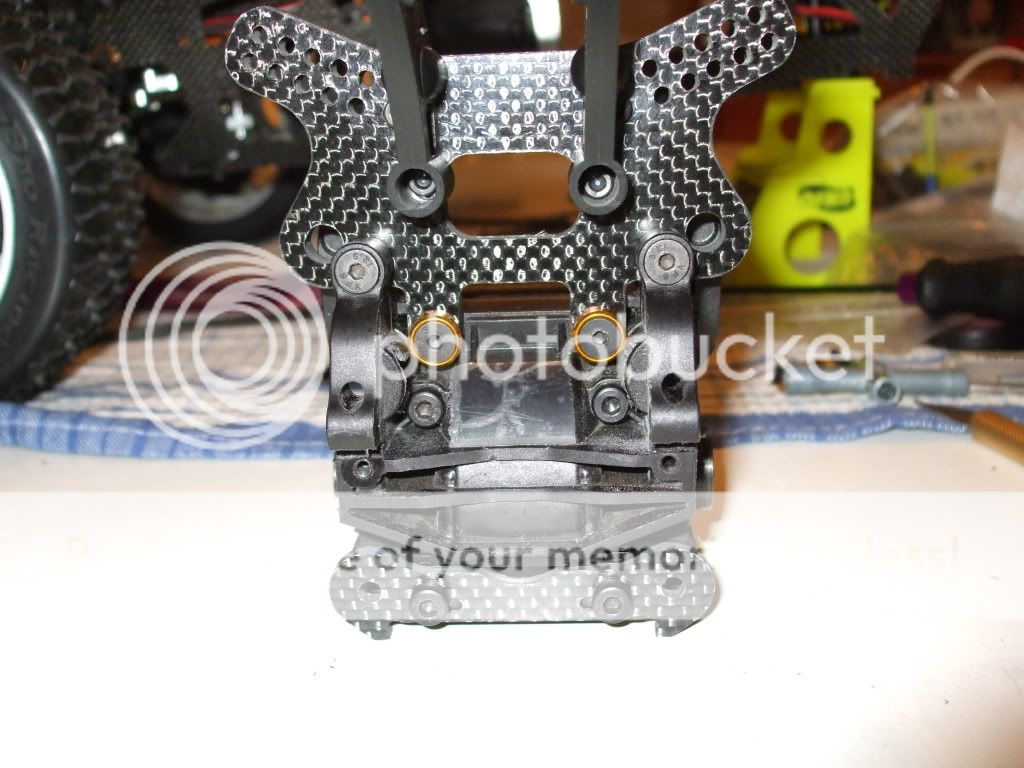
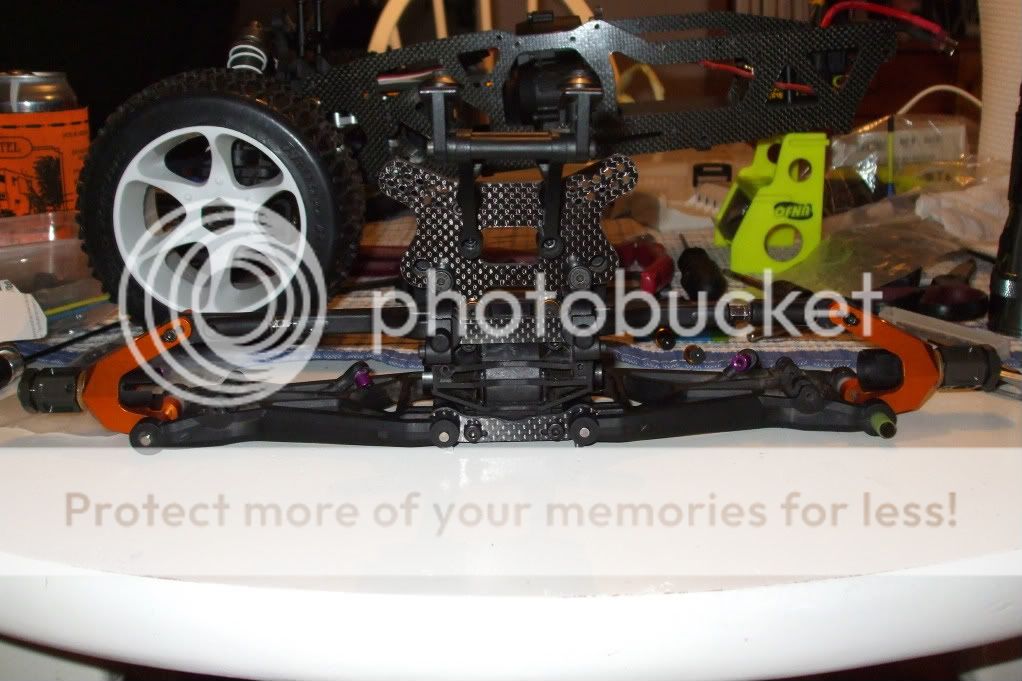
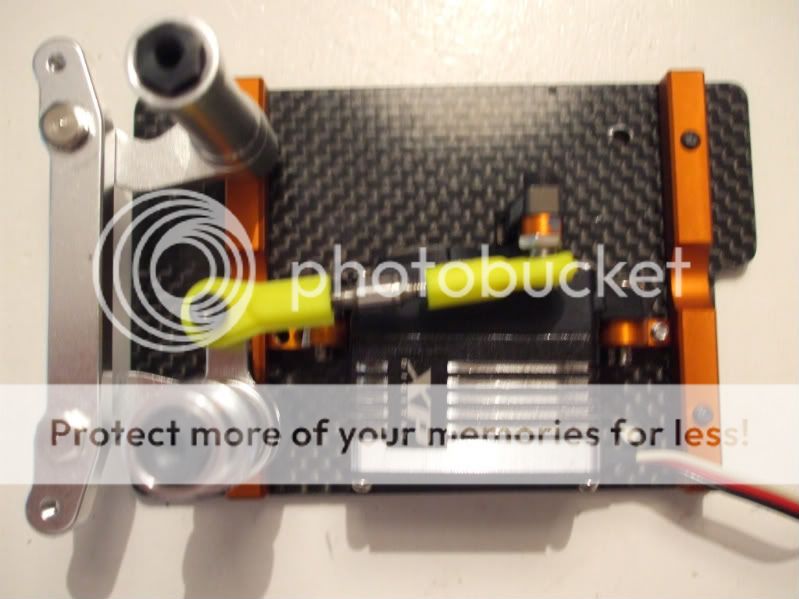
I used two upper a-arms and cut half way thru each one so they interlocked.
DSCF0989.jpg

DSCF0993.jpg

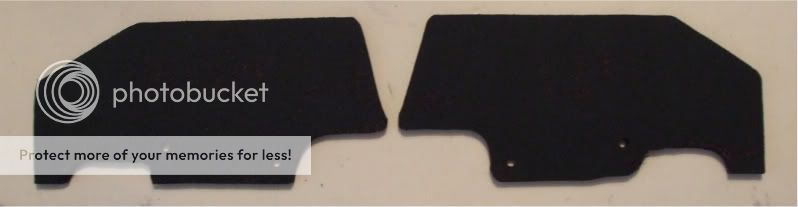
I cut the center out of the back of the skid plate. Then I cut the ends of the stock wheely bar and drilled them out to 4mm and used threaded rod with lock nut to mount the a-arms to the skid plate.
DSCF1015.jpg

DSCF1183.jpg

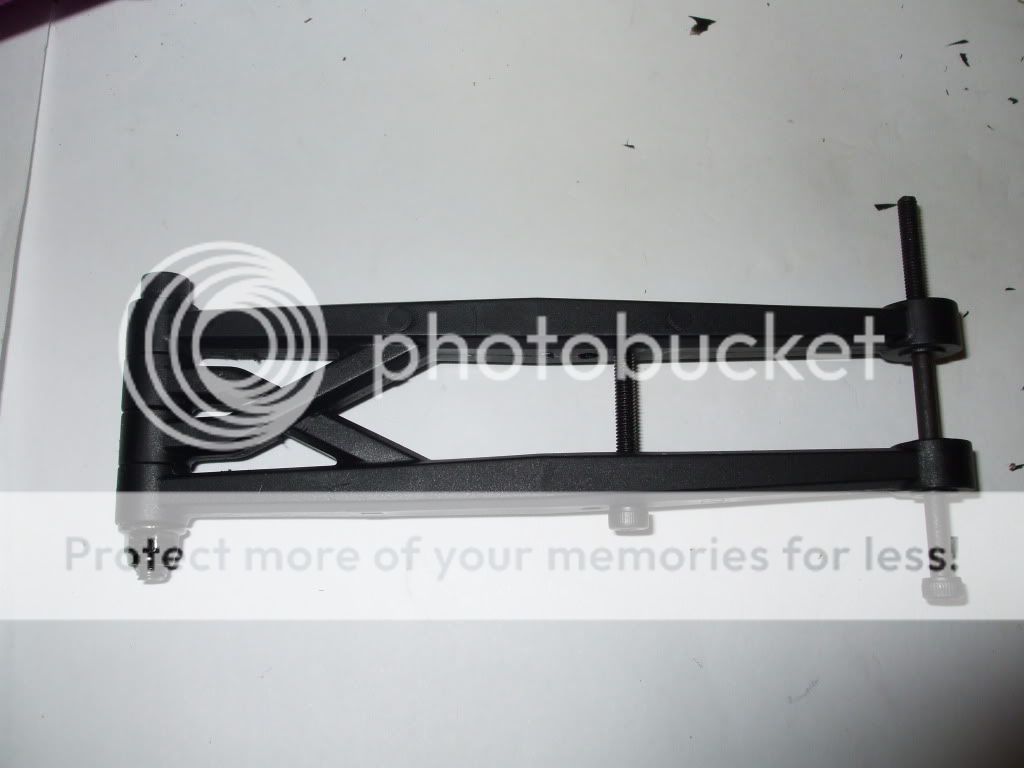
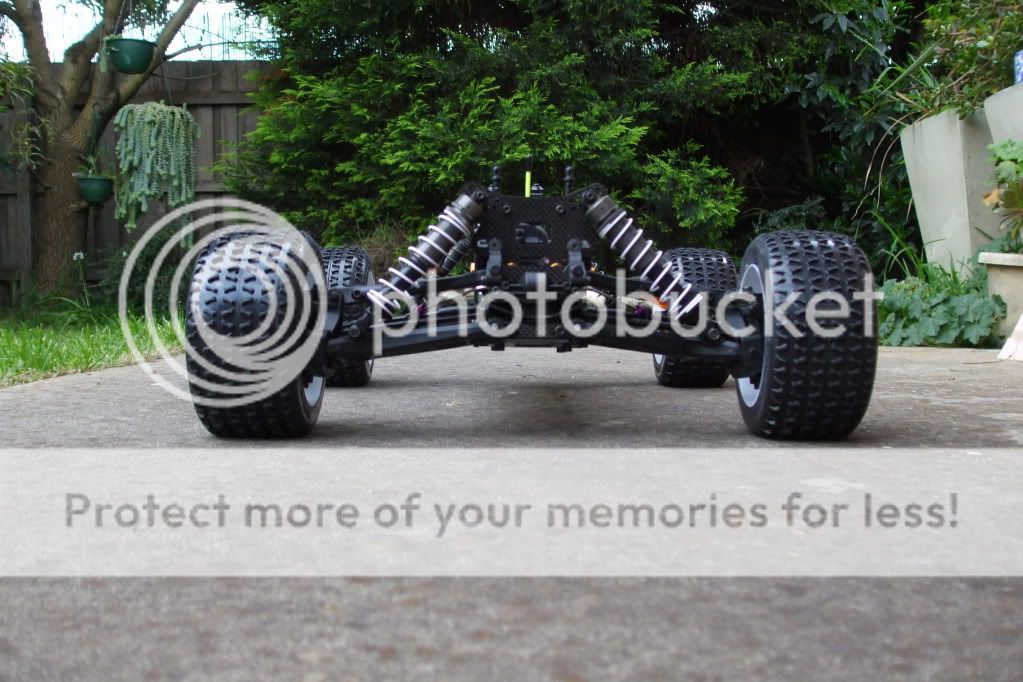
With the stock tower I used the holes that are already in the arms to mount the bottom of the shock. I mounted the top of the shock to the wing stay.
DSCF1187.jpg

I also shorten the shock with fuel tube.
DSCF1415.jpg

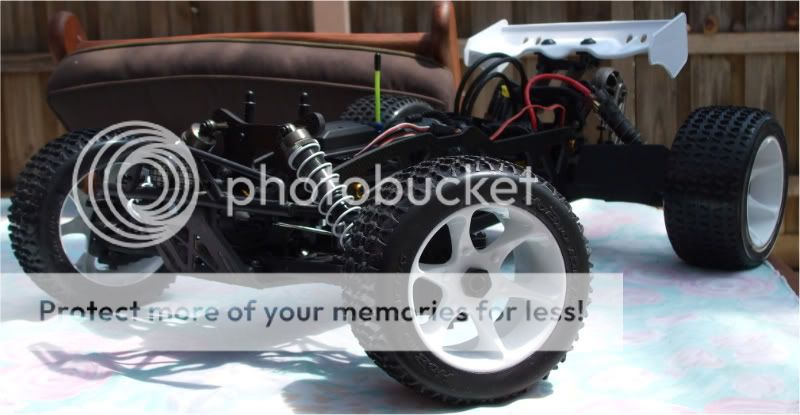
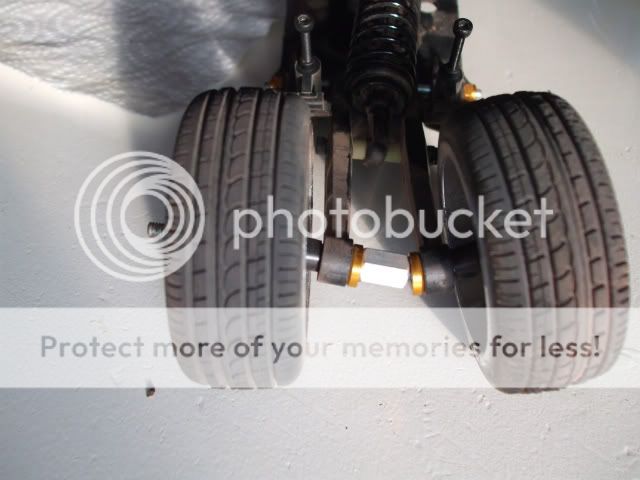
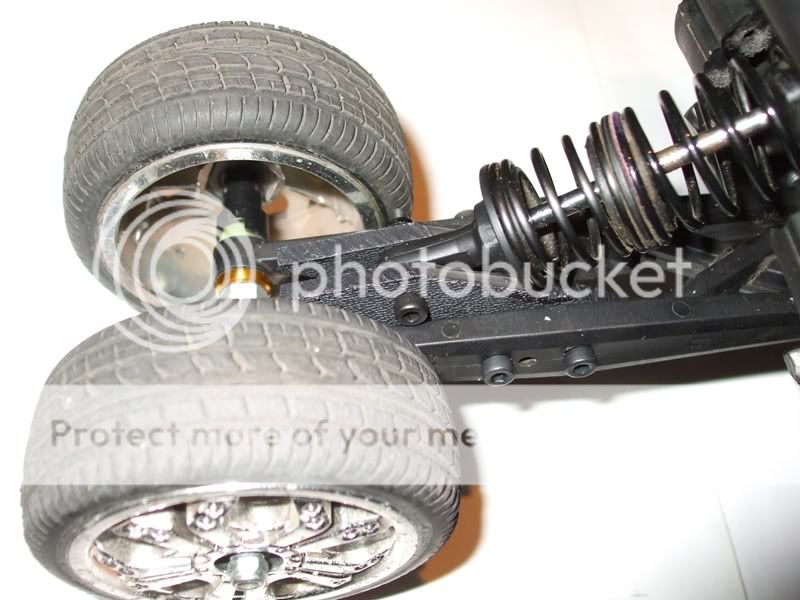
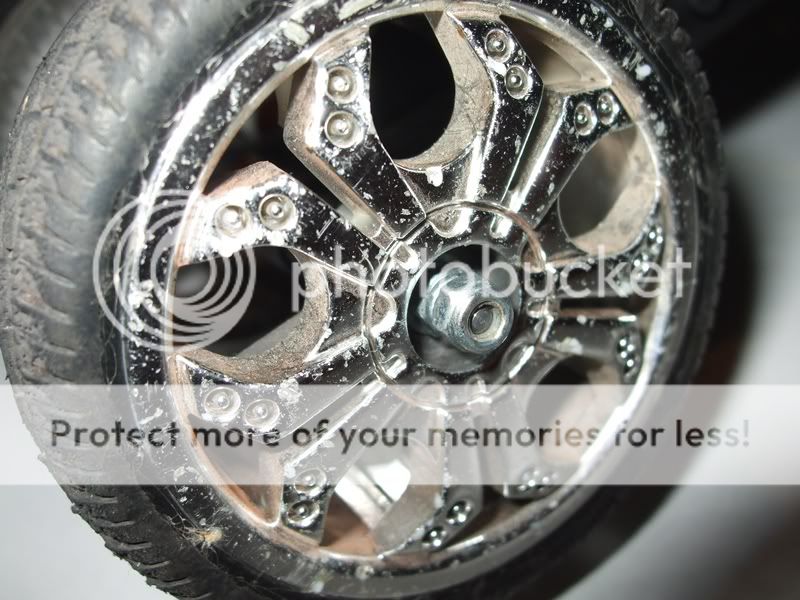
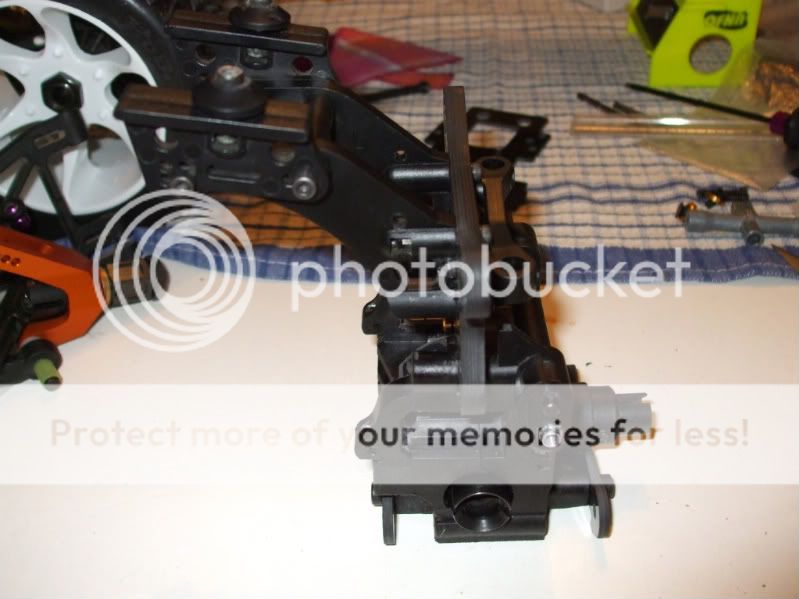
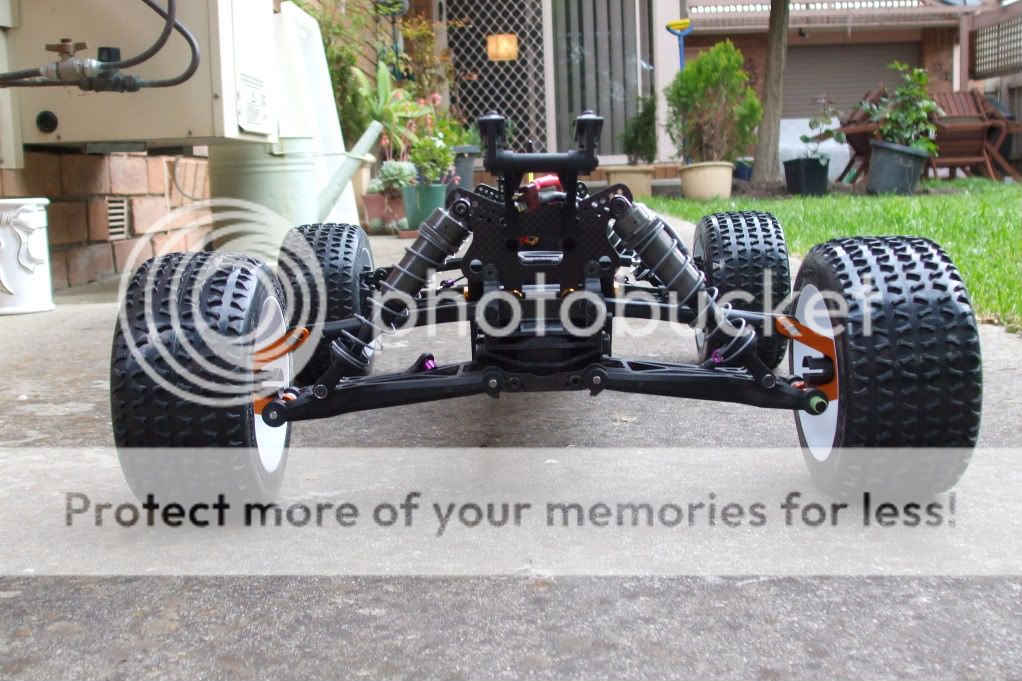
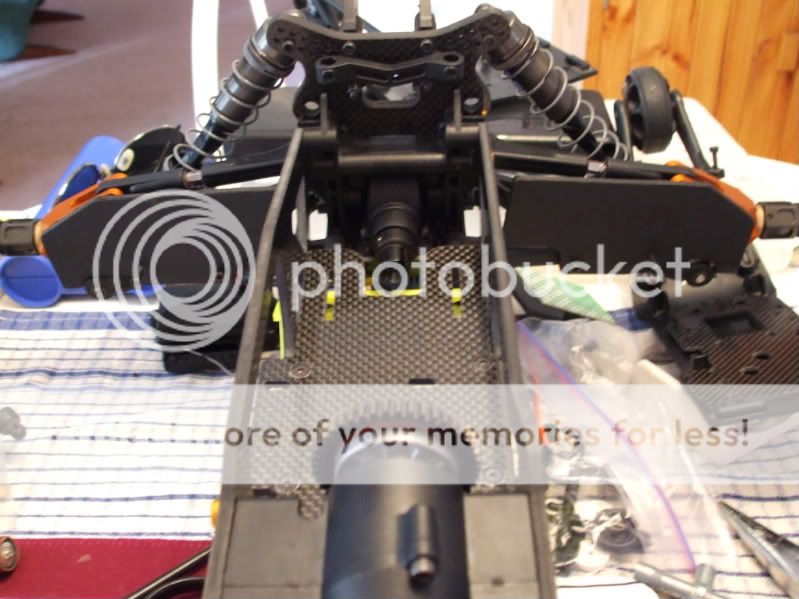
On version 1.0 I was using 3mm mild steel threaded rod as the axle, I used spacers I made from stuff I had lying around, to support the arms and the 12mm hexs.
DSCF1869.jpg

The mild steel rod is just to weak for this purpose, I got sick of replacing it every couple of bashes, so I whiched back to the original wheelie bar.
DSCF1430.jpg

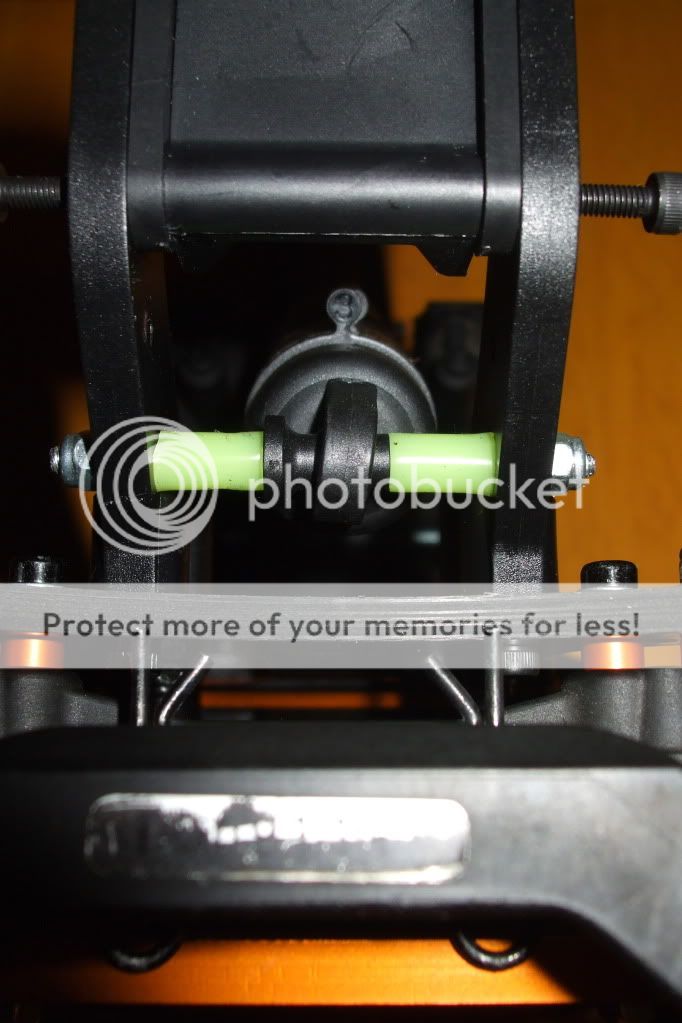
While in the process of this build I came up with the idea to try using a stock savage big bore shock shaft as an axle. If this bends I'll try a Ti-Ni shaft, and if that bends it's back to the stock wheely bar.

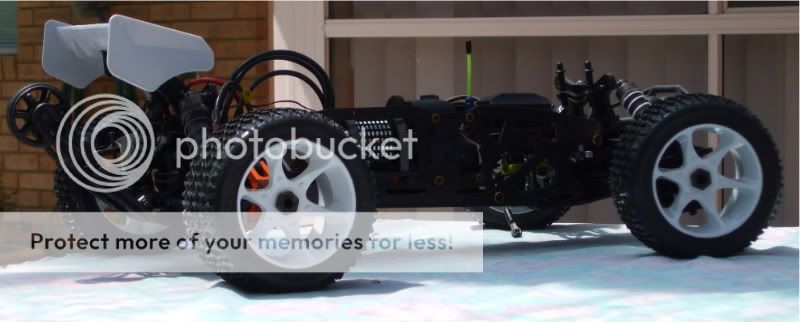
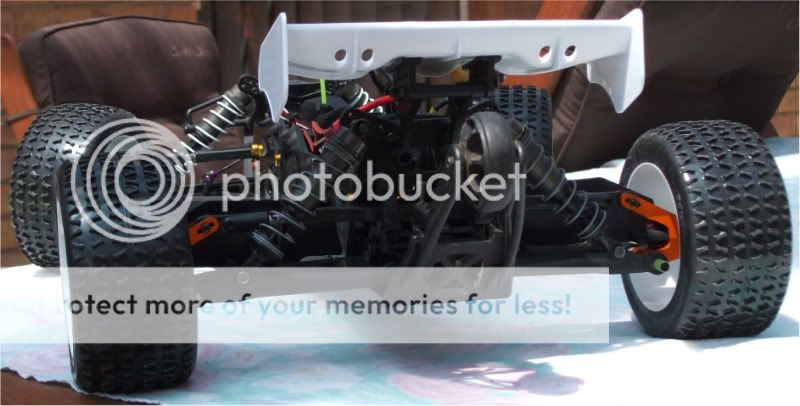
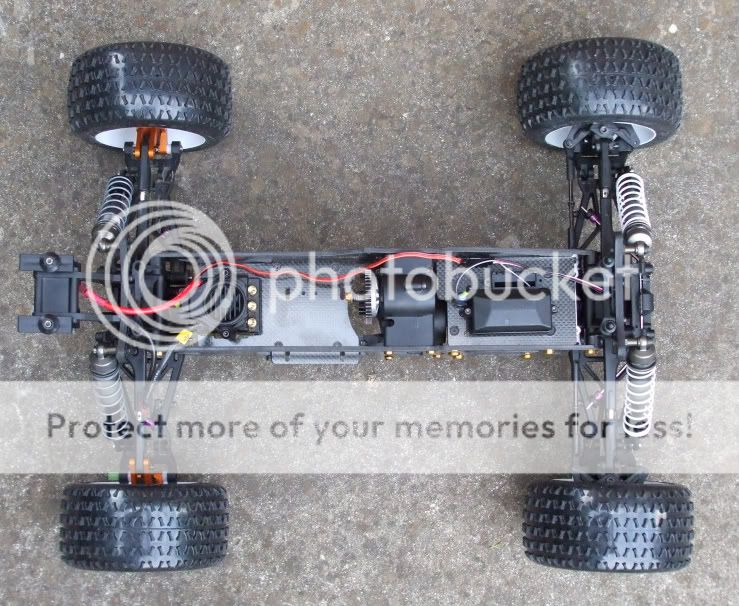
With the lcg towers the shock was on to much of an angle to fit properly. The big bore spring seat is to wide to fit between the arms, so I made a couple of brackets to raise the mounting point above the arms. Hopefully they wont be a weak point.
DSCF1861.jpg

DSCF1872.jpg

One more thing, the right side nut on the axle keep backing off because of the direct of spin so I use two nuts locked together.
DSCF1867.jpg


Hope that helpful.
 
My old flux weighed 7.2kg
DSCF1387.jpg

the new CF XL flux weighs 6.2kg. I'm stoked I was able to lose 1kg, without the custom wheelie bar it will be about 6kg.
I'll lose even more weight with smaller LiPo's, my current 6500mah 3s packs are over 500g each.
DSCF1930.jpg

DSCF1940.jpg

DSCF1942.jpg

DSCF1912.jpg

DSCF1903.jpg

DSCF1929.jpg

DSCF1897.jpg

DSCF1928.jpg

DSCF1910.jpg

DSCF1906.jpg

DSCF1900.jpg


When I was checking the epa on the servo before my test drive, I found the servo horn is hitting the trans out :stressed:drive bad wordbad wordbad word.
 

Latest posts

Members online

Back
Top