HIRISK's Road Savage

This site may earn a commission from merchant affiliate
links, including eBay, Amazon, and others.

HIRISK

Active Member
Messages
72
Location
Melbourne, Australia
HIRISK's On Road / Off Road Savage

Hi Guys,

Well, it has been a few years since I have had any type of RC, so I thought it was about time to get back in to it. I scoured around Ebay and found a decent Savage X RTR with an OS 30VG in it and that is what I ended up buying.

My plan is to build a Savage that will be just as much at home on the road / pavement as it is in the dirt. As you can see, I love clean, so by building a basher for the street, I get to keep her clean all the time!!

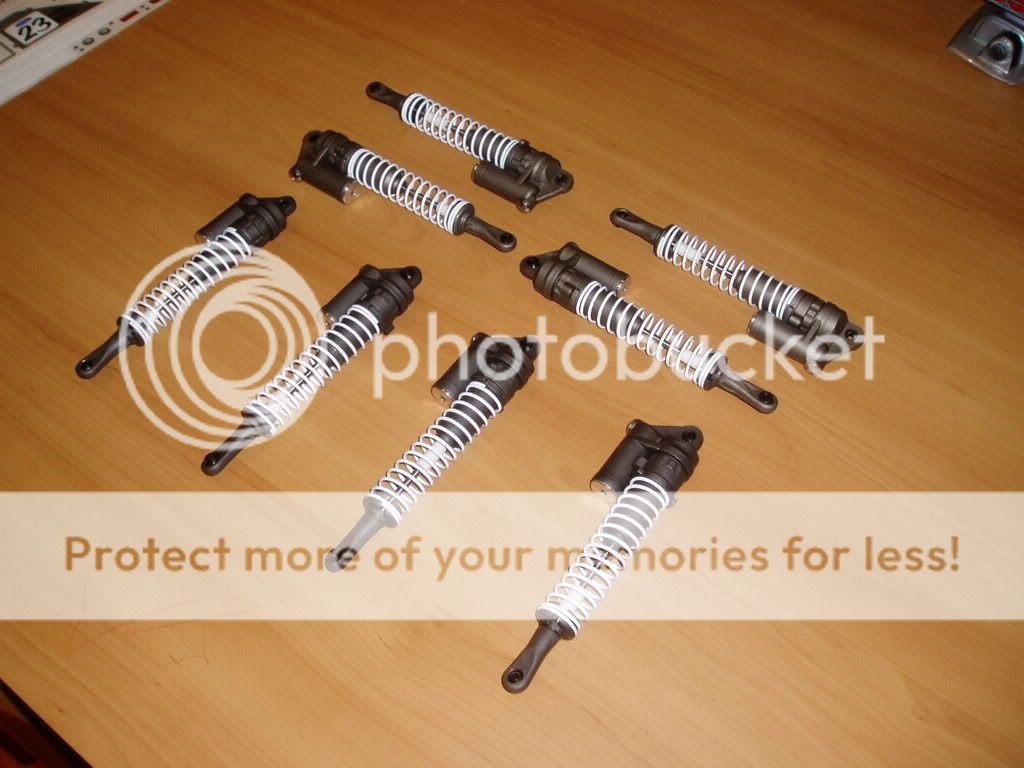
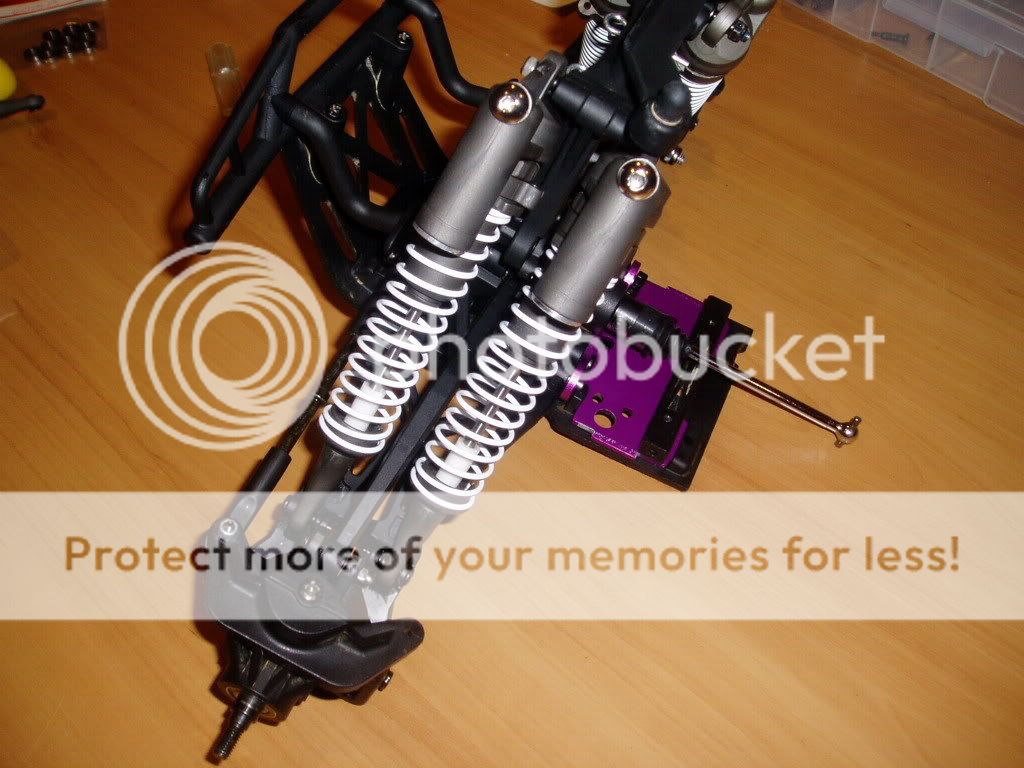
Now, I just need to make it clear I am NOT building a dedicated road only Savage, but more a Savage that can fly down the street or around the local football field etc. I love the look of Monster Trucks, so I will not compromise the genuine MT look just to make it a dedicated road truck. For this reason I will still be running a full set of 8 shocks.

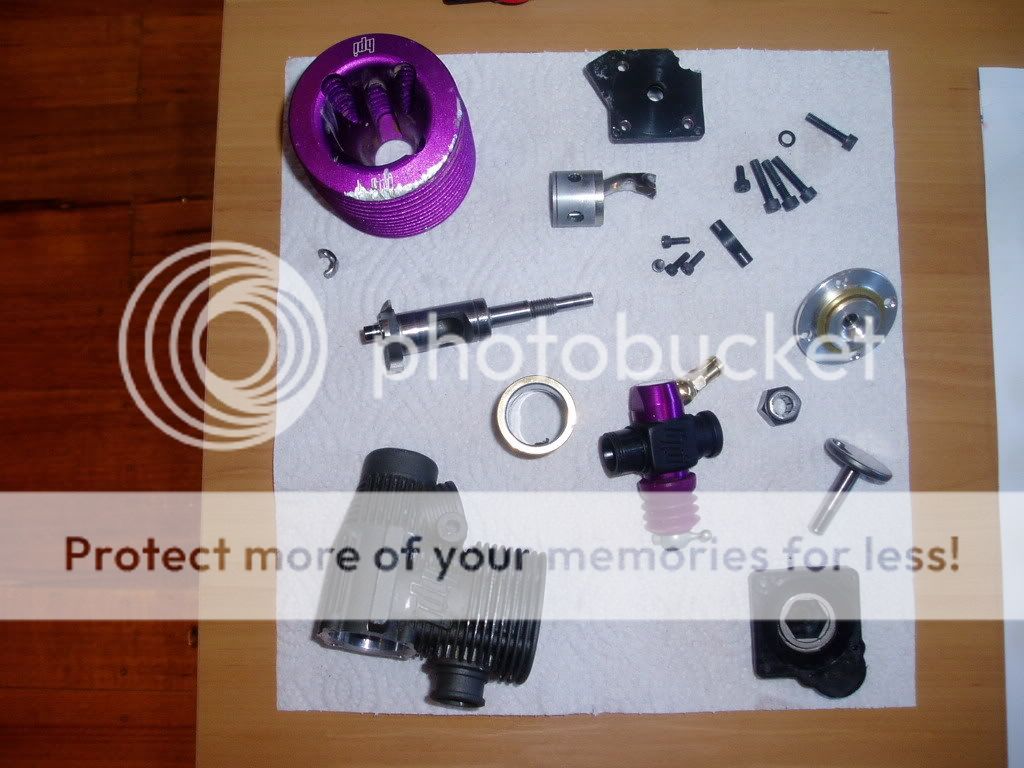
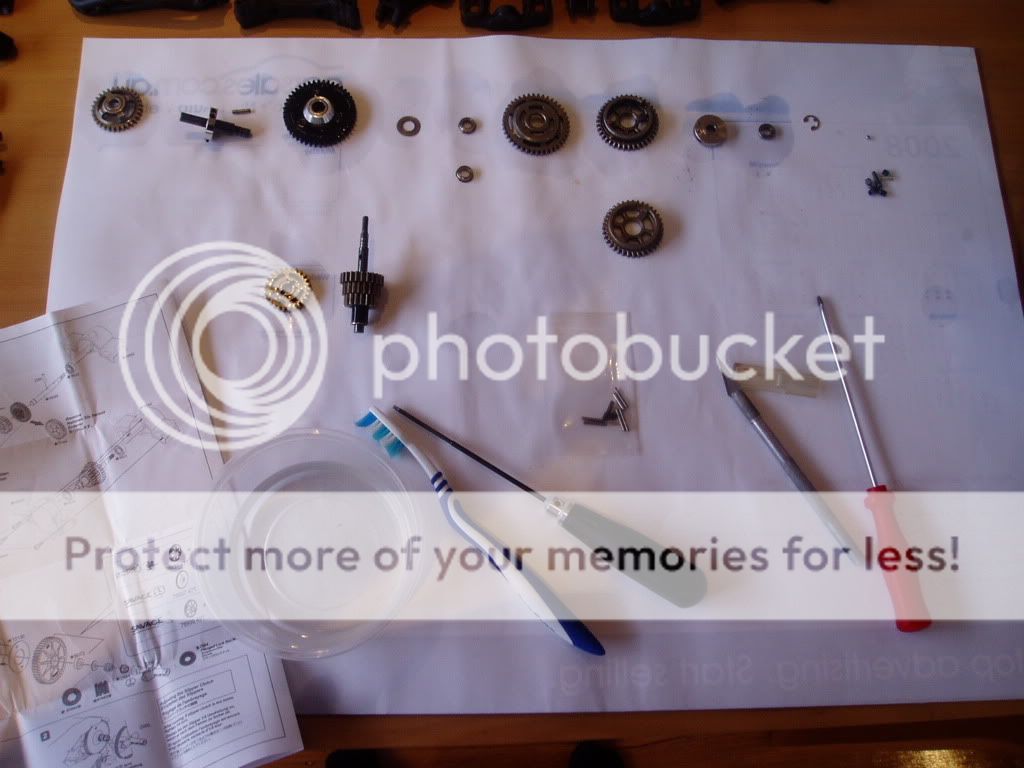
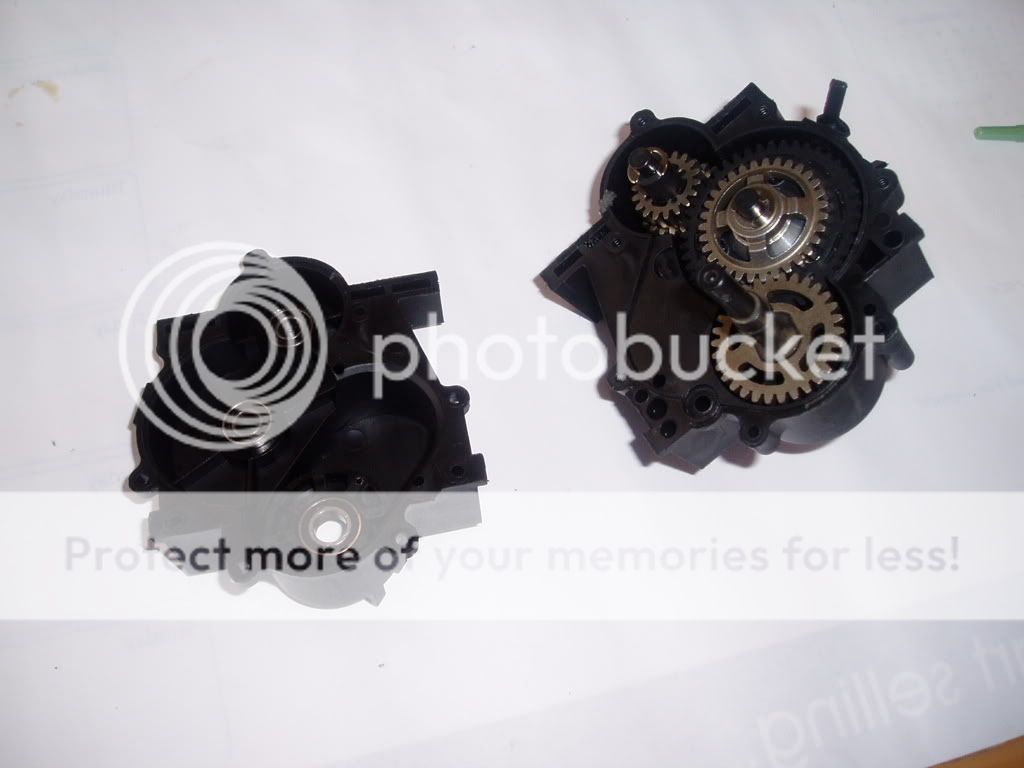
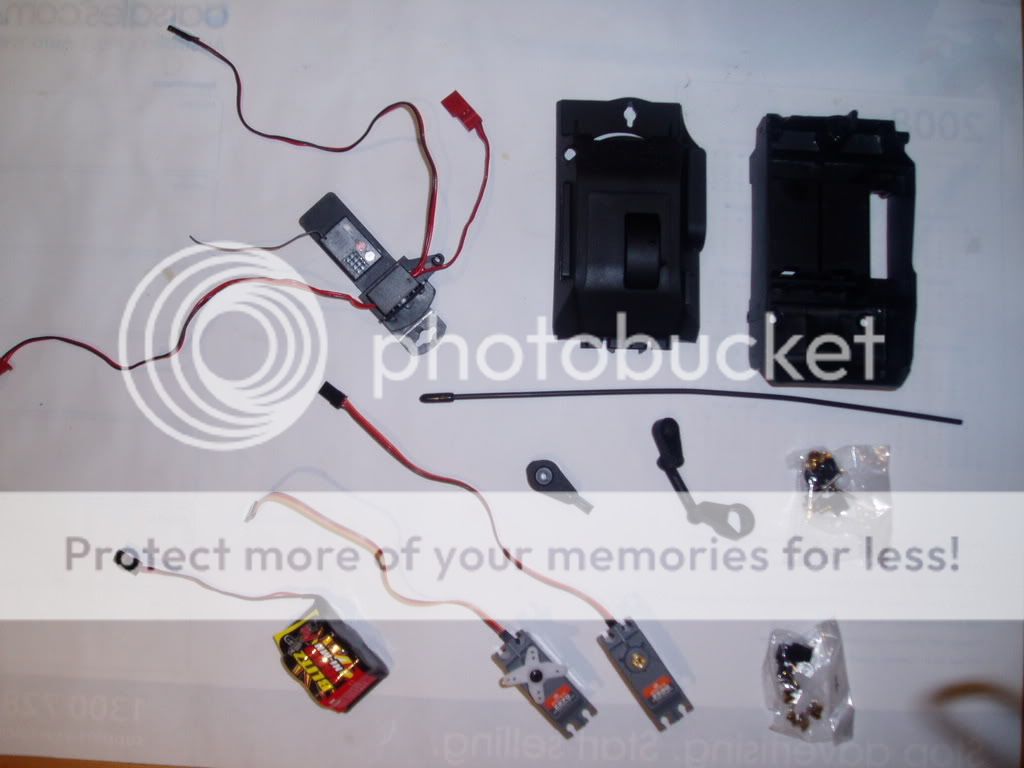
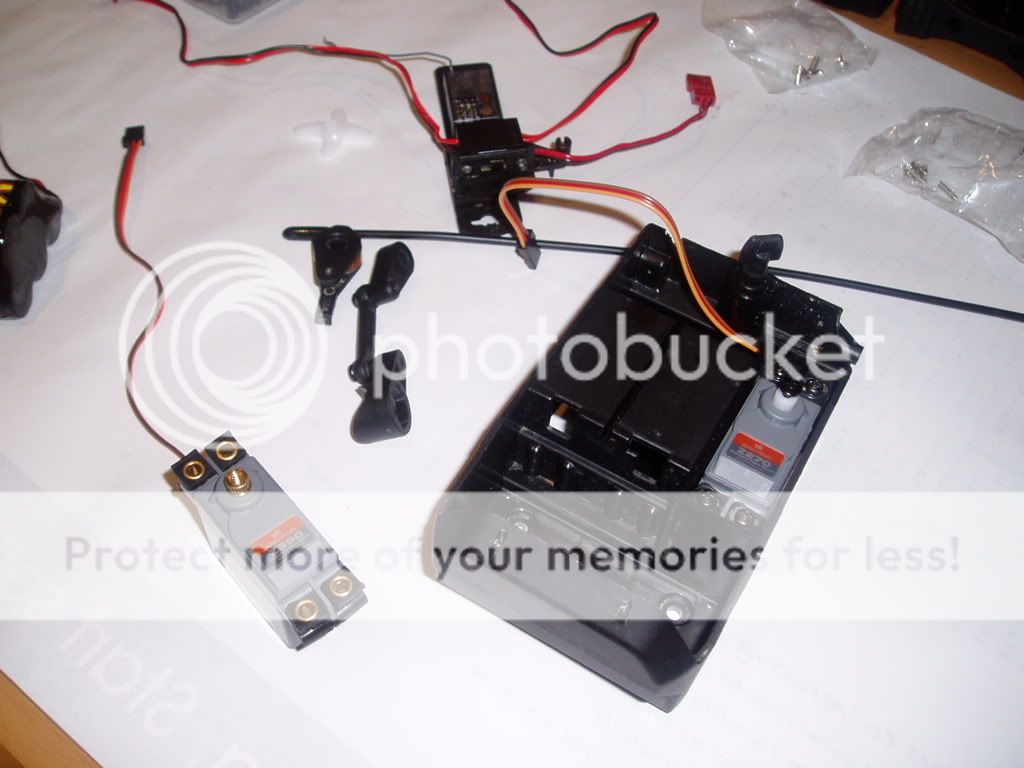
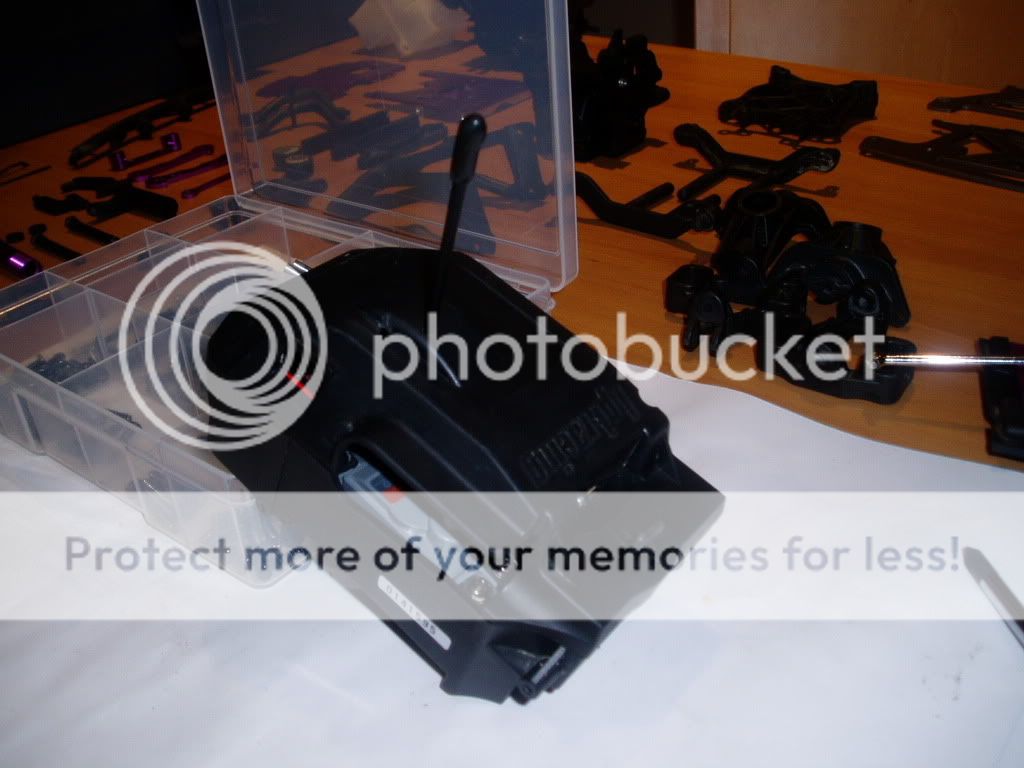
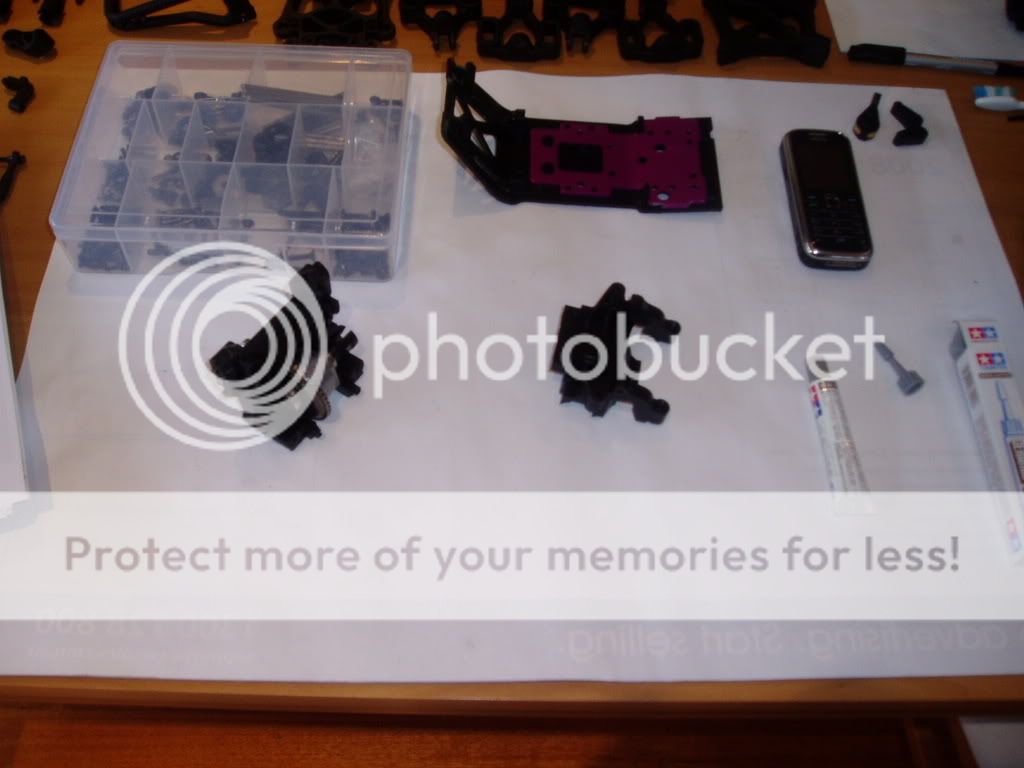
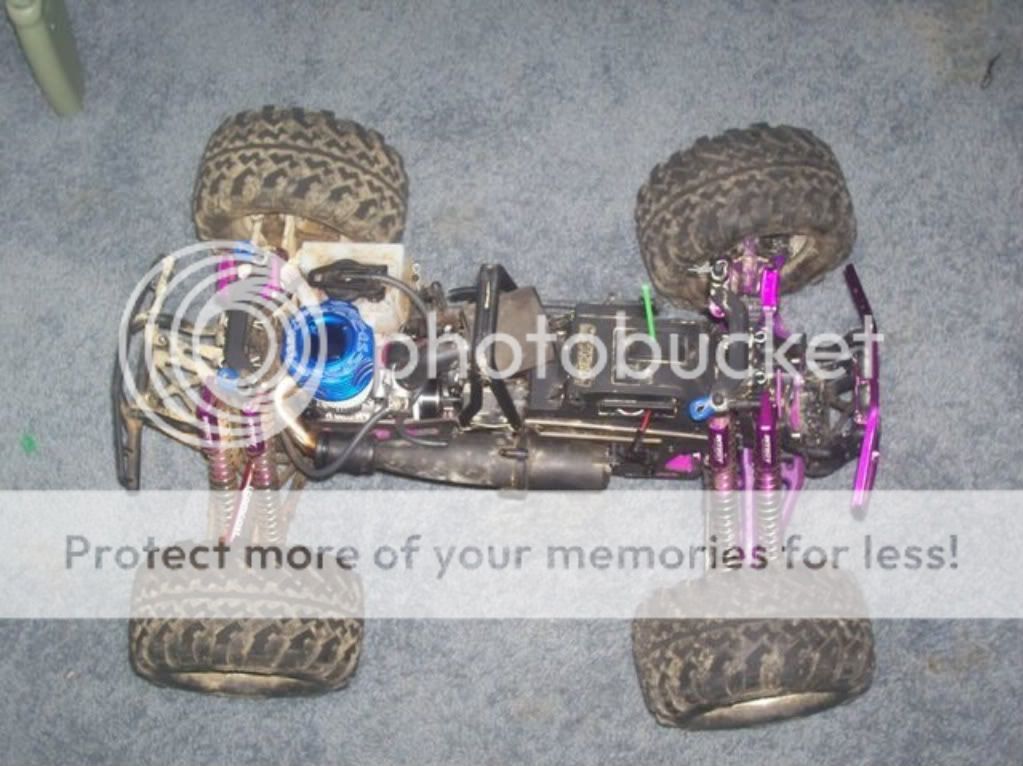
It was pretty dirty, so like all my projects, the first step for me was a complete strip down, wash and clean.

ITEMS ON HAND READY FOR THE BUILD
* HPI Savage X 4.6 RTR (bought used)
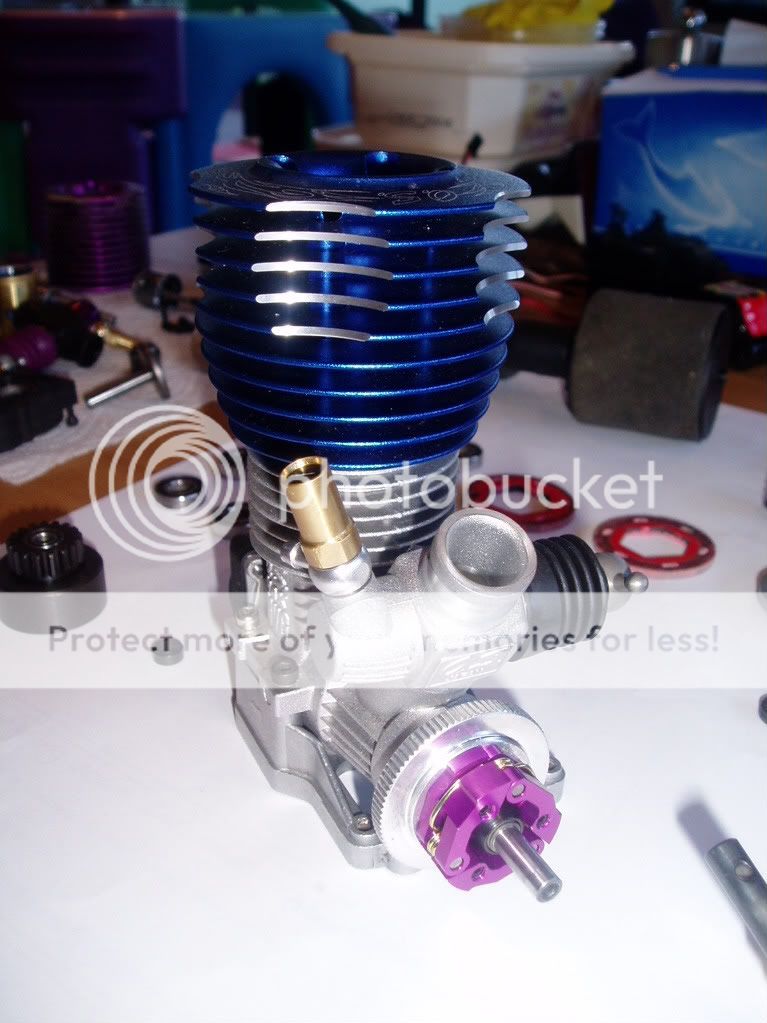
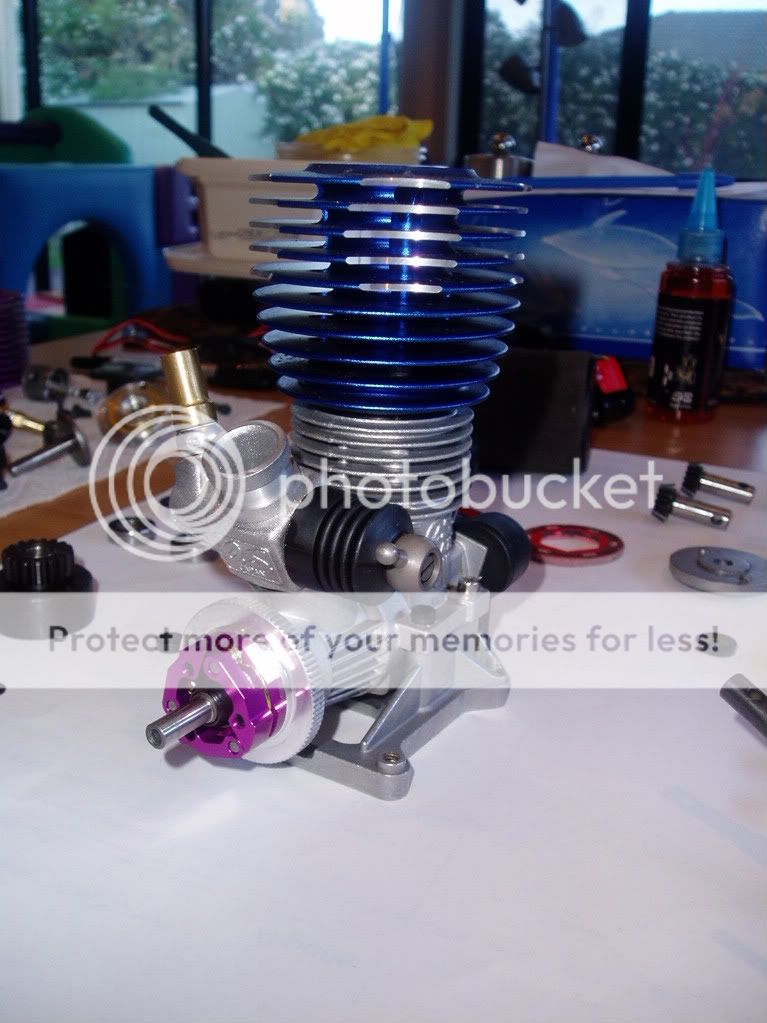
* OS 30VG with Roto Start (was on truck when bought)
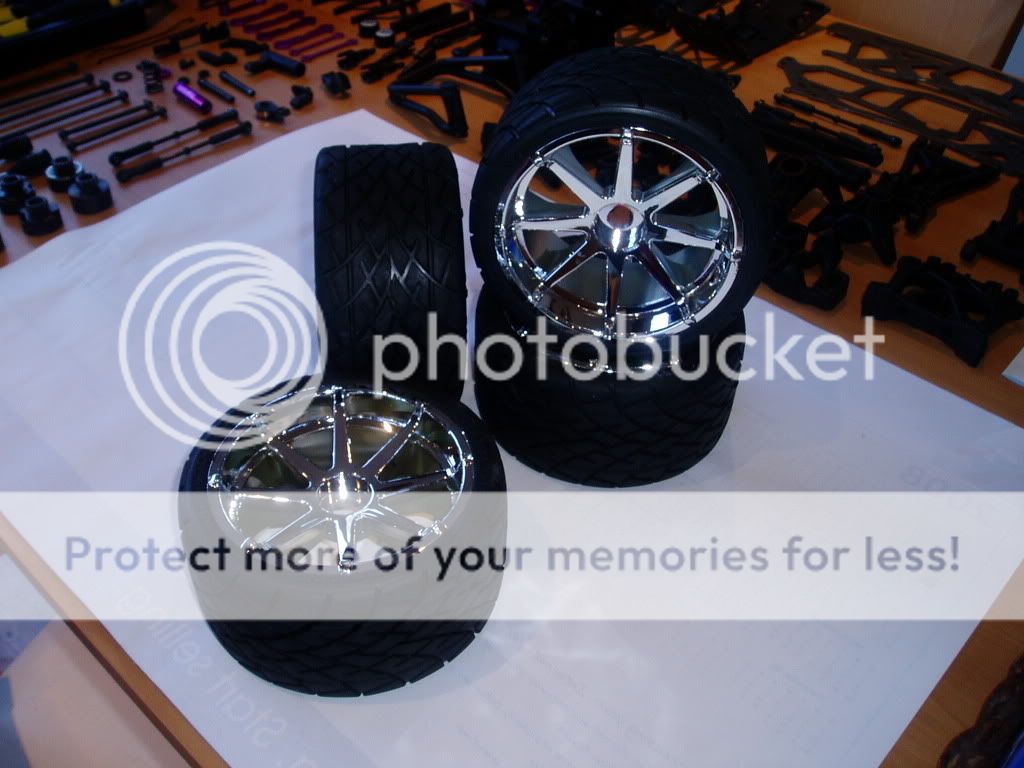
* HPI Phatline Tires mounted on Blast Wheels
* HPI Alloy Clutch Kit
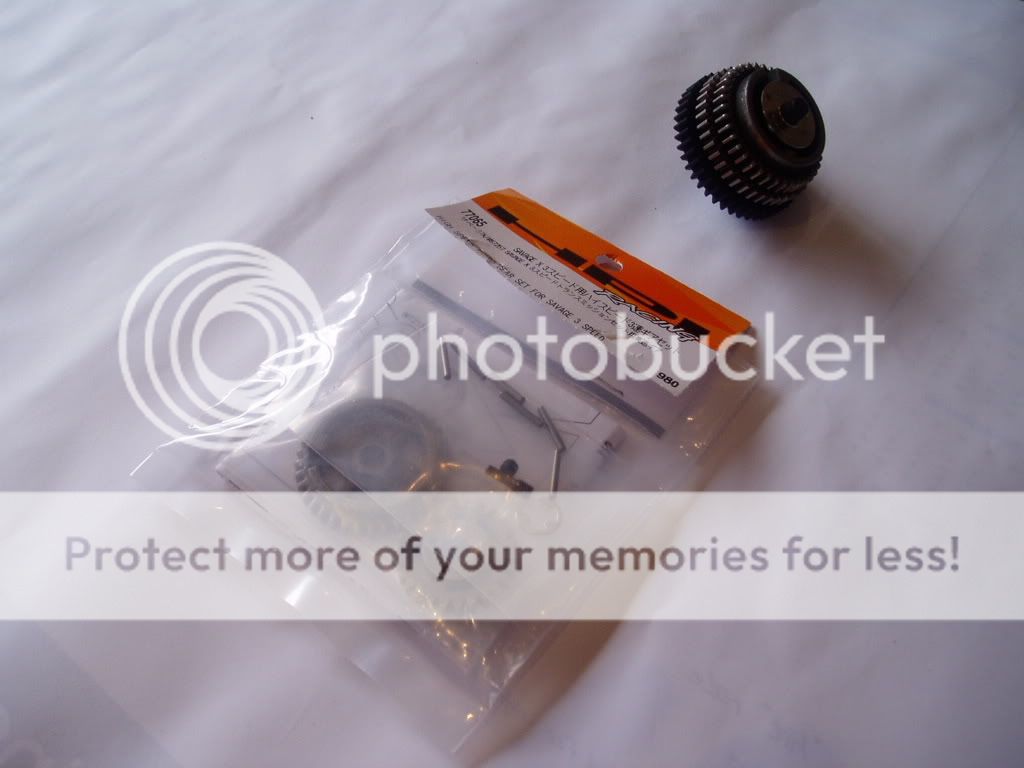
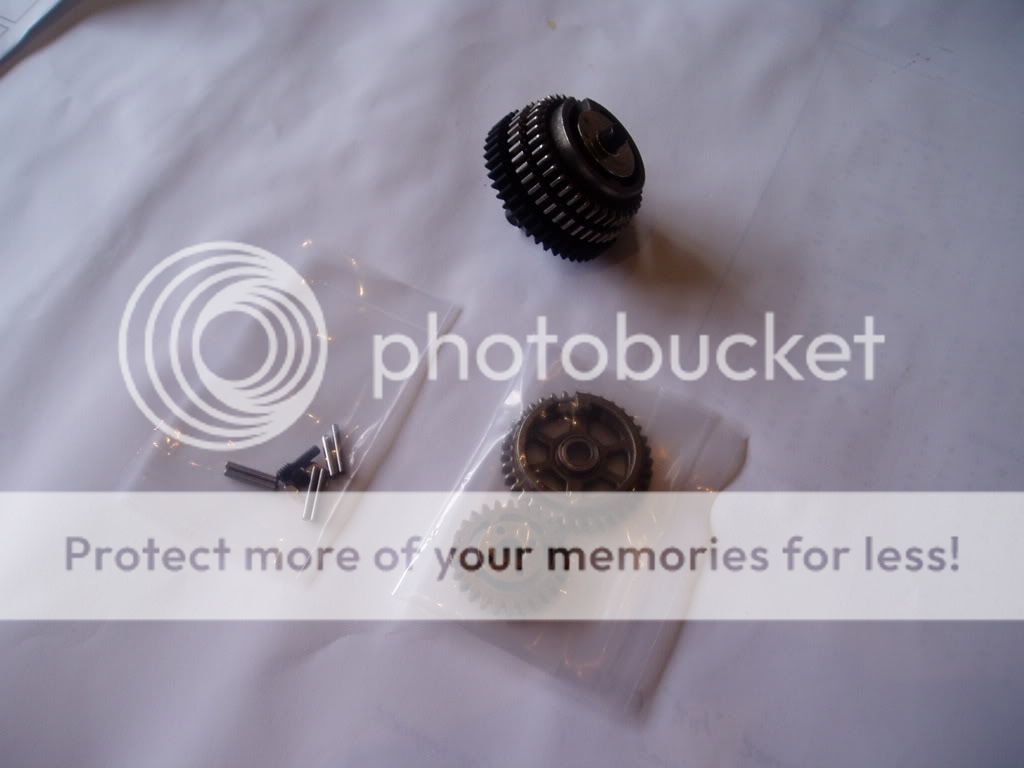
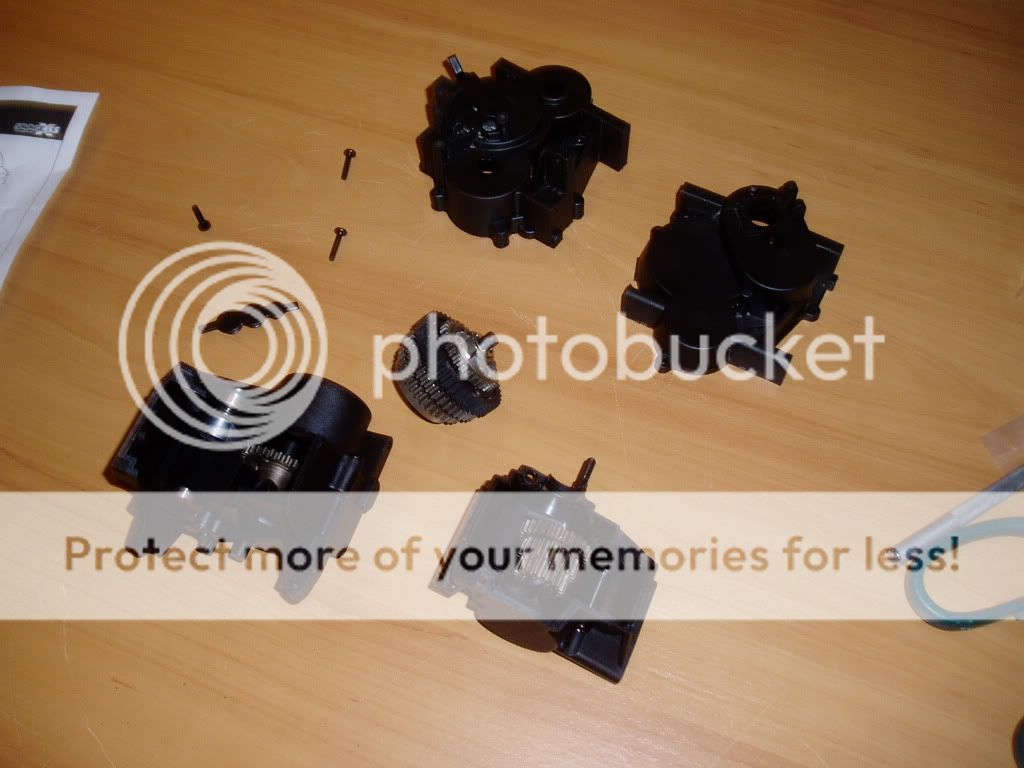
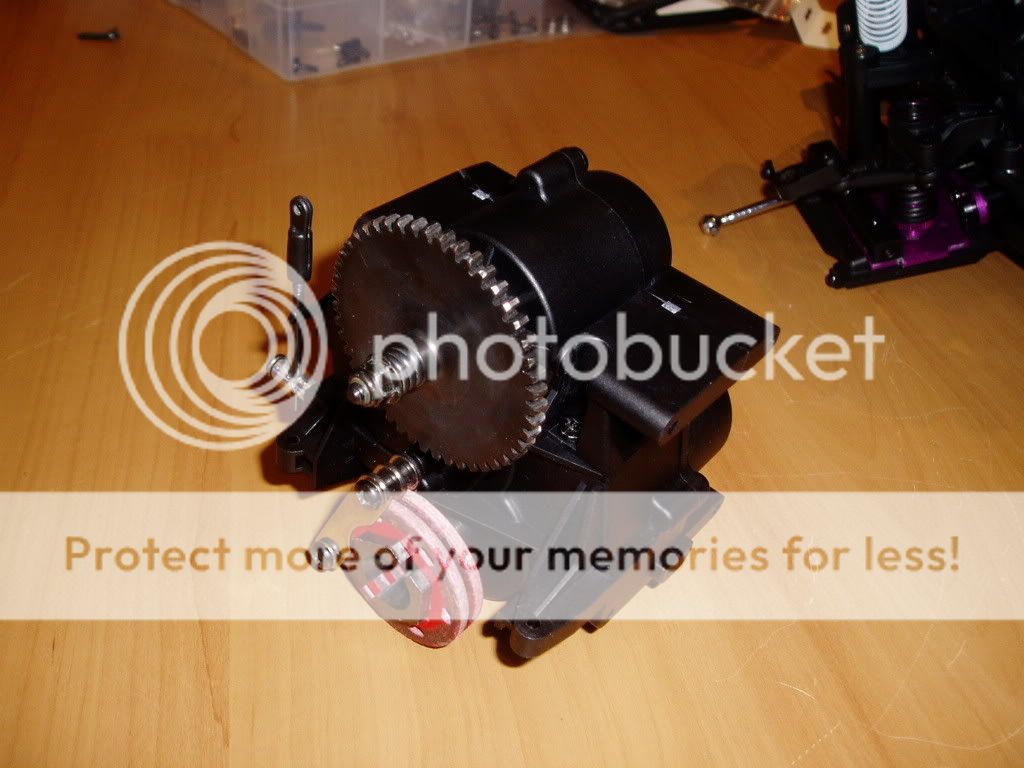
* HPI 3 Speed Transmission
* HPI High Speed 3rd Gear
* Center Front Universal Drive Shaft
* Center Rear Universal Drive Shaft
* Spektrum DX2.0 TX
* Spektrum SR3500 Micro Racing RX
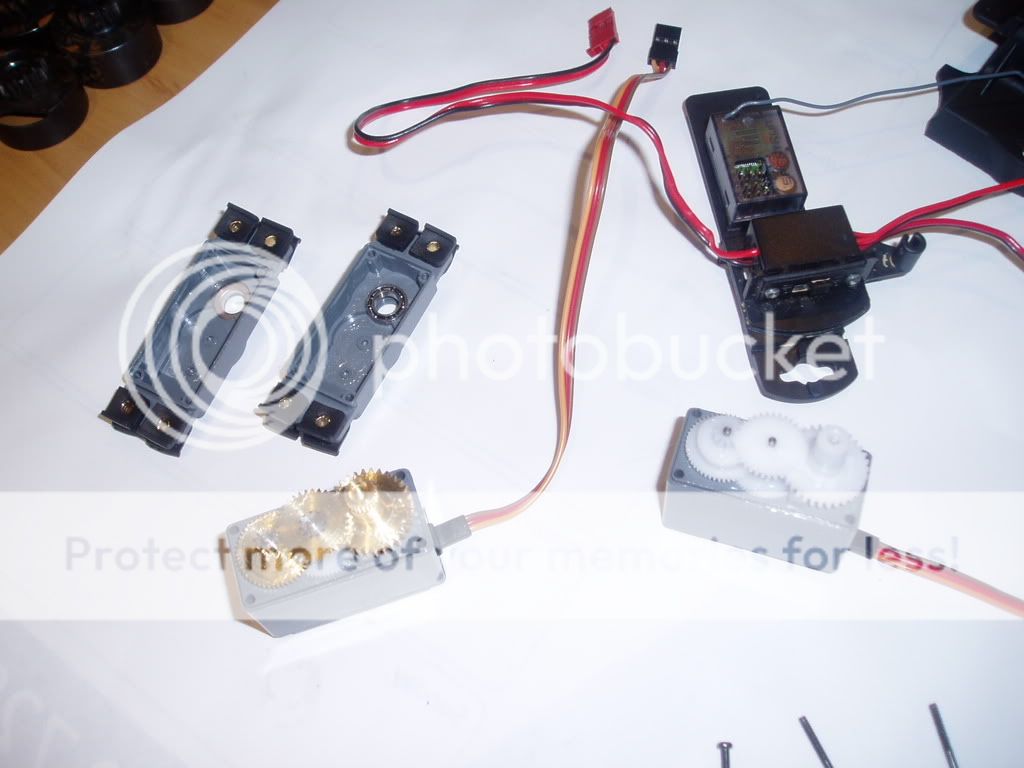
* Spektrum Z270 Throttle / Brake Servo
* Spektrum Z590 Steering Servo
* HPI Safety Engine Stop
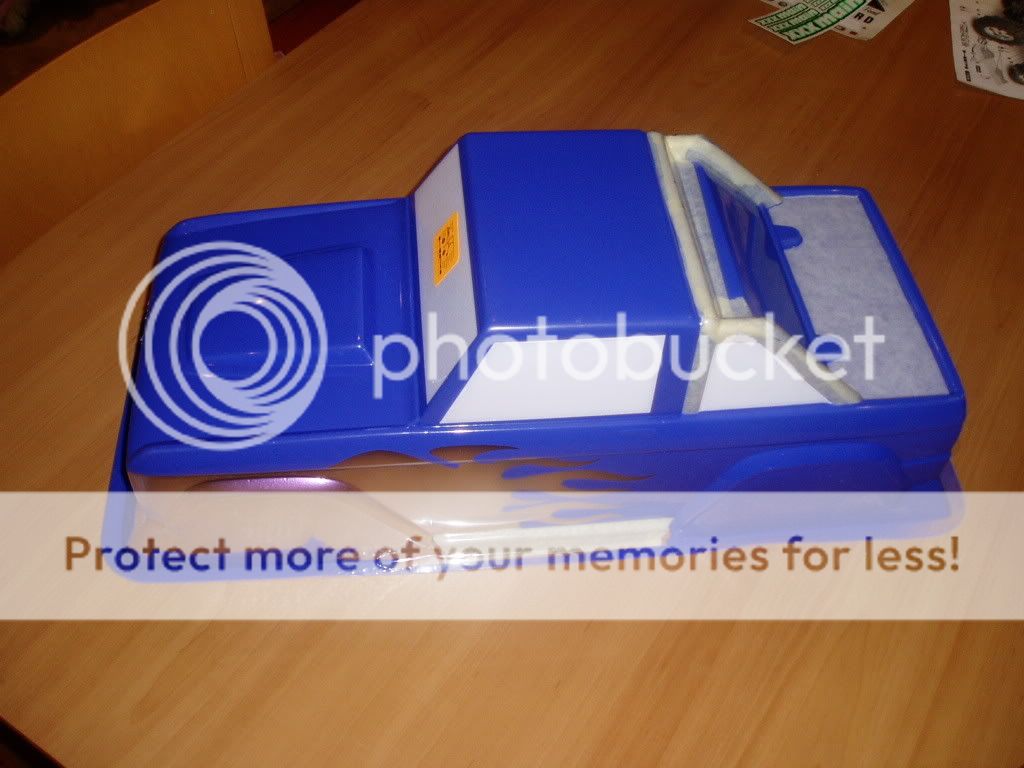
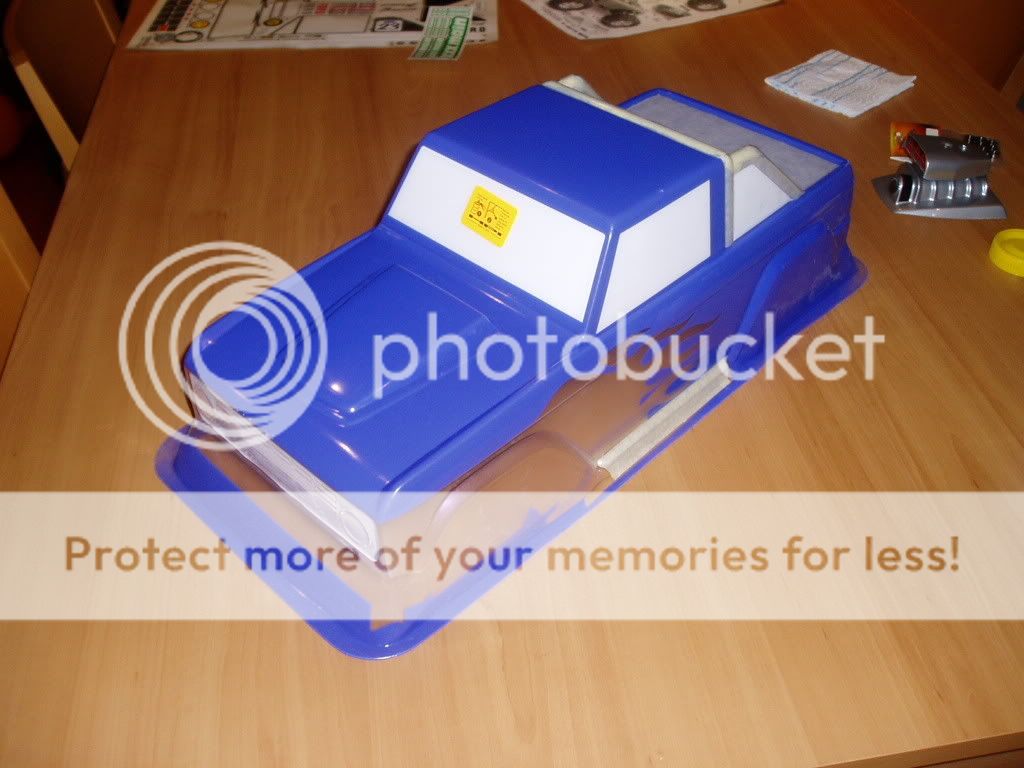
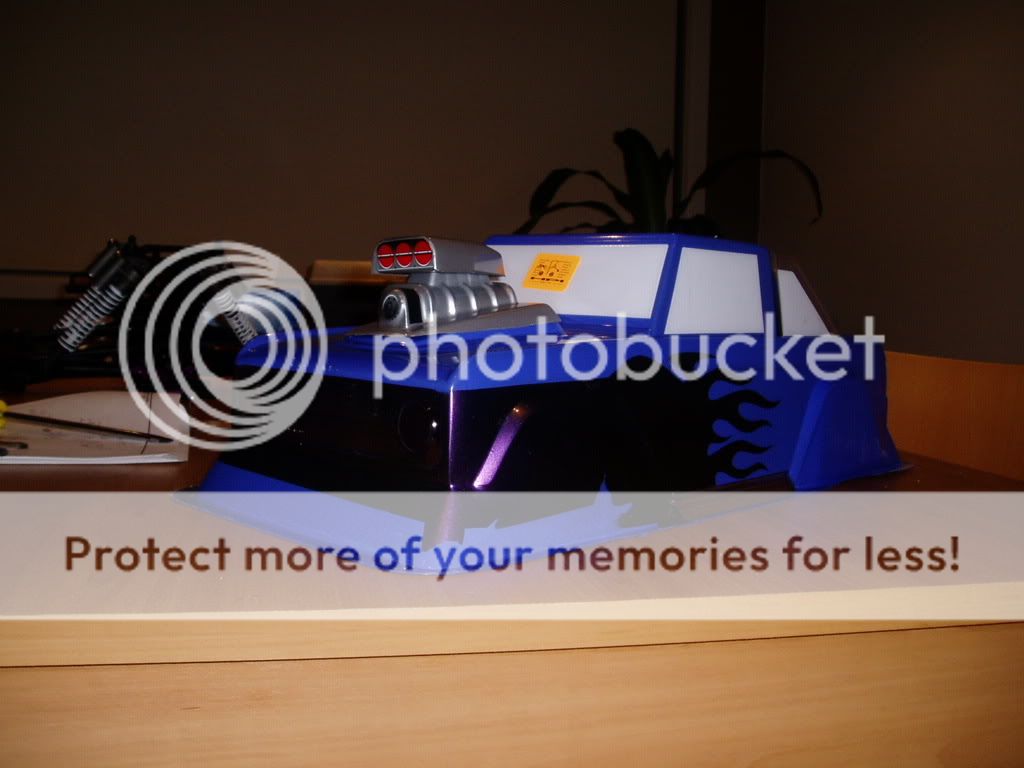
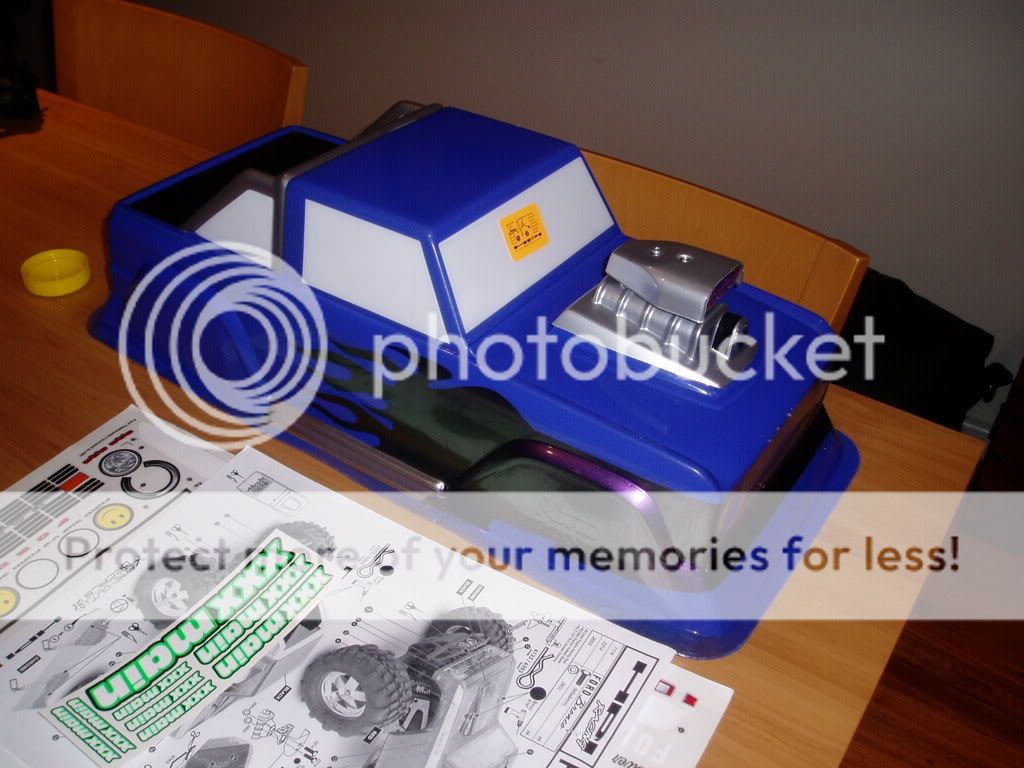
* HPI Bronco Body

ITEMS ORDERED AND ON THEIR WAY
* CEN Genisis Shocks x 8
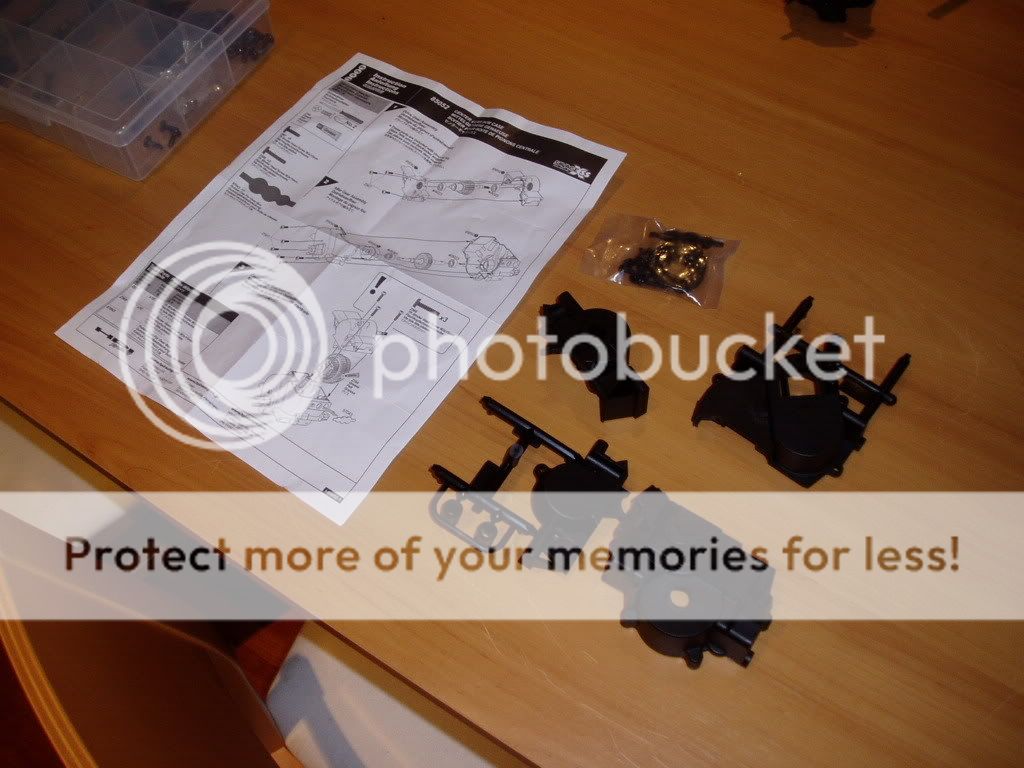
* HPI Savage X Transmission Case
* OFNA HD Servo Horn
* OFNA Servo Linkage Kit (Blue)
* OFNA Linkage Sliders (Blue)

This is how it looked when I got it in the mail:

Savage.jpg


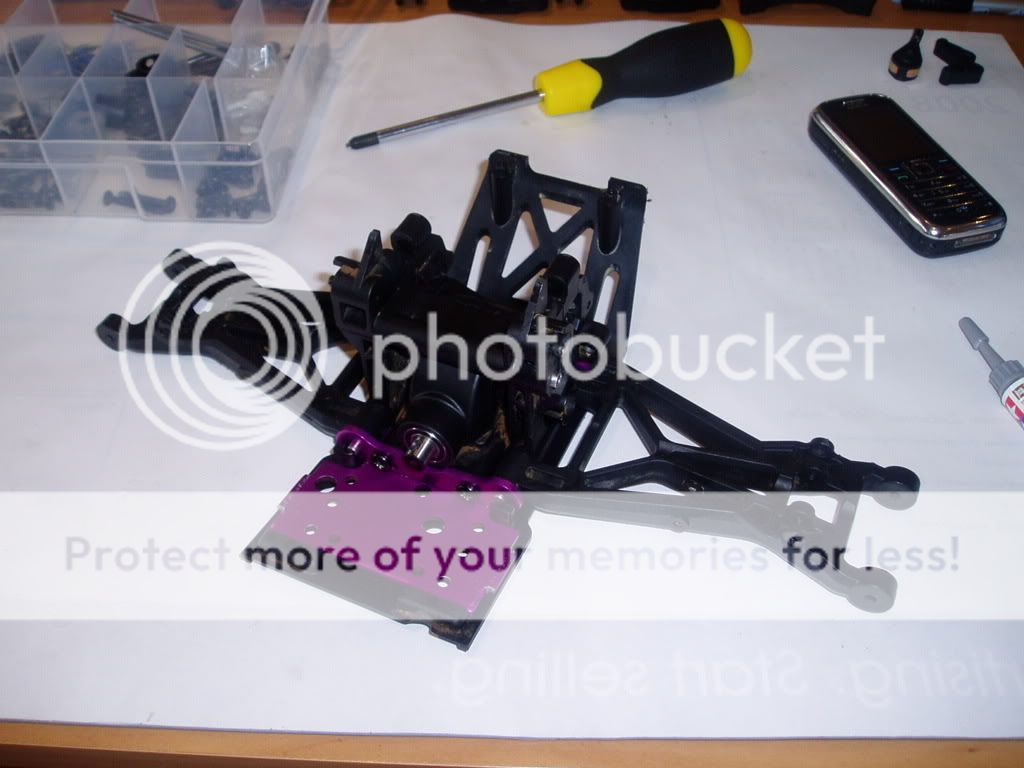
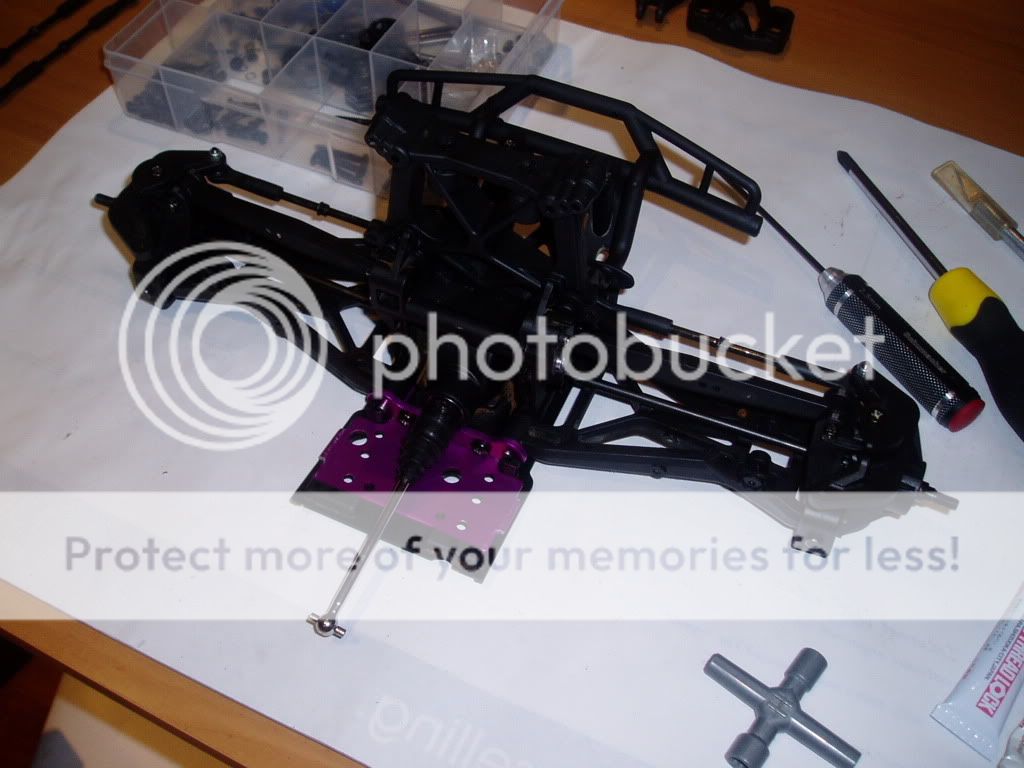
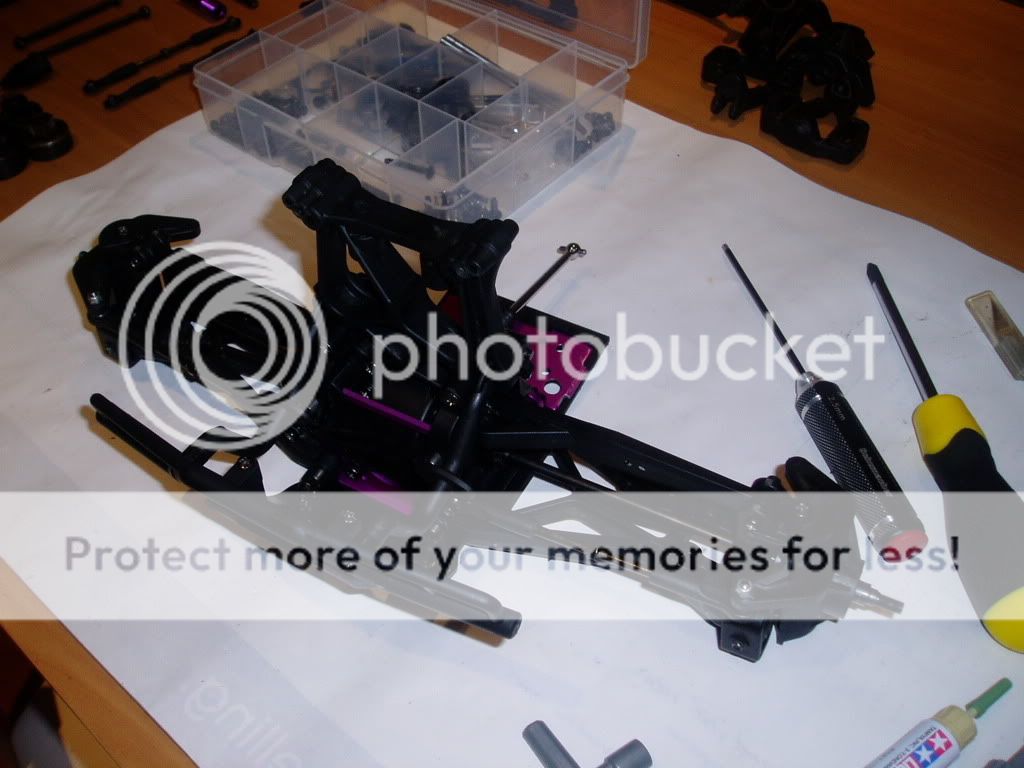
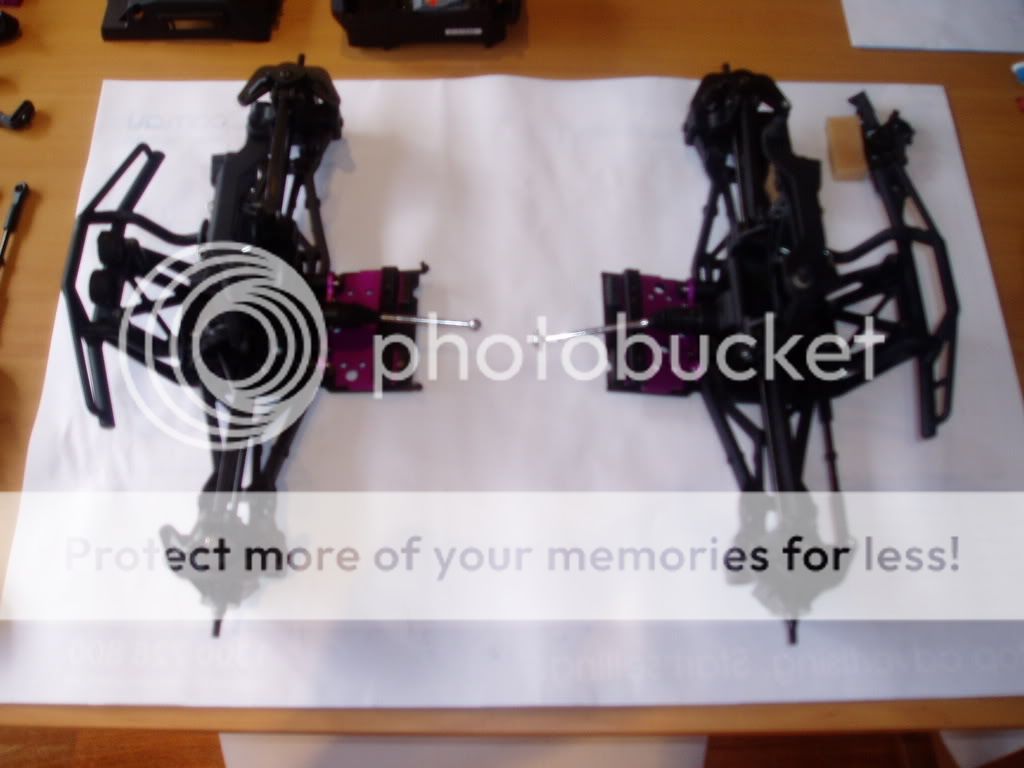
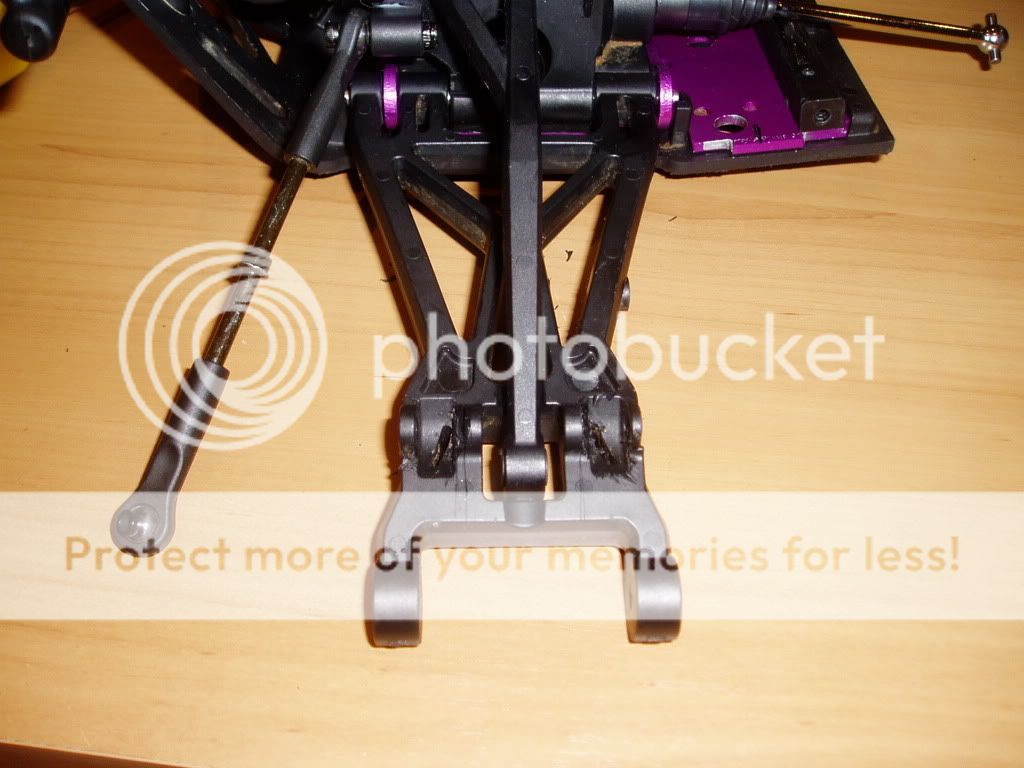
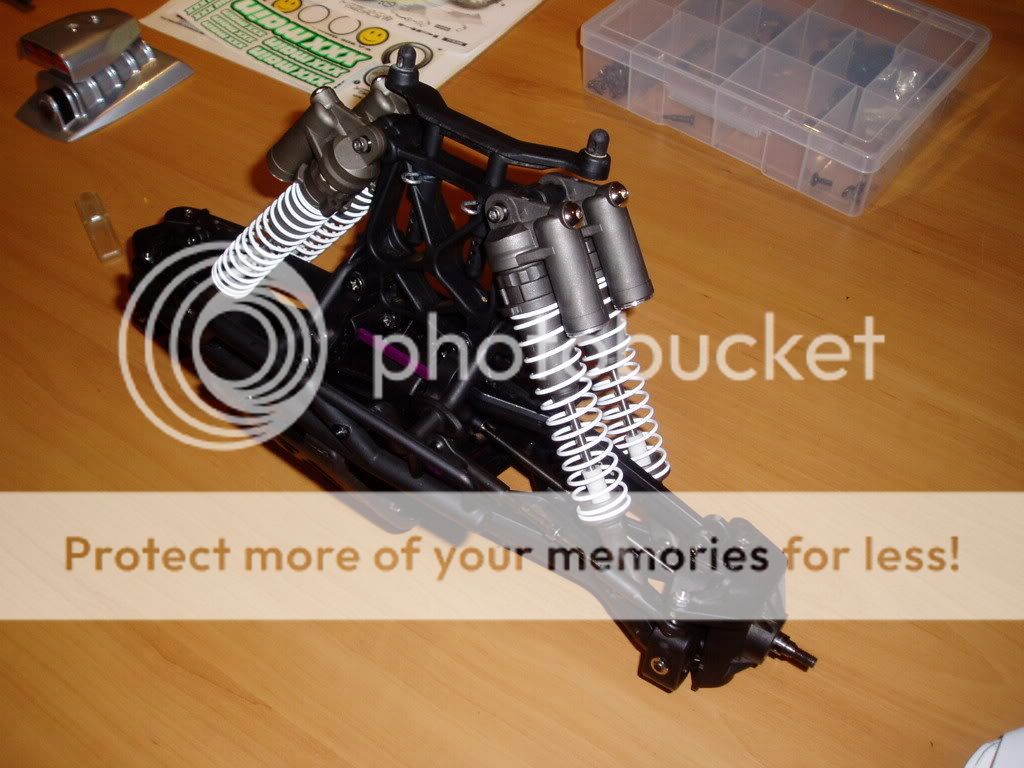
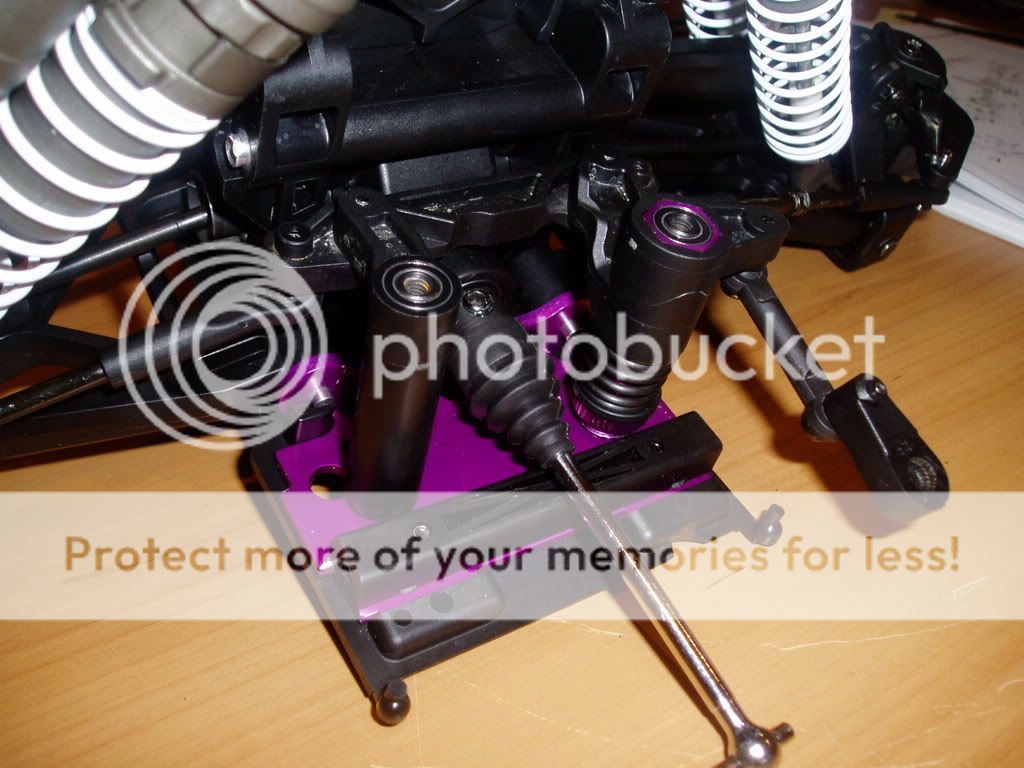
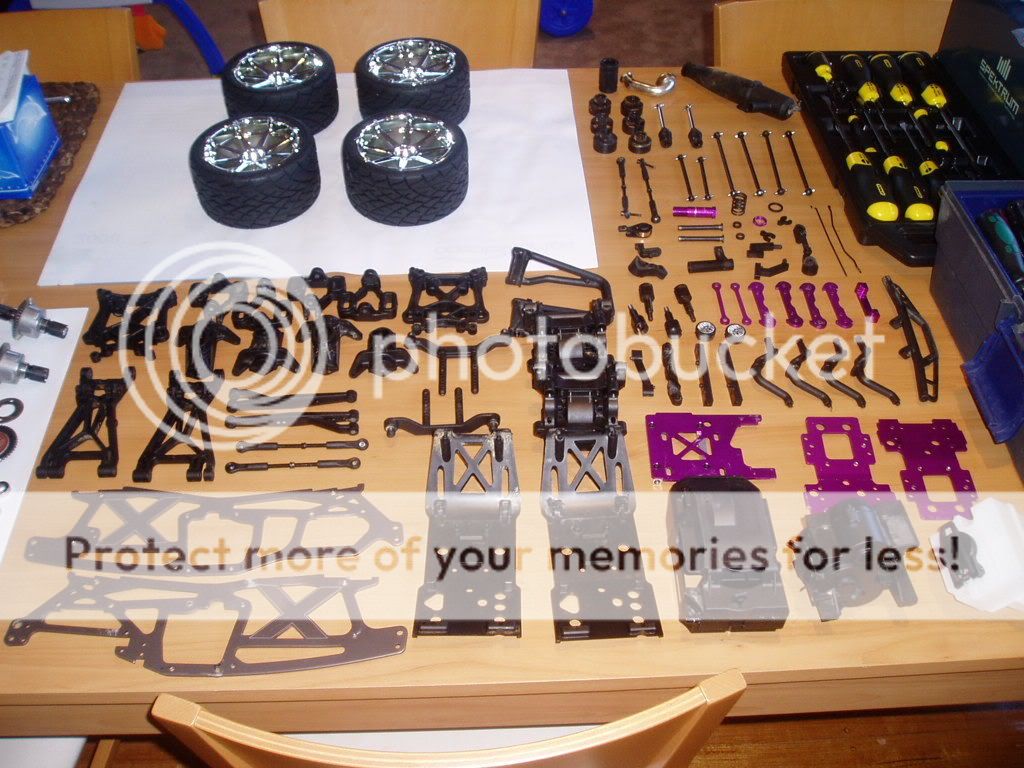
And this is how it looks after a full strip down, wash and clean:

P1010282.jpg


P1010283.jpg


P1010286.jpg
 
Last edited by a moderator:
I completely strippewd the OS 30VG down and washed it inside and out with metho. I just can't bear the thought of running an engine that I have not owned from new without making sure it is all OK inside and out. As it turns out, the seller was not lying, this thing is just broke in and still is like new inside and out.

While I was at it I installed the HPI Alloy Clutch Kit (87196). I installed it wit the Gold Springs and also added the weights too. I cant wait to see how it hooks up!!

P1010287.jpg


P1010284.jpg


I have also got my self a set of HPI Phatline Tires mounted on Blast Chrome Wheels (4729) and think they will look very cool once the truck is all rebuilt and ready to go.

P1010285.jpg


Another thing that was included with the truck when I bought it was the stock F4.6 engine. It apparently needed a new connecting rod. Well, after stripping it down, I think that is an understatement!! The connecting rod had some how bent and broken through the side of the piston - nice!! So I have ordered some parts to rebuild this and have it as a spare.

P1010289.jpg
 
Last edited by a moderator:
OK, so now it is time to start the re-assembly!! This is the fun part as everything is spotless clean and I can make sure that it is all put together exactly as it should be.

3 SPEED GEARBOX AND HIGH SPEED 3RD GEAR SET
I decided to have a play around with the 3 speed first, so I stripped it down in prepperation for the high speed 3rd gear set.

P1010291.jpg


P1010292.jpg


P1010293.jpg


All back together and ready for fitment:

P1010294.jpg


RADIO BOX AND SERVOS
Next thing I decided to start to assemble was the radio box.

I made sure that my nice new Spektrum Servos had the rubber pads on all 4 corners and also used some double sided tape to attach my nice new Spektrum Micro RX to the radio tray.

Here is everything laid out ready for install.

P1010295.jpg


Coming together.

P1010296.jpg


All done.

P1010303.jpg
 
Last edited by a moderator:
that is a sweet build. but you gotta ger them dirty. they just look weird clean.

and i know where to send my truck if i ever want it deatailed. :resp:
 
True, true.

I know I will end up bashing it, as I always do, but I just love the idea of a spotless show truck too.

But yeah, your right, the Savage is made for mud!!

I have also bought a HPI Bronco body to paint and install. I think it will look mad with the blower hanging out the bonnet with fat road wheels and tires hanginf off the side!!

that is a sweet build. but you gotta ger them dirty. they just look weird clean.

and i know where to send my truck if i ever want it deatailed. :resp:
 
Man Hirisk, I thought I was anal about cleaning it for a rebuild! Can't wait to see it finished, and those Cen shocks are starting to grow on me the more and more I see them.
 
great build my friend, its gonna be sweeeet when your done so thanks for posting!!
 
Thanks for all the comments guys.

I will be sure to post more pictures as I go.

Sticconi - I have actually ordered 8 CEN shocks, just did not show all 8 in the photo, so should be sweet for both on road and bashing.
 
I have to ask just 1 question. How on earth can you do a tear down like that? So neat, so clean, so organized and I see kids toys in the background?!?!?!?!?! Please wise one share with me your wisdom. I couldn't dream of attempting such a thing. I am lucky to just make simple repairs lol
You are the man!! :resp: :resp:
 
Haha,

With age comes wisdom - nah, it is actually a nice stress relief for me, so once I get the kids to bed and asleep I then have time out on the Savage.

Helps me unwind from a hard day at work then a hard night with the kids :)

First thing I did was completely strip the truck
then I seperate all nuts and bolts
then soak all nuts and bolts in metho
then wash every other component by hand with soapy water
then dry it all with a hair dryer
then lay it all out for re-assembly

All in all, this took me about 5 or 6 nights spending maybe one or two hours a night playing around. All depends how quick I get the kids to bed.
 
Hi Guys,

I have just updated the photos on the first page with better quality ones and also added some more photos and information.

Cheers.
 
Kids in bed early???? What's that LOL

Awesome job so far, can't wait to see it reassembled. I have the same motor and I don't think it looked that good when it came out of the box!!
 
Welcome to the family HIRISK. Looks like you've got a nice build goin on there. I'm also thinkin about building an on-road only savage along with a racer. To many plans and not enough money as usual. If you want some ideas for on-road savvy set-ups, check out this thread started by Crash.

https://www.hpisavageforum.com/forums/showthread.php?t=3663

that was fun,

This thread is making me want to put the road rage back on, slamming the savy again and gearing up.

I have a new steering servo so, thing should turn better

the problem i had was, you can turn at full speed but, the servo was too weaK

I also have a new gps that mounts on the savy for exact speed measurements.

GREAT THREAD BUD:FarleyParty:
 
HIRISK, it would have been just as easy to buy a new K4.6 from dabay (ebay). NitroNutz has them for $155-117 + shipping. I also found a couple for $109 + shipping. Plus, the K-series is a much better engine. Just my .02 cents. Stills looks like a nice set-up once all done.
 
Hi Guys,

More updates and photos added to page one.

- Radio box re-assembly
- 3 Speed Transmission re-assembly
- Radio Box re-assembly
- Complete Rear End re-assembly
 
Last edited by a moderator:
Hi Guys,

More updates and photos added to page one.

- Radio box re-assembly
- 3 Speed Transmission re-assembly
- Radio Box re-assembly
- Complete Rear End re-assembly

Looks like everything is starting to come together. Instead of goin back to the 1st page to add the photo updates, just add them when you post up about the progress as you go. That way members don't have to jump from the 1st page to the last page and back to 1st. Just some helpfull info.
 
FRONT AND REAR ENDS (including arms, diffs, shock towers etc)
OK, so now I have started re-assembling the front and rear end units. I have started with the back and have just finished it.

Here are some photos of it all coming together.

P1010297.jpg


P1010298.jpg


Finished complete rear end assembely
P1010301.jpg


P1010302.jpg


Both front and rear units complete
P1010302-1.jpg
 
Last edited by a moderator:
As I mentioned in another post, the brand new Z590M servo that came with the Spektrum Radio is cactus. Never used it, but it is dead already. I tried everything to get it running, but no luck.

So, what I thought is why let all the good bits in the 590 go to waste.

So I stripped it down and put the metal gears and bearing from it into the Z270 which I will use for throttle and brake control.

Here is a photo of the exchange:

P1010301-1.jpg
 
Last edited by a moderator:
Hi Guys,

Well my CEN Genisis shocks came in the mail today, so I have started to get them fitted up. First impressions of these are they look tuff and feel tuff too.

CEN GENISIS SHOCK UPGRADE
Here they are:
P1010323.jpg


For fitting, I had to trim away a small piece of plastic from the lower mounting holes as the CEN shock eyelets are bigger than the Savage, but this was easy done as seen below:
P1010326-1.jpg


Here they are fitted up:
P1010327.jpg

P1010328-1.jpg


BEARING UPGRADE IN STEERING
My bearings for the steering upgrade arrived today too, so I will start to assemble the bell crank steering with these shortly.

Here they are:
P1010322-1.jpg


HPI FORD BRONCO BODY
I have started painting the Bronco body and things are progressing well. I firstly made and painted the supercharger assembly. This has been painted in Tamyia Bright Silver (PS-41).

Here it is:
P1010318.jpg


I then masked up the body and lay down a few coats of Tamyia Blue Violet (PS-35).
P1010320.jpg

P1010321.jpg


Once that was dry I removed the flames mask and lay down some Tamyia Iridescent Purple/Green (PS-46) which then has to be backed up with Tamyia Black (PS-5). While I was at it with the black I also did the tray bed.

Now all I have to do is finish it off by backing it all up in Tamyia Bright Silver (PS-41) which will also be the colour for the roll bar, side steps and front grille.

P1010329.jpg

P1010330-1.jpg
 
More updates...

FORD BRONCO BODY
I have now backed up the entire body in silver which is also the colour for the roll bar and side steps. So all I need to do now is trim and decal it.
P1010333.jpg


STEERING AND BELL CRANK ASSEMBLY
I have completed the steering and bell crank assembly including the upgrade to bearings which should make it nice and smooth.
P1010336.jpg


SAVAGE X 4 PIECE CENTER GEARBOX CASE
My new Savage X 4 piece center gearbox case has arrived, so I can now assemble the 3 speed in this. This will be much better as I can access it for adjustment much easier now.
P1010331.jpg


P1010334.jpg


P1010337.jpg
 
I really like your paint work. I'll keep trying and one day I'll have a body that I'll actually care about bashing. Looking good man.
 

Latest posts

Members online

No members online now.
Back
Top