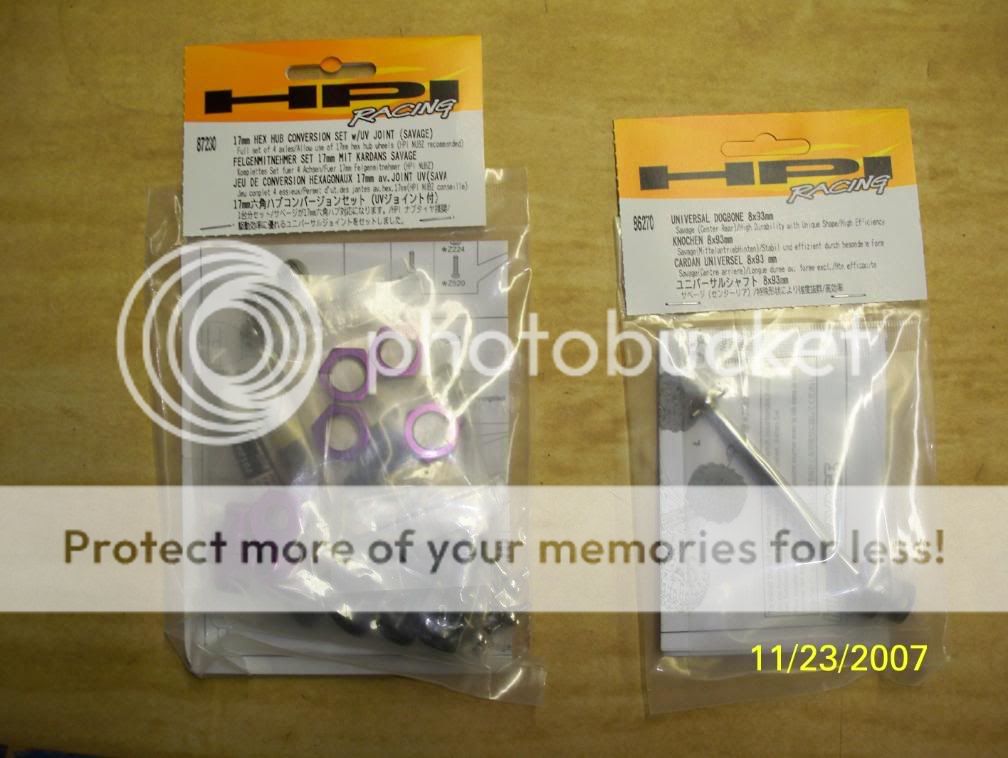
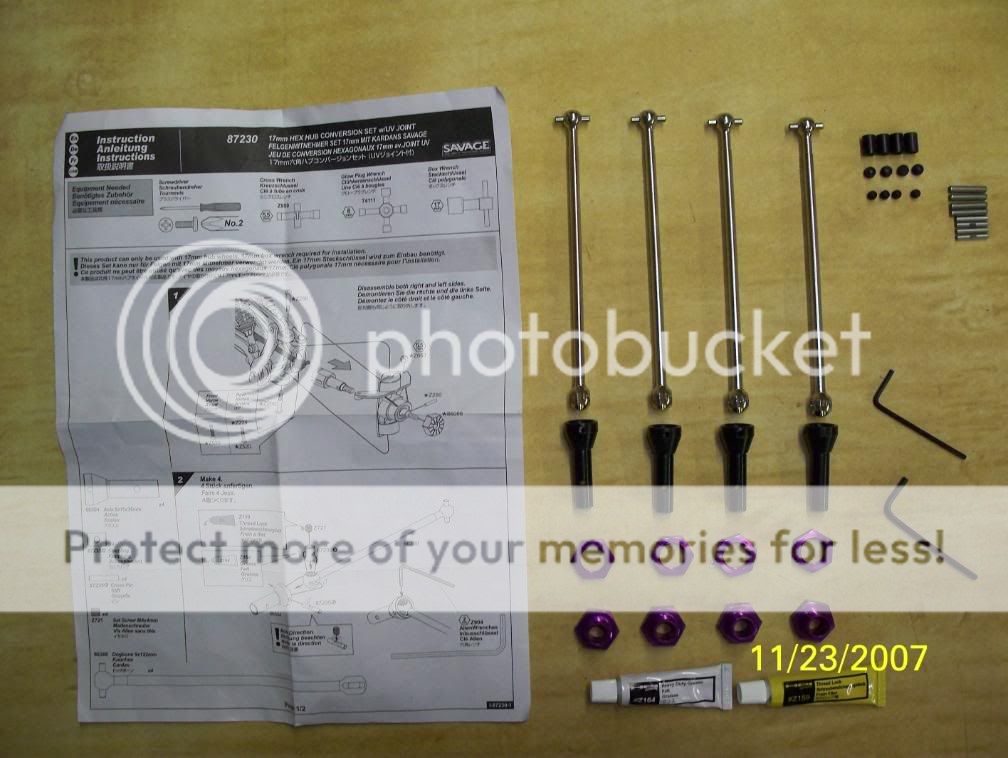
HPI 17 mm HEX HUB SET w/UV JOINTS REVIEW
HPI part # 87230
HPI price $90.00 / E BAY $60.00
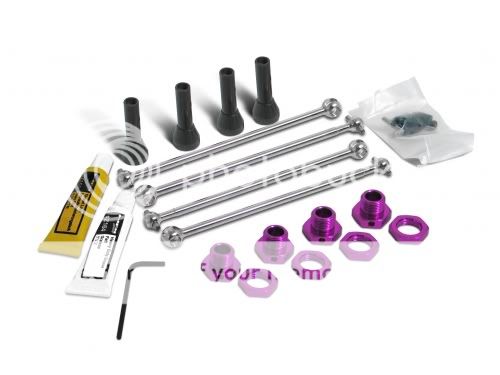
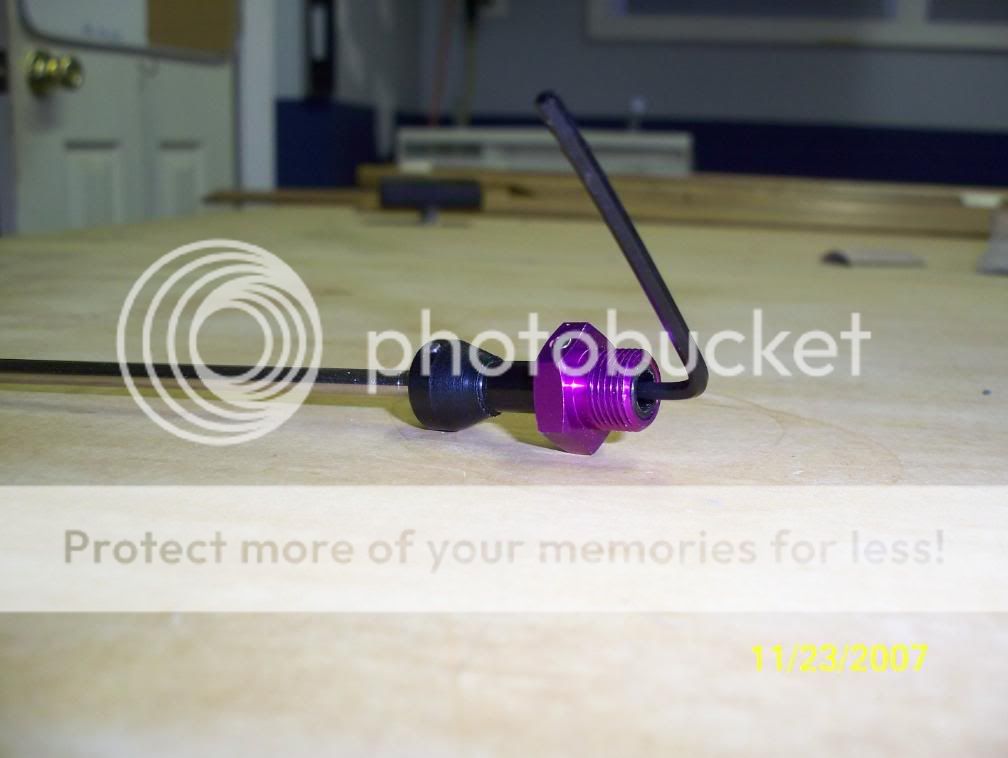
UNIVERSAL DOGBONE 8x93mm center rear
HPI part # 86270
HPI price $19.00 / E BAY $15.00

These upgrade parts will work on any version Savage you own.
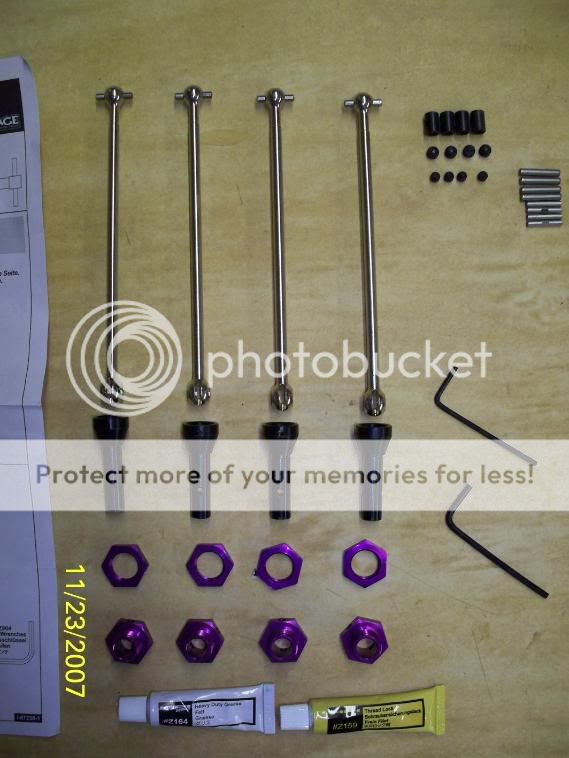
I received the parts today, as would be expected from HPI, they are packaged perfectly. Each piece was packaged
in a way to not scratch the other. Which is good because, they are very nice. The parts are made of very high
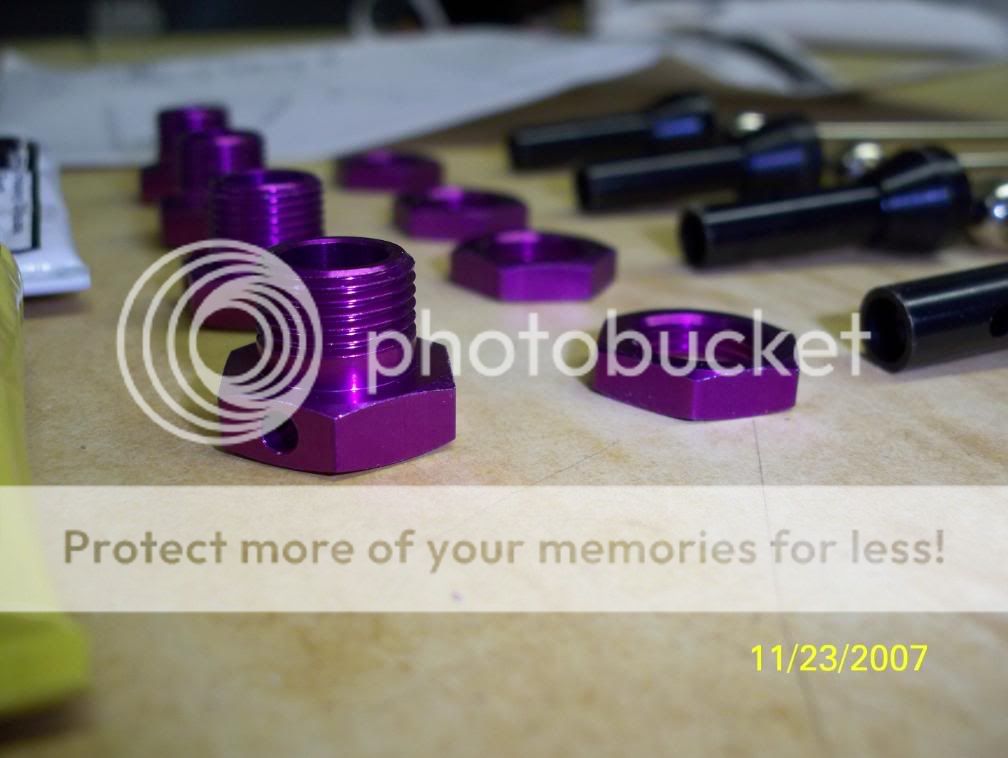
quality steel and then hard chromed, the aluminum parts are purple anodized.
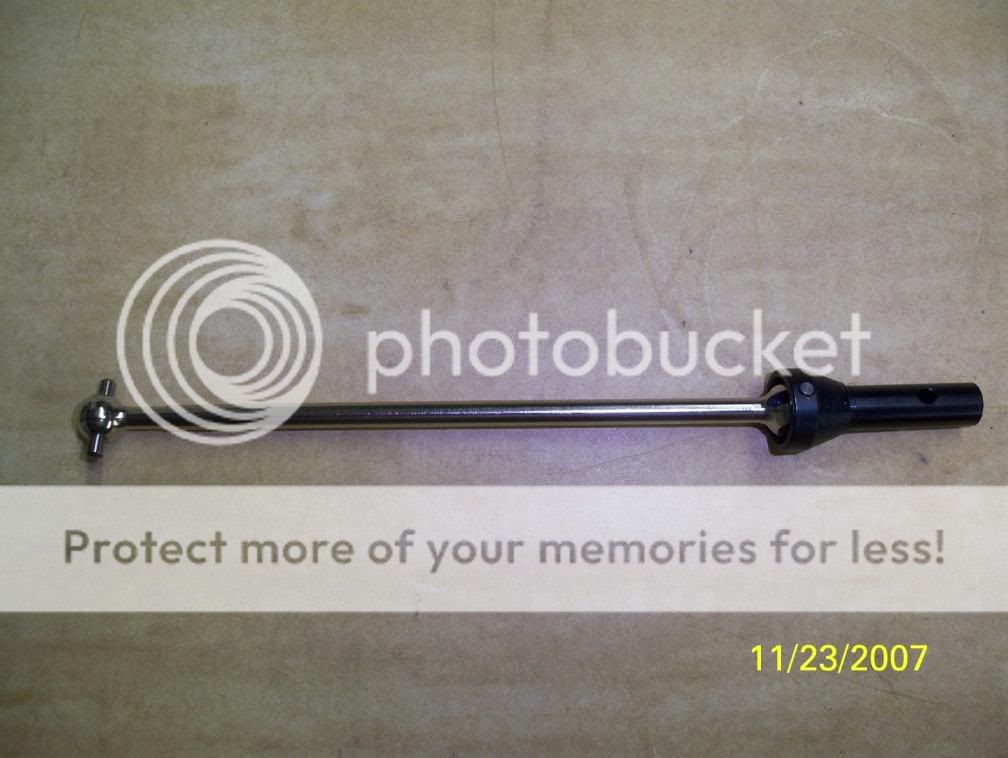
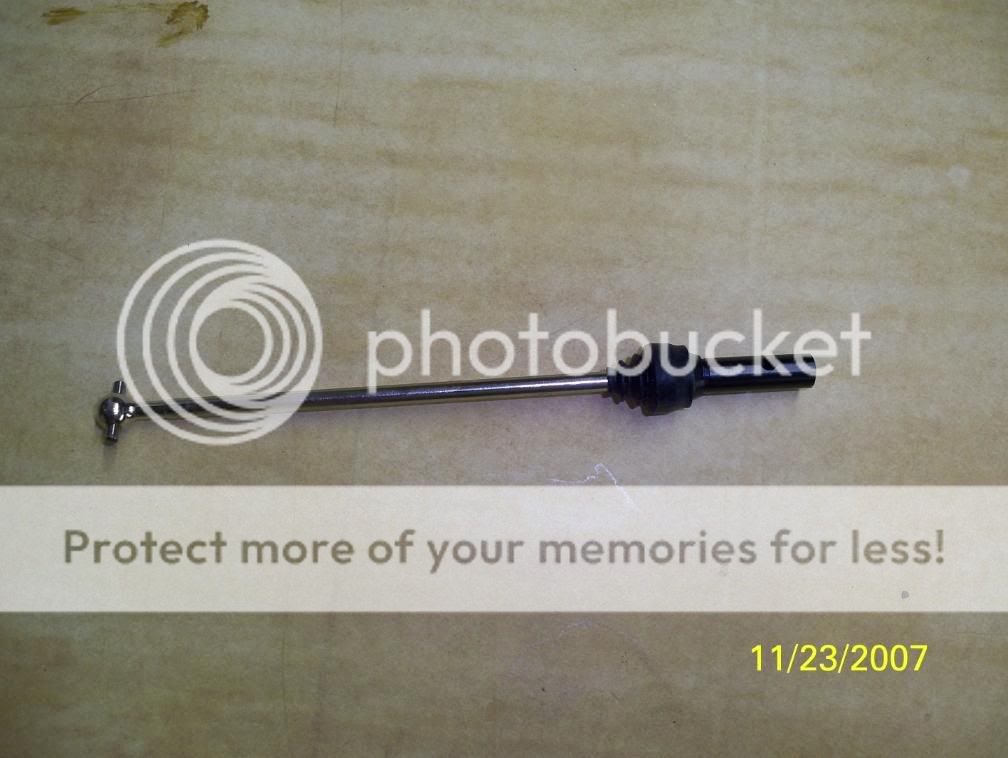
Included in this kit is everything you need: four axles w/nuts-allen wrench-thread lock-grease
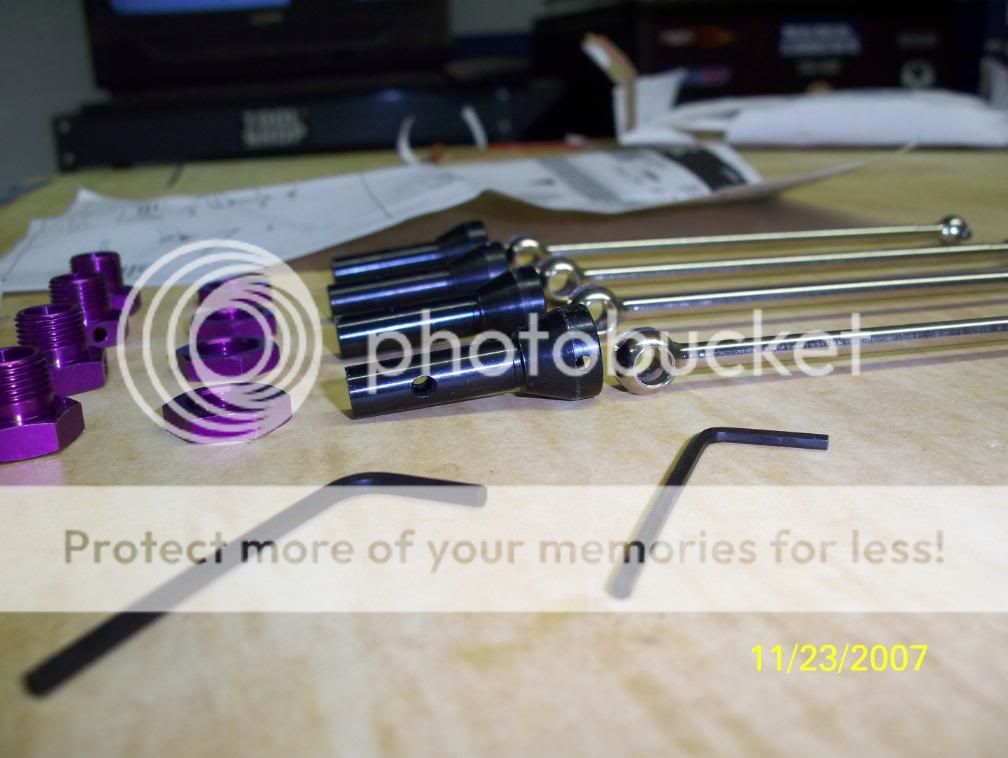
The assembly of the uv joints was not difficult, the directions from HPI are
perfect. With my limited assembly skills I finished assembly in about 30 minutes.
I decided to use axle boots to reduce maintenace on uv joints.These will keep
the joints clean.


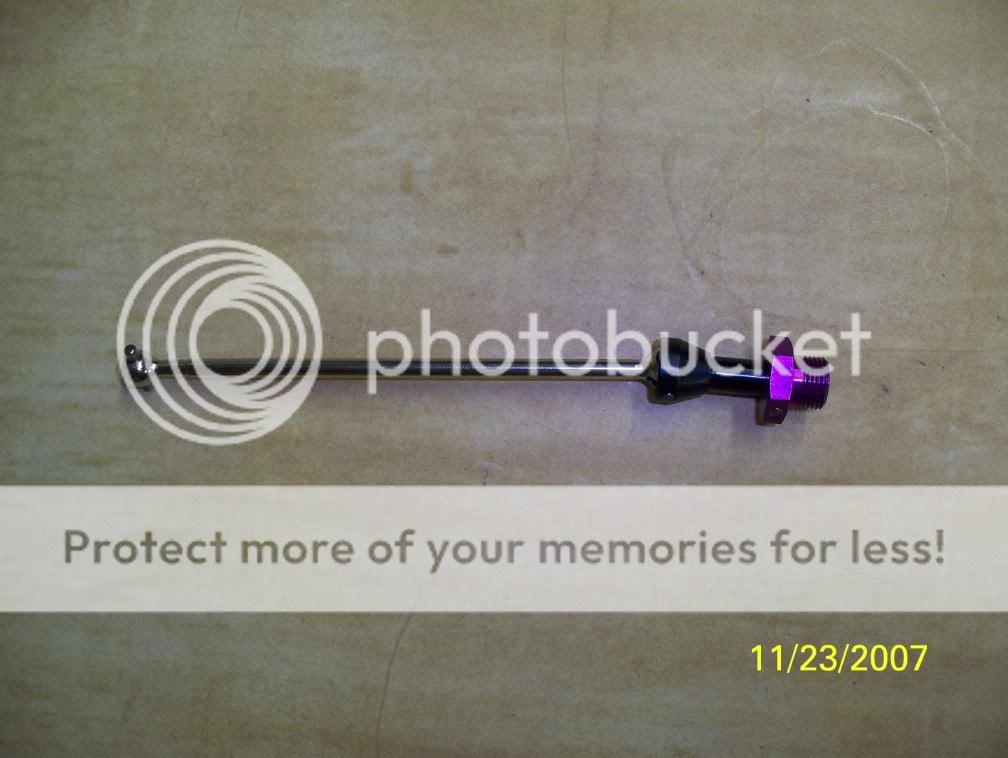
This picture below is the UNIVERSAL DOGBONE center rear HPI part # 86270
this part comes pre assembled from HPI
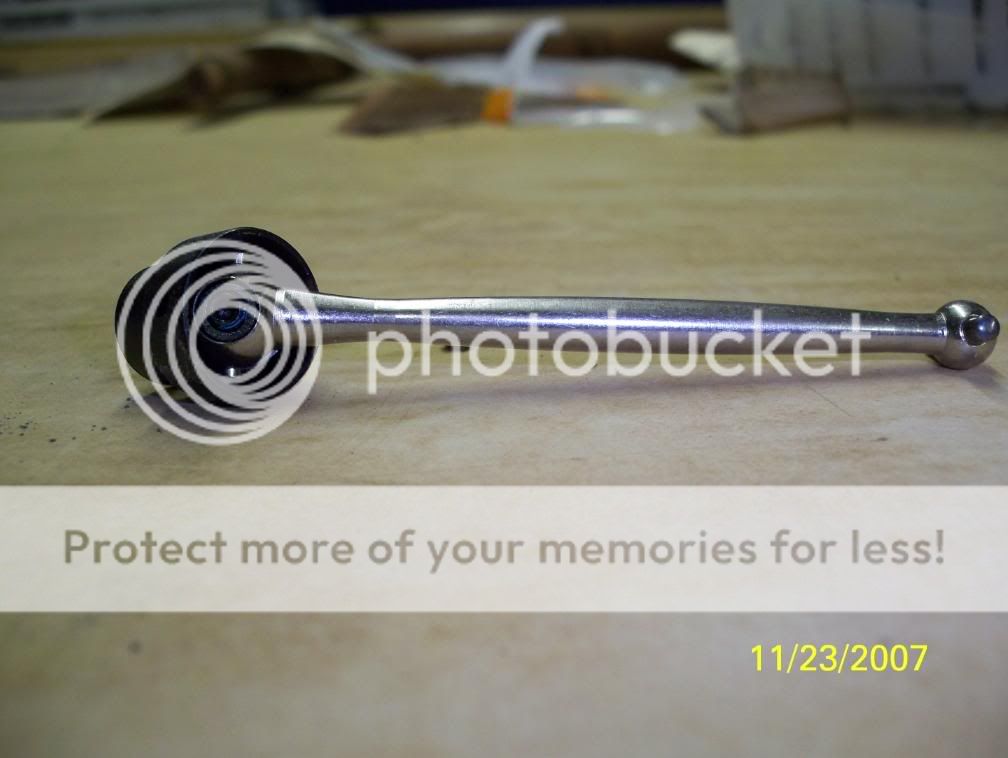
NEW & OLD

Installing the rear center dogbone (part #86270) was pretty easy. You need to remove the rear section of the truck.
To do this you will need to remove the screws on the tvp
in the rear, this will allow you to remove the rear section of your truck releasing the dogbone from the outdrive.


Installing the hex conversion set w/uv joints was not difficult either. To install these parts you will need to remove the wheels. Then remove the c-hubs, releasing the axles and dogbones. After removing the old
axle,s and dogs, just slide in the new ones. The new 17mm hex's have a axle pin
held in place with a small allen head screw.
The 17 mm hex hub upgrade will reduce stress to the wheels using a larger surface area to hold wheel
in place.


After installing all four axles and wheels I gave it a roll on the
workbench top and I noticed rite away a difference. It was alot
smoother than stock,the uv joints are much smoother operating
than stock, this will translate to more power to the wheels.
They look great.

It was time to test, I have put about 6 gas tanks through
them now. so far they are still in perfect shape. I had a bad
landing on a jump and broke a c hub in half and no damage
to the axles.

In conclusion, my opinion is that
this is a nice upgrade. You can appreciate the
money you spent by looks alone. But these uv joints really
do smooth out the transition of power to wheels.
The center rear uv joint is exactly the same as the axle drives.
Maintenance 8 (If you use the axle boots recommended, I give maintenance a 10)
VALUE 9
DIRECTIONS 10
QUALITY 10
DURABILITY 10
PERFORMANCE 9
A special thanks to Mega & Hop for giving me the opportunity to
review these great hpi products.:resp:
Dan / Crash
HPI part # 87230
HPI price $90.00 / E BAY $60.00
UNIVERSAL DOGBONE 8x93mm center rear
HPI part # 86270
HPI price $19.00 / E BAY $15.00
These upgrade parts will work on any version Savage you own.
I received the parts today, as would be expected from HPI, they are packaged perfectly. Each piece was packaged
in a way to not scratch the other. Which is good because, they are very nice. The parts are made of very high
quality steel and then hard chromed, the aluminum parts are purple anodized.
Included in this kit is everything you need: four axles w/nuts-allen wrench-thread lock-grease
The assembly of the uv joints was not difficult, the directions from HPI are
perfect. With my limited assembly skills I finished assembly in about 30 minutes.
I decided to use axle boots to reduce maintenace on uv joints.These will keep
the joints clean.
This picture below is the UNIVERSAL DOGBONE center rear HPI part # 86270
this part comes pre assembled from HPI
NEW & OLD
Installing the rear center dogbone (part #86270) was pretty easy. You need to remove the rear section of the truck.
To do this you will need to remove the screws on the tvp
in the rear, this will allow you to remove the rear section of your truck releasing the dogbone from the outdrive.
Installing the hex conversion set w/uv joints was not difficult either. To install these parts you will need to remove the wheels. Then remove the c-hubs, releasing the axles and dogbones. After removing the old
axle,s and dogs, just slide in the new ones. The new 17mm hex's have a axle pin
held in place with a small allen head screw.
The 17 mm hex hub upgrade will reduce stress to the wheels using a larger surface area to hold wheel
in place.
After installing all four axles and wheels I gave it a roll on the
workbench top and I noticed rite away a difference. It was alot
smoother than stock,the uv joints are much smoother operating
than stock, this will translate to more power to the wheels.
They look great.
It was time to test, I have put about 6 gas tanks through
them now. so far they are still in perfect shape. I had a bad
landing on a jump and broke a c hub in half and no damage
to the axles.
In conclusion, my opinion is that
this is a nice upgrade. You can appreciate the
money you spent by looks alone. But these uv joints really
do smooth out the transition of power to wheels.
The center rear uv joint is exactly the same as the axle drives.
Maintenance 8 (If you use the axle boots recommended, I give maintenance a 10)
VALUE 9
DIRECTIONS 10
QUALITY 10
DURABILITY 10
PERFORMANCE 9
A special thanks to Mega & Hop for giving me the opportunity to
review these great hpi products.:resp:
Dan / Crash
Last edited by a moderator:


