Tarnish
Airbrush wannabe.
- Messages
- 45
- Location
- Peterborough, ON (near Toronto)
It's finally time to crack down and post this.
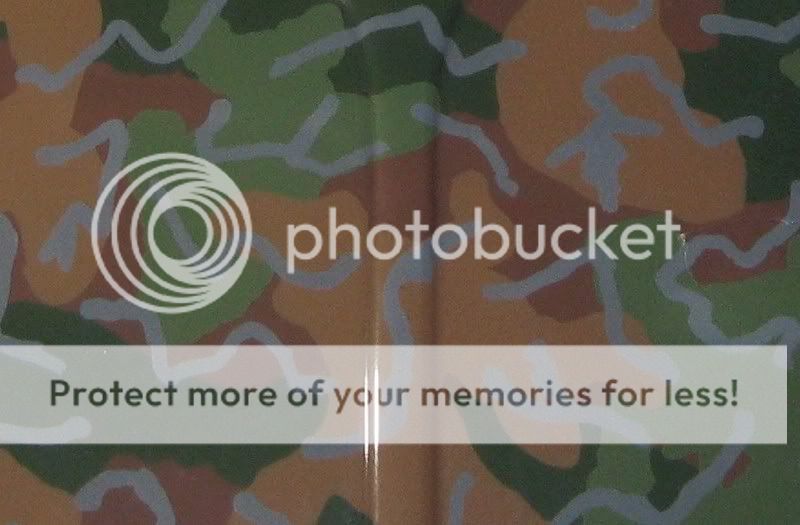
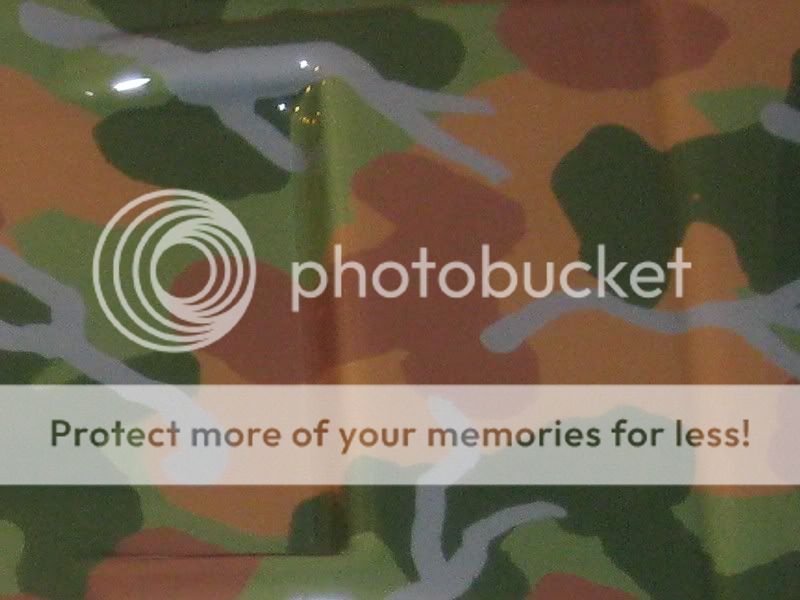
For the purposes of this tutorial, I cropped images to identical sizes and I focused on the hood of the body in the same area so people can discern more details as the layers of paint are added.
The body chosen is a Baja Bug.
Choose your colour palette. I opted for a 5 colour camouflage and I didn't put a speck of paint onto the body until I had mixed up my colours. I opted for a light grey, light olive, dark olive, light brown and dark brown.
NOTE: This was my first camo paint job and after talking with vintage_tone and seeing the final outcome, I realized I should have started with my darkest colours and ended with my lightest colours. Tone knows paint and he was right, because the second camo paint (which I will show at the end) looks PERFECT.
Layer 1:
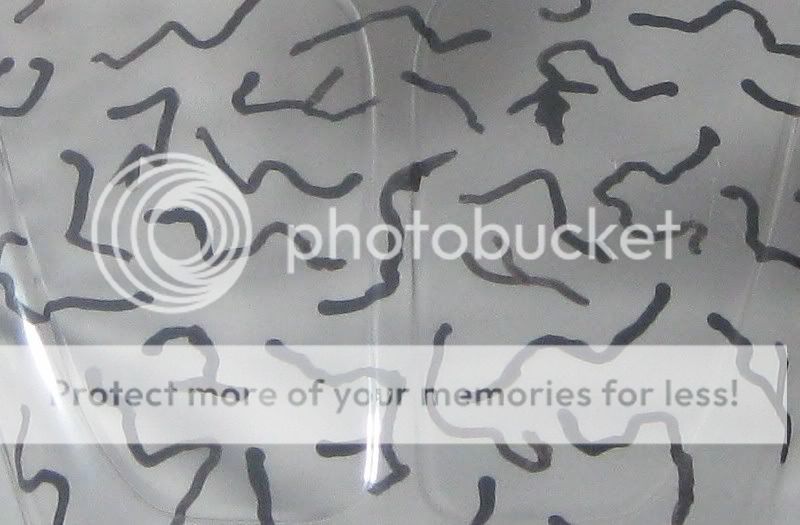
This is entirely freehand and I was aiming to have a consistent spacing and sizing of the "blots". This is also a guideline layer for me to see how I can puzzle things together for the rest of the body.
Layer 2:
Scale up the size of the colour "blots", but stay consistent with the spacing of them. Take your time, it's not a race and ALWAYS take a minute to lean back from the blot you are painting and view the body as a whole. This is the first layer that crossed the coats of paint, so I allowed plenty of time between layers for each to dry and cure.
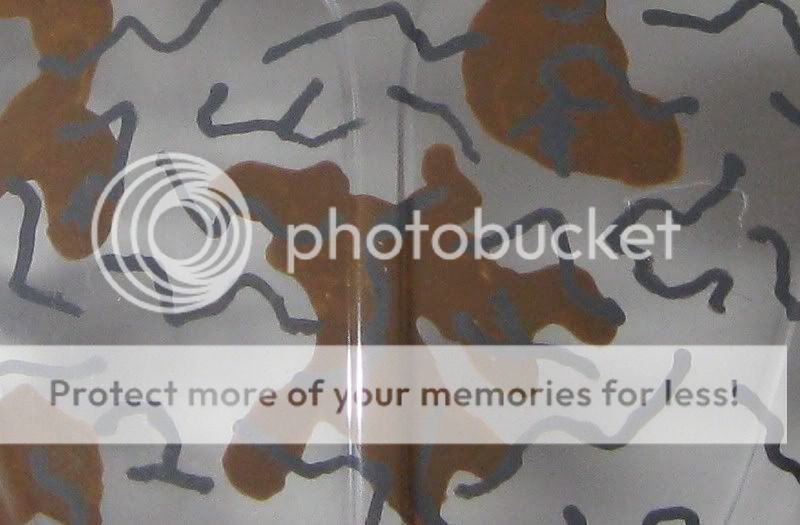
Layer 3:
Keep the size of the next colour layer consistent and don't be afraid to overlap a little more.
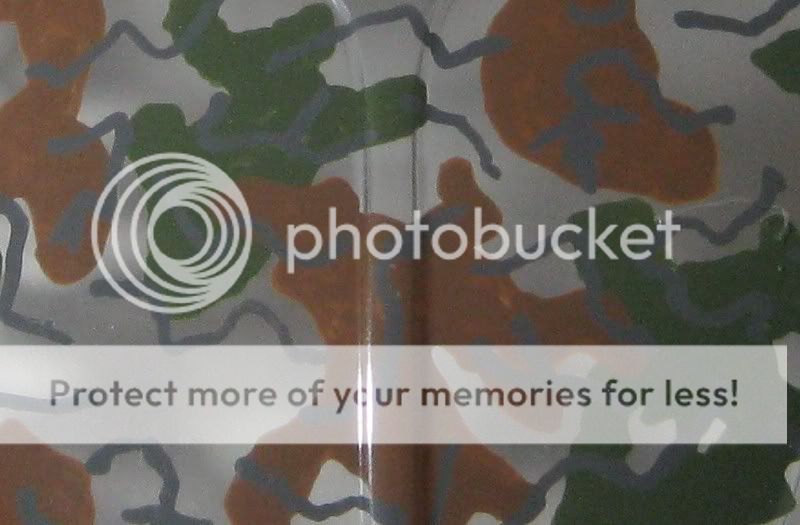
Layer 4:
This is a background layer, I opted for a striping pattern that's a big blot that runs across the body, but no straight lines allowed, it's camo.
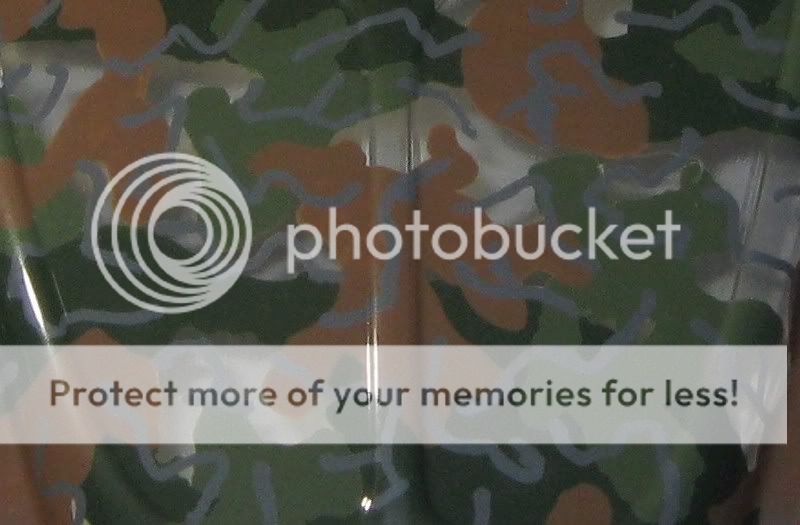
Layer 5:
Done deal.
Yes, it looks really good, but like I said at the beginning, I talked to Tone and I should have put the darker colours as the 2nd and 3rd layers of paint and used the lighter colours as the background fill.
For a first time job, I'm happy with it. As for the tools to do the job, I used clean beer caps as my paint trays and the biggest brush I used was a Q-Tip. Total time painting, minus drying time between layers is probably about 9 hours.
All the stages together: http://i686.photobucket.com/albums/vv223/TarnishedOne/BajaBugCamo.jpg
The second camo job (Winter Palette): http://i686.photobucket.com/albums/vv223/TarnishedOne/UrbanCamostillmasked.jpg
As promised, the 2nd forest camo paint job on my mini e-Revo:
It looks almost 100 times better with the colours in the right order on the body.
Hope this helps someone to have some fun painting up a body. Cheers.
For the purposes of this tutorial, I cropped images to identical sizes and I focused on the hood of the body in the same area so people can discern more details as the layers of paint are added.
The body chosen is a Baja Bug.
Choose your colour palette. I opted for a 5 colour camouflage and I didn't put a speck of paint onto the body until I had mixed up my colours. I opted for a light grey, light olive, dark olive, light brown and dark brown.
NOTE: This was my first camo paint job and after talking with vintage_tone and seeing the final outcome, I realized I should have started with my darkest colours and ended with my lightest colours. Tone knows paint and he was right, because the second camo paint (which I will show at the end) looks PERFECT.
Layer 1:
This is entirely freehand and I was aiming to have a consistent spacing and sizing of the "blots". This is also a guideline layer for me to see how I can puzzle things together for the rest of the body.
Layer 2:
Scale up the size of the colour "blots", but stay consistent with the spacing of them. Take your time, it's not a race and ALWAYS take a minute to lean back from the blot you are painting and view the body as a whole. This is the first layer that crossed the coats of paint, so I allowed plenty of time between layers for each to dry and cure.
Layer 3:
Keep the size of the next colour layer consistent and don't be afraid to overlap a little more.
Layer 4:
This is a background layer, I opted for a striping pattern that's a big blot that runs across the body, but no straight lines allowed, it's camo.
Layer 5:
Done deal.
Yes, it looks really good, but like I said at the beginning, I talked to Tone and I should have put the darker colours as the 2nd and 3rd layers of paint and used the lighter colours as the background fill.
For a first time job, I'm happy with it. As for the tools to do the job, I used clean beer caps as my paint trays and the biggest brush I used was a Q-Tip. Total time painting, minus drying time between layers is probably about 9 hours.
All the stages together: http://i686.photobucket.com/albums/vv223/TarnishedOne/BajaBugCamo.jpg
The second camo job (Winter Palette): http://i686.photobucket.com/albums/vv223/TarnishedOne/UrbanCamostillmasked.jpg
As promised, the 2nd forest camo paint job on my mini e-Revo:
It looks almost 100 times better with the colours in the right order on the body.
Hope this helps someone to have some fun painting up a body. Cheers.
")