SC10 4x4 build. Part 1.

This site may earn a commission from merchant affiliate
links, including eBay, Amazon, and others.

Tarnish

Airbrush wannabe.
Messages
45
Location
Peterborough, ON (near Toronto)
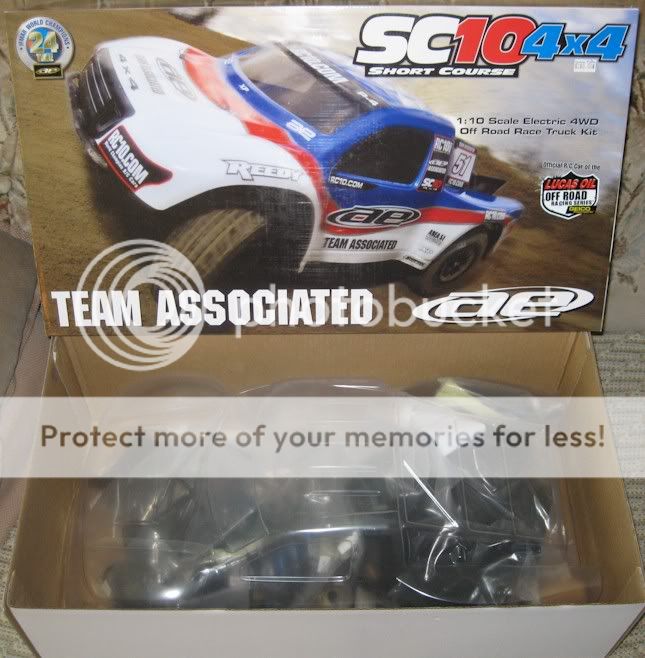
Went to the LHS yesterday (May 11th, 2011) to finally pick up my new SC10. Took me the rest of the day, but I put it together last night.

I'm not entirely sure of the total time spent building as I was wandering around every now and again for a break cause my back didn't like my posture over the table I was working on. I think I need something higher than a card table. Meh.
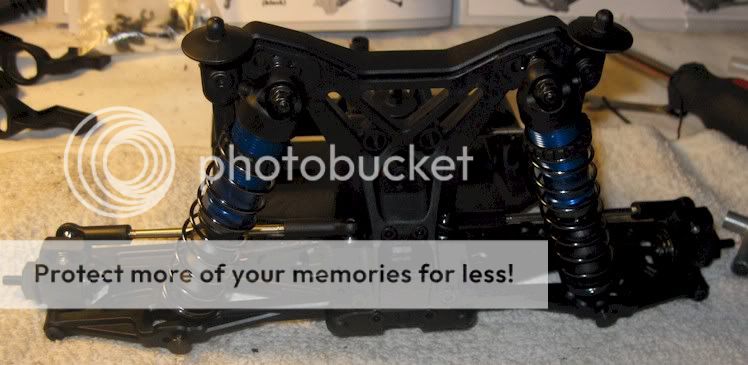
The grand opening:
00aUnboxedAE.jpg


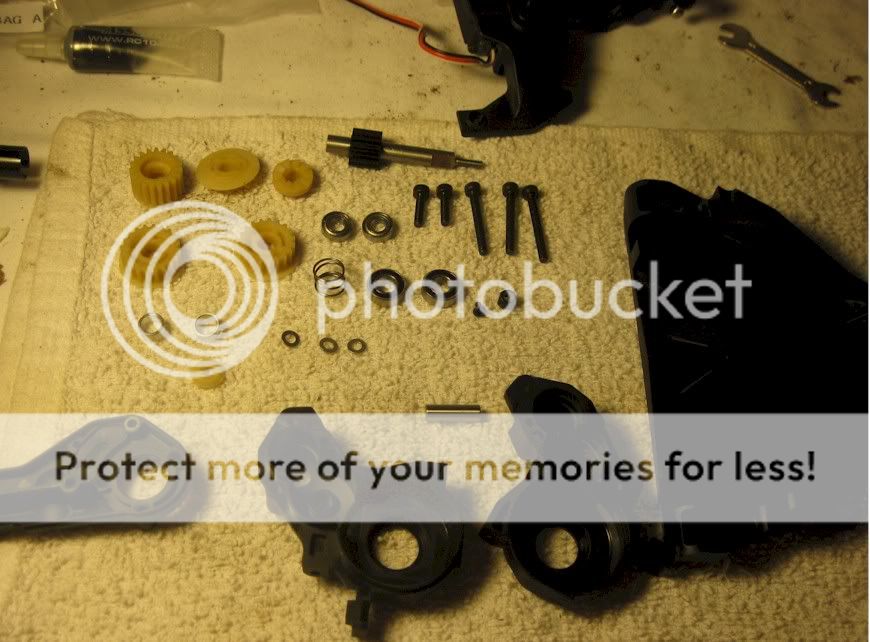
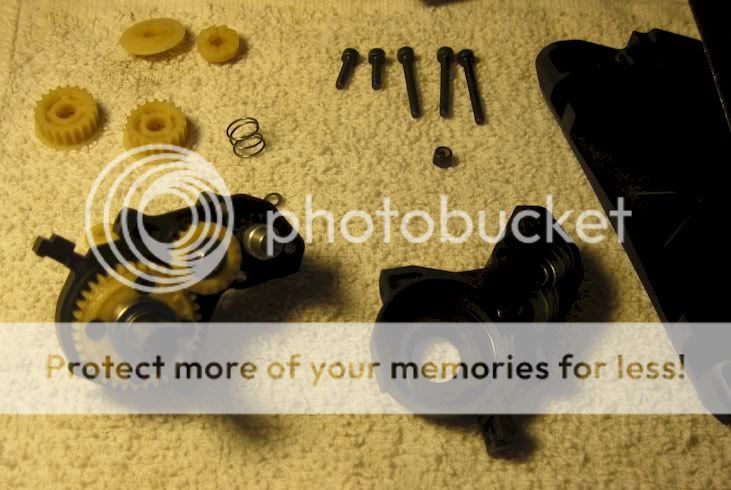
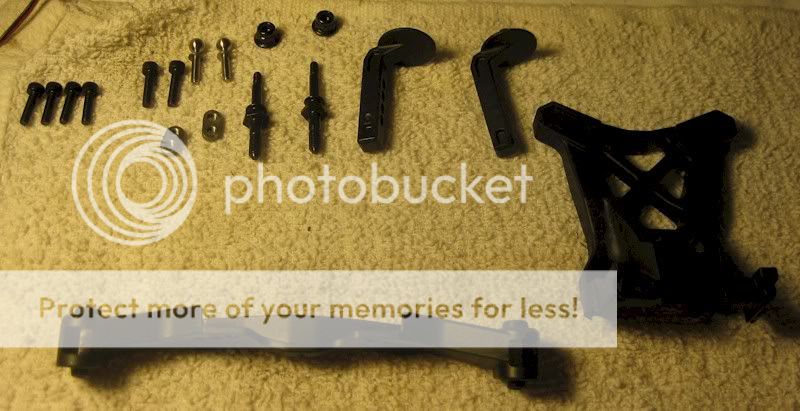
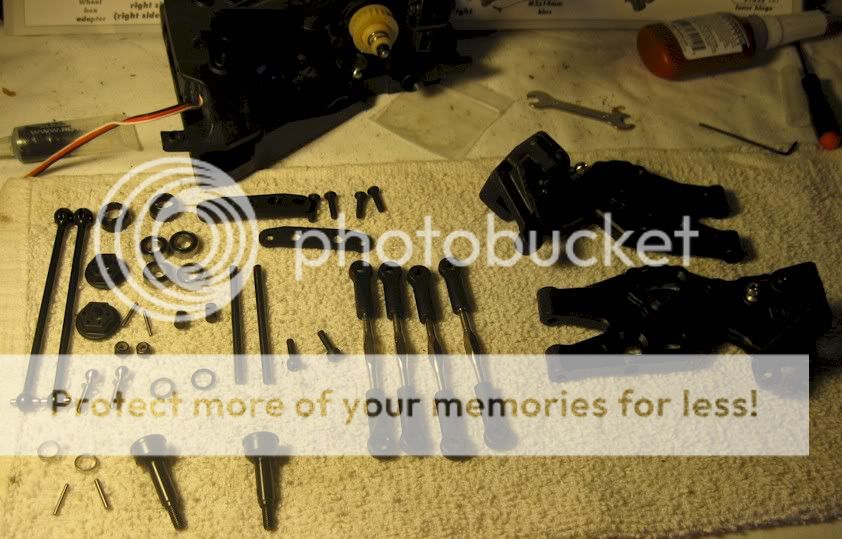
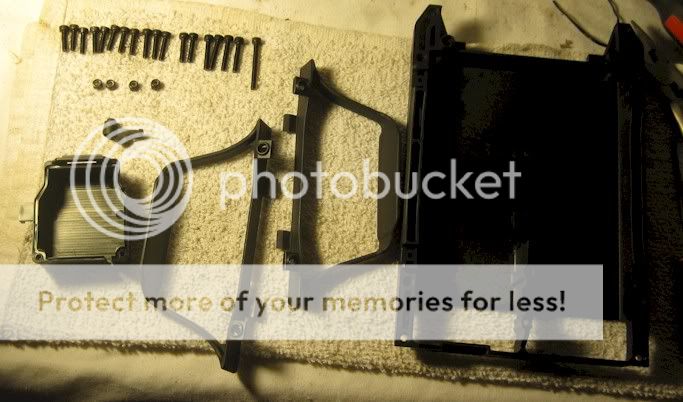
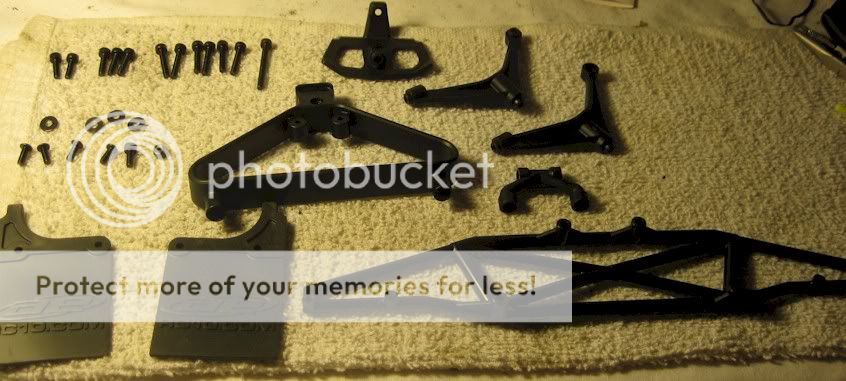
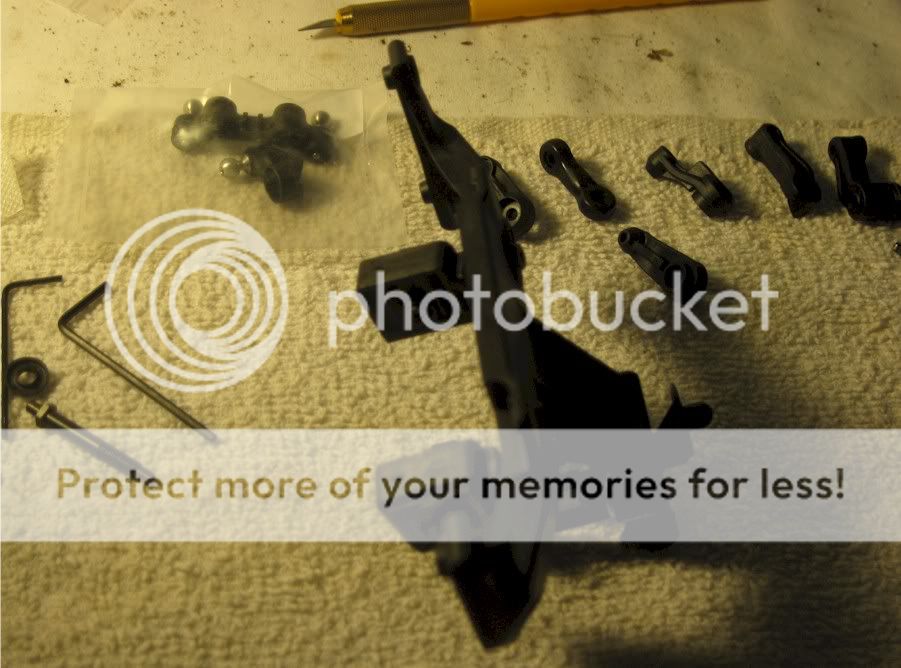
Okay, let's get organized about this and make sure everything is here:

00bPartsBags.jpg


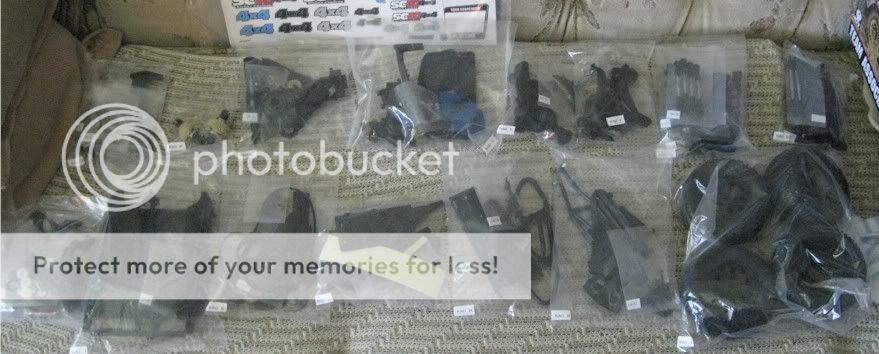
Okay, it's all here. We're off to the races.

01Lookseasyenough.jpg


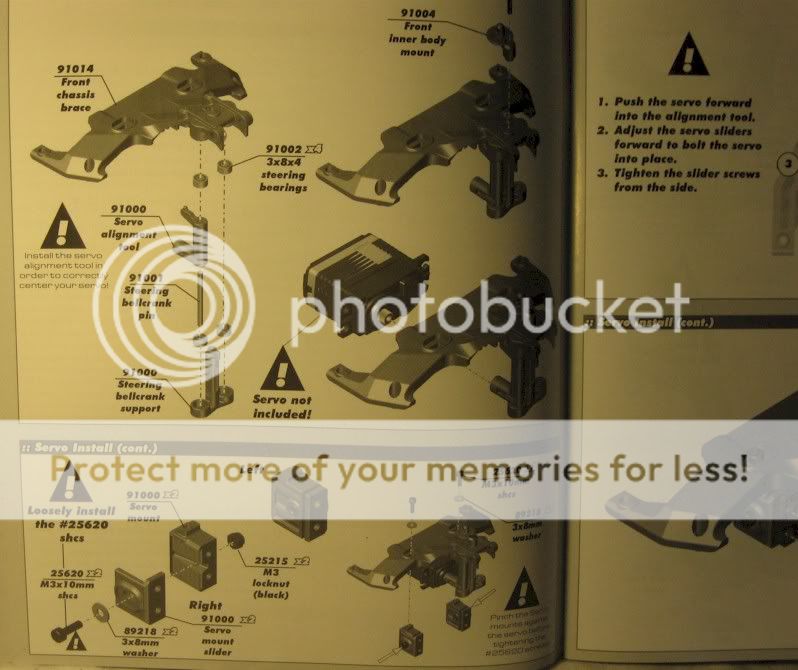
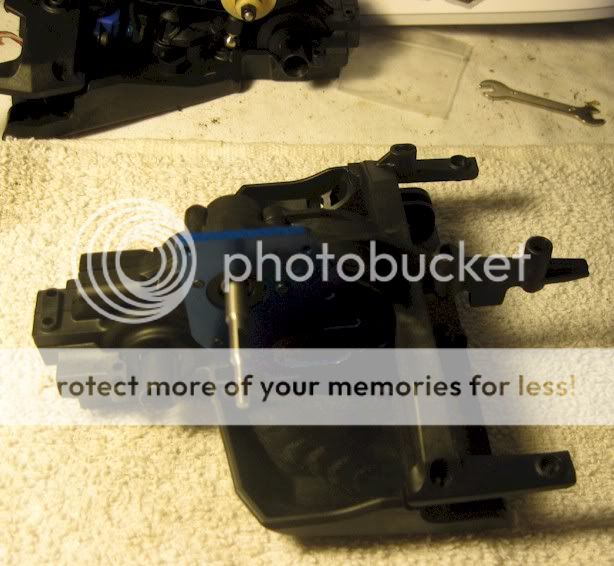
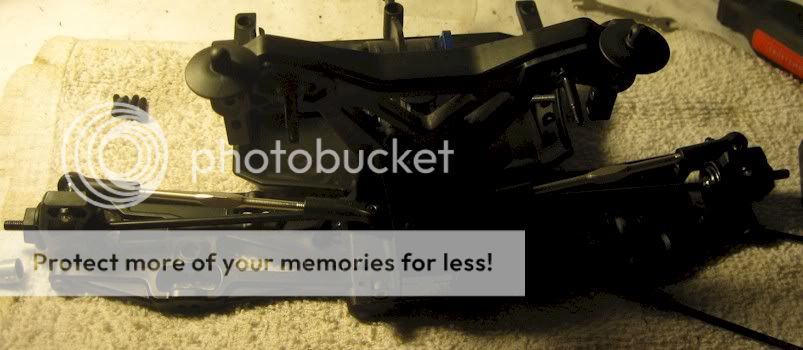
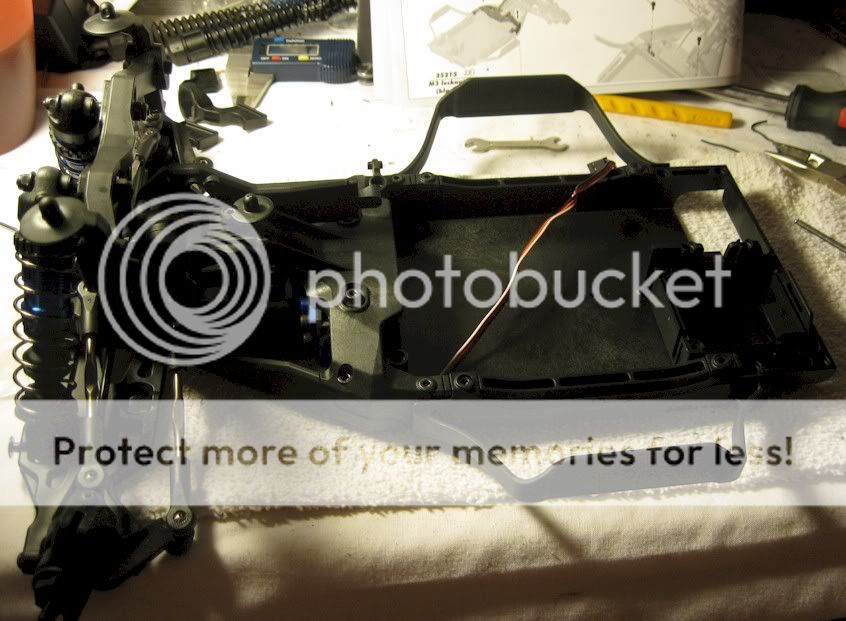
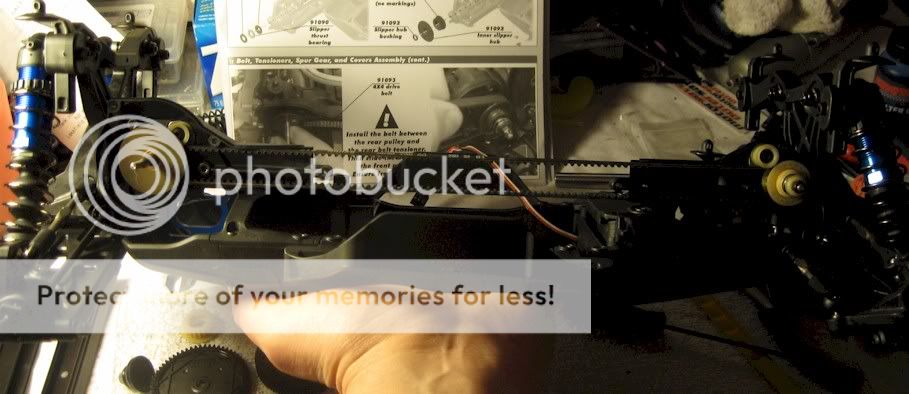
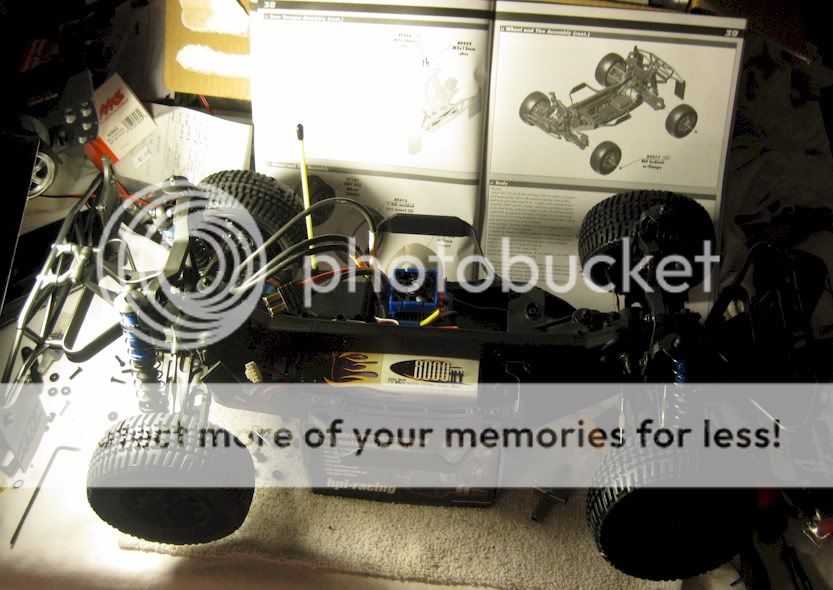
This looks easy enough. Little did I know they started you out with the most annoying task of all.

02Okaysofar.jpg


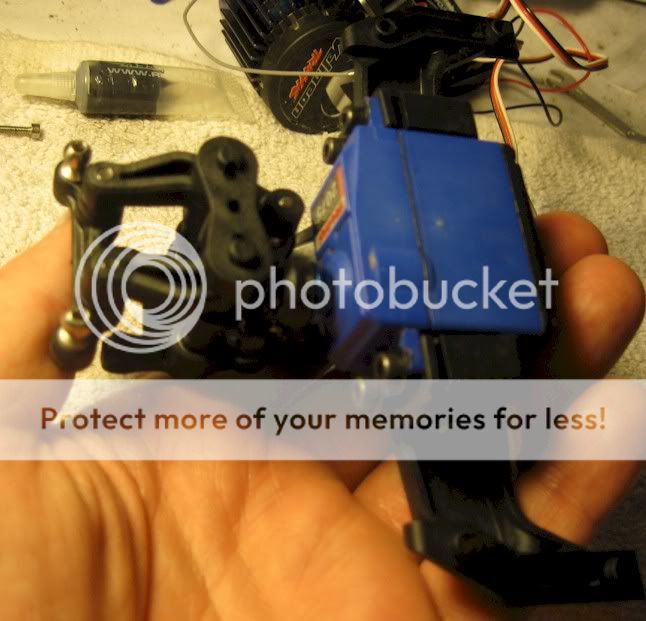
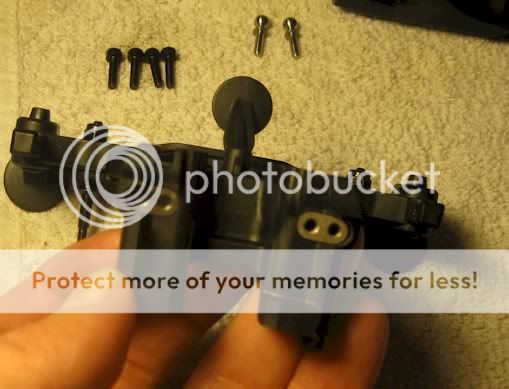
Dang, these are some small parts. I mean, look at the size of this steering rack.

03Steeringrack.jpg


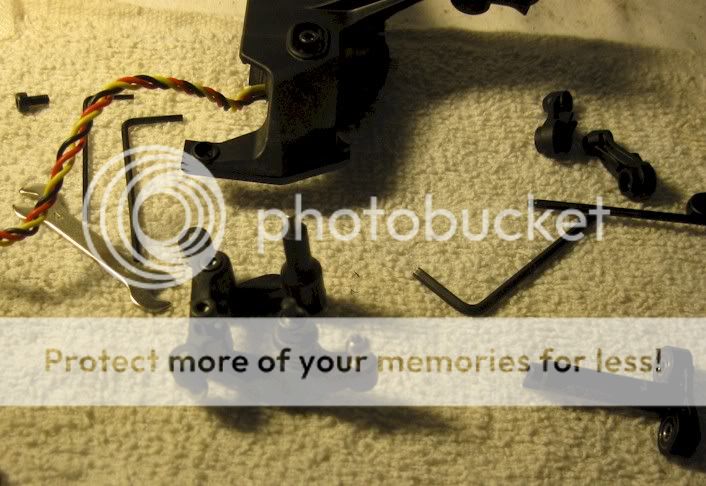
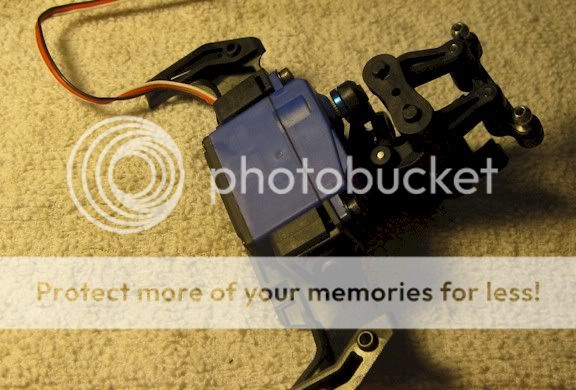
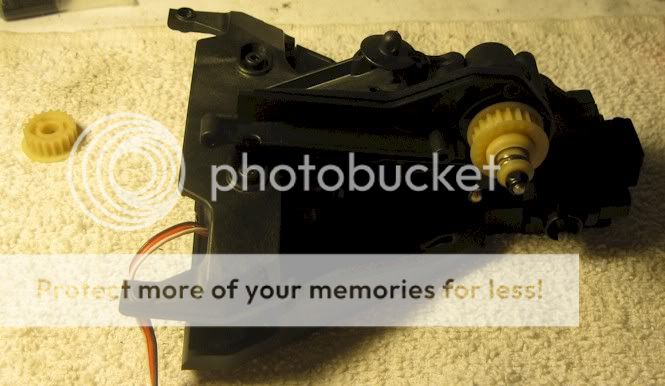
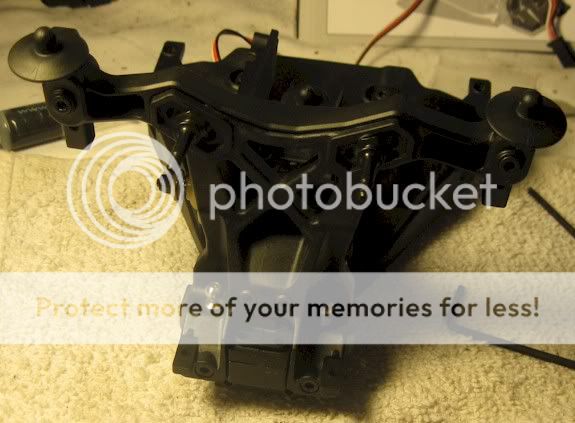
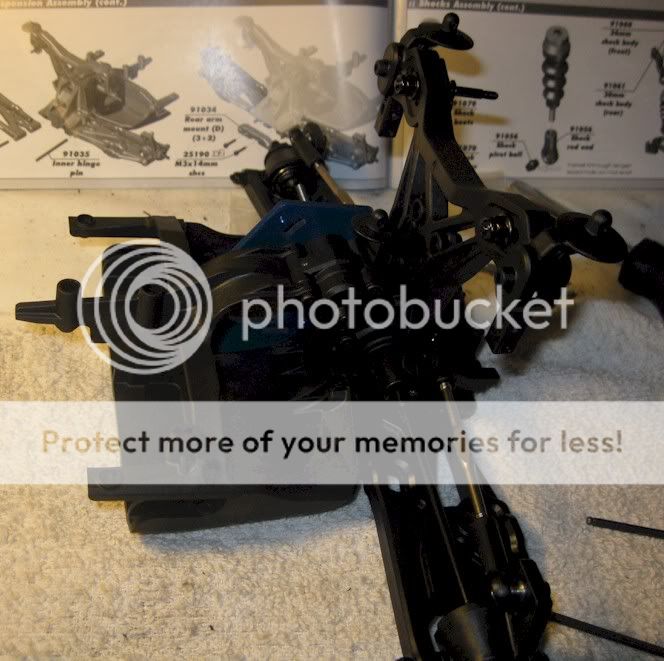
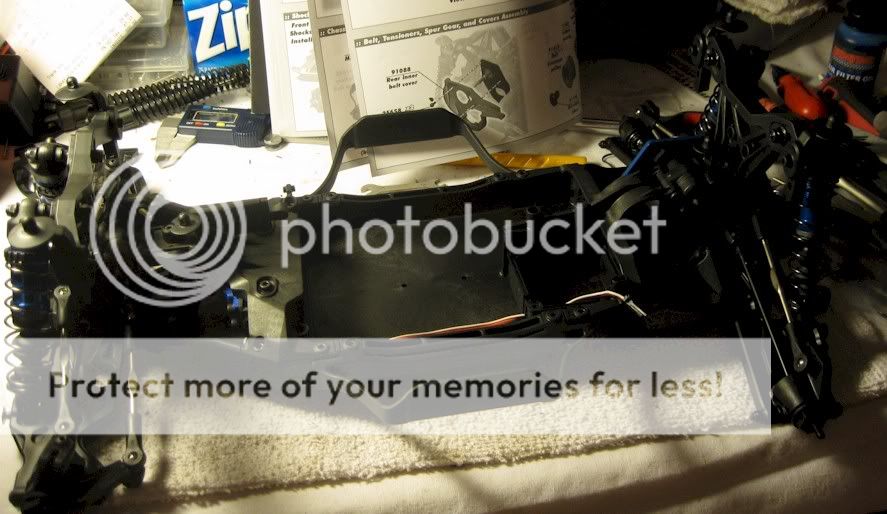
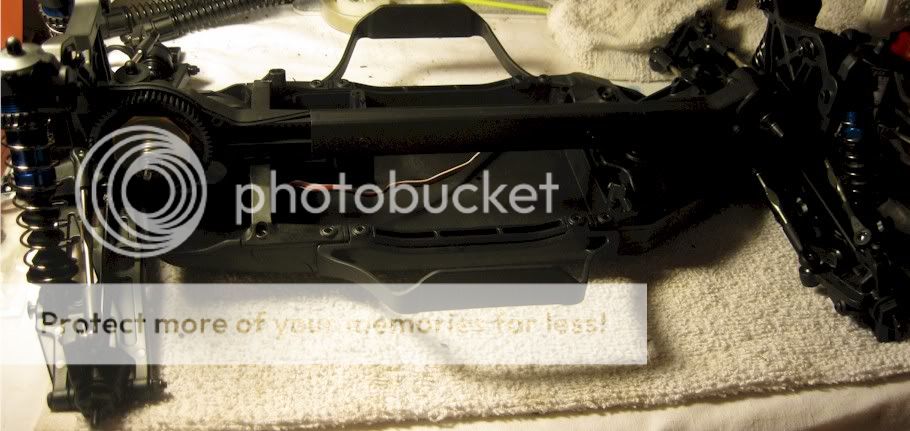
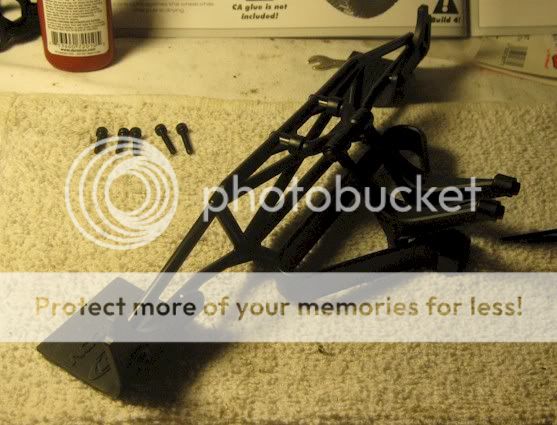
So, I worked at it a little more and got everything seated, or so I thought.

04Somethingisnotright.jpg


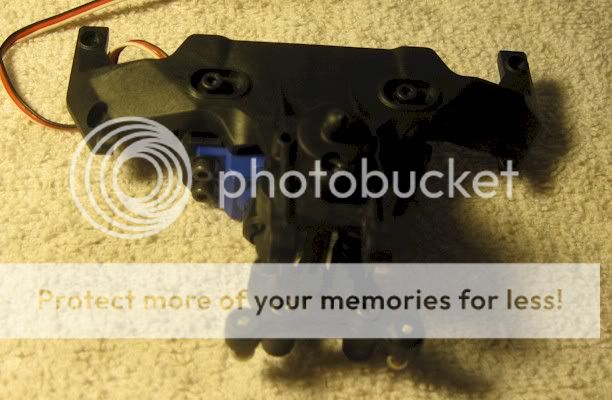
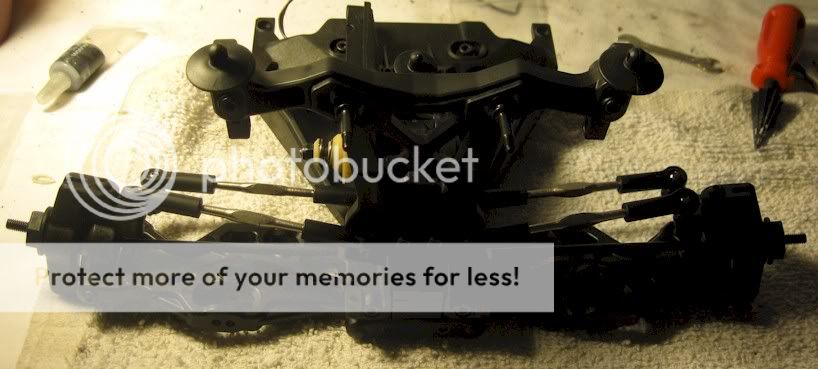
Something didn't seem right, plus the fact that I didn't like how much that servo was buzzing, so I went and grabbed a steering servo off the e-Revo (waterproof), removed all the screws and started over.

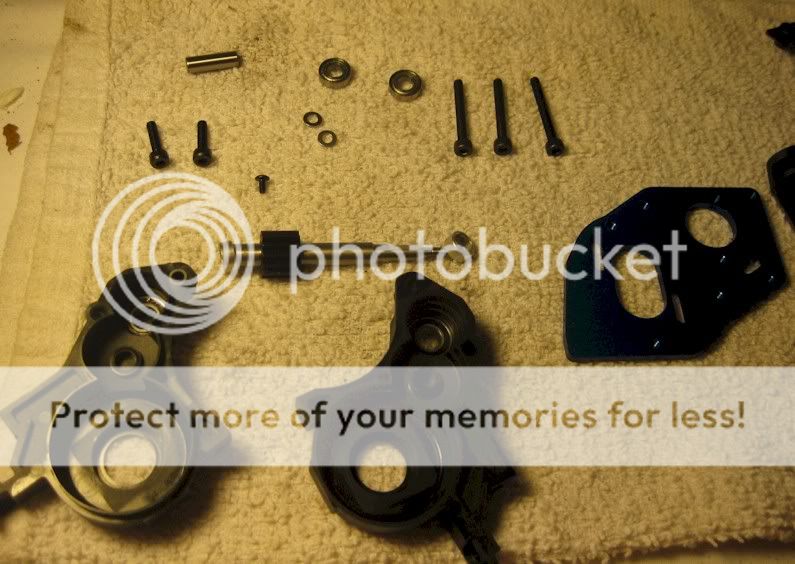
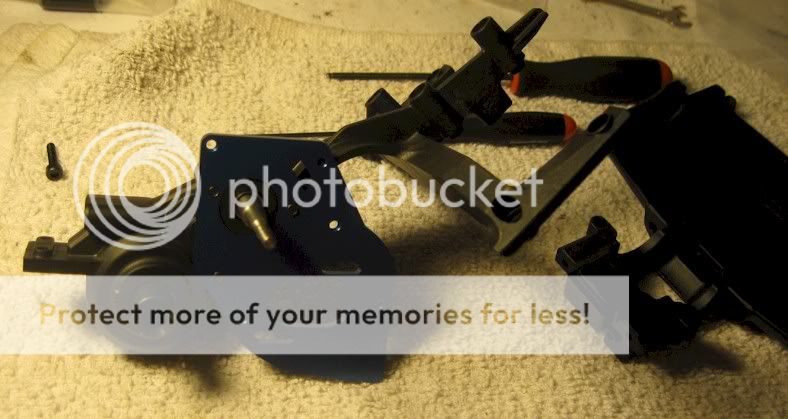
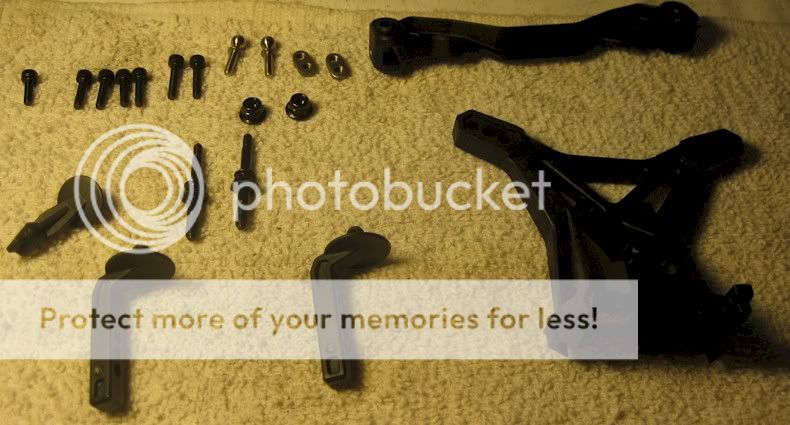
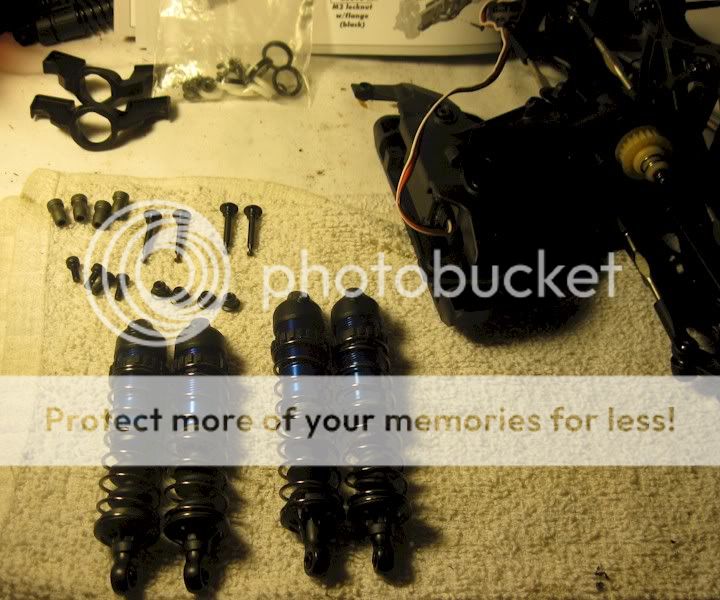
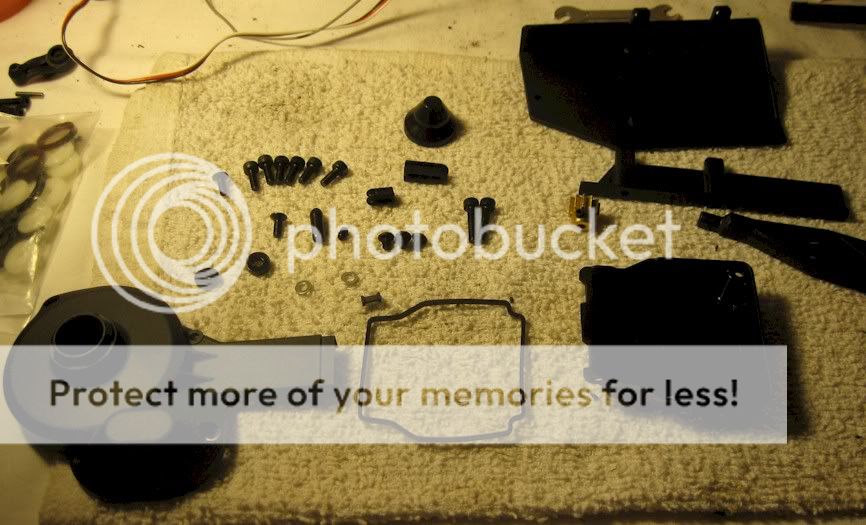
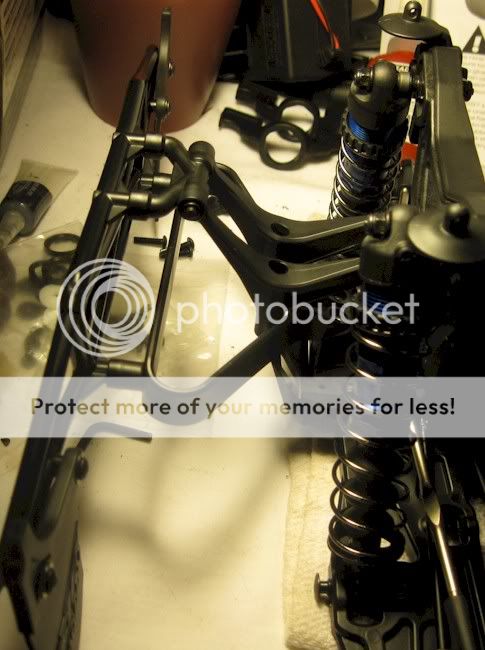
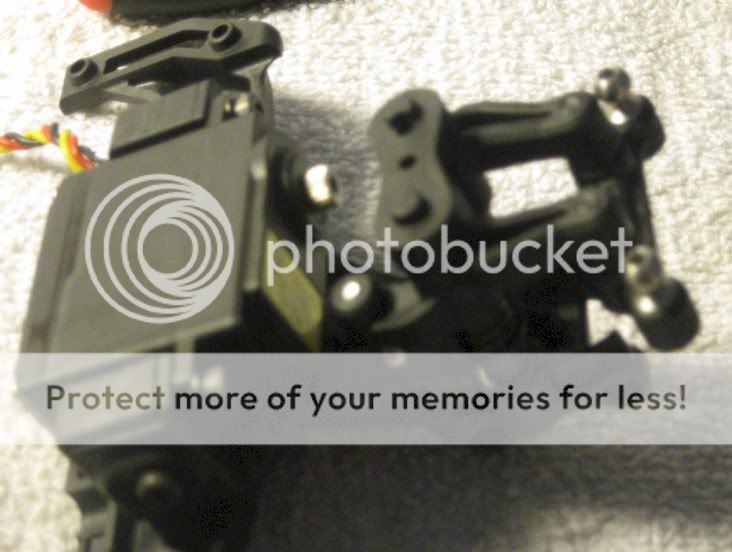
I was right to redo, I had some longer screws in the wrong spots so I swapped them for the right size and made sure I had my calipers handy to measure the screws to be sure. This is where HPI is so much better for their manuals, they tell you a) what bag you are working on and b) they have a checklist of the parts in that bag with actual size diagrams of the screws in the margin so you wouldn't need calipers.

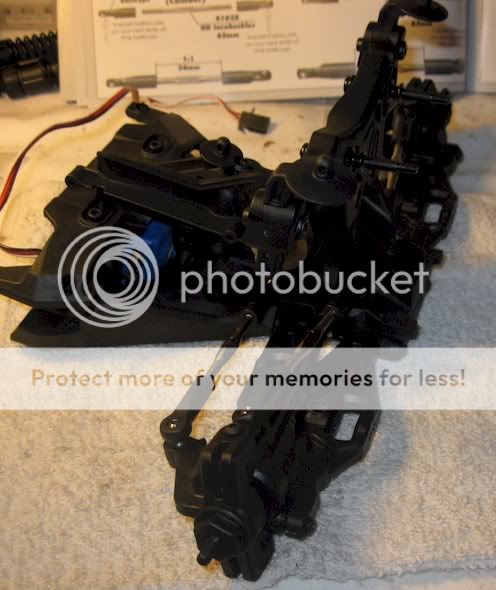
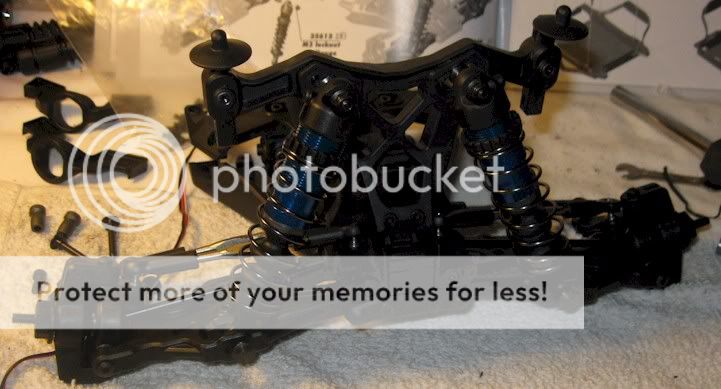
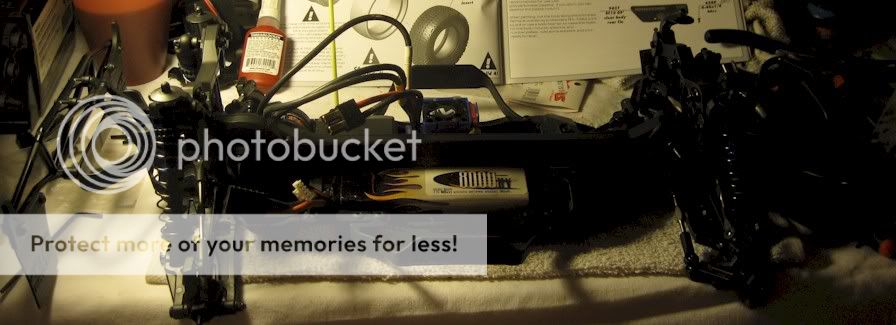
Anyhow, this is Part 1 done. I took 45 pics of the build, so bear with me posting them all.
 
SC10 4x4 build. Part 2.

Okay, so I started over and I used a Traxxas (yeah, I admit it) setup to run my new Associated truck.

05Startedover.jpg


These pics are of the completed assembly. I was too frustrated to go step by step and it was kinda hard to stop myself and remember to take pics of the process.

06SteeringAssembly.jpg


Top down view of the nose of the truck.

07Tinysteeringrack.jpg


And this is about the size of this thing. Yeah, I guess I have big hands and all, but this is small stuff to work with.

Anyhow, that was Bag A. The bags go to O. Bag B was simple, they'd pre-assembled my diffs (maybe why the bloody kit was late to market).

So, on to Bag C ... The front gearbox.

08FrontGearbox.jpg


This is the way I tend to build. Lay out all the parts from the bag in some kind of order and then start assembly.

09Openshell.jpg


Wow, this isn't half as hard as that damned steering rack.

10Clickerattached.jpg


Woo Hoo ... Progress ! Just add the bottom plate and this bag's done.

11CompletedBagC.jpg


Now, for the rear gearbox.

12BagD.jpg


13RearGeabox.jpg


And then the completed Bag D.

14CompletedD.jpg


Now, if I'd know at this point what I found out later, THIS is where I should have installed the motor loosely. Access is easy at this point of the build, but OH NO, I followed the instructions too closely and didn't try to cram in the motor until later and it took me about 15 minutes and 35 tries to seat the screws into the motor through the sliding holes in the bottom of the blue plate. Nightmare, honestly.

On to Part 3.
 
SC10 4x4 build. Part 3.

Next bag. Front shock towers. All through this build, they have you leaping from front to back then to the front again.

15BagE.jpg


Easy peasy.

16Frontshocktowers.jpg


Rear shock towers.

17BagF.jpg


Oh, by the way, those little two-hole metal pieces go at the base of the towers ... Here.

18Sneakymetal.jpg


Moving right along now. I skipped taking a pic of the shock tower mounted on the rear, it was close enough to the front to be bothered. Or I was on a roll and forgot to snap a pic of it. Whatever. Next bag.

Front suspension arms.

19FrontCVD.jpg


I didn't immediately notice, but the pins are two different sizes. The thinner one is the captured pin and is supposed to push through the axle end. I found that the first one I picked up didn't want to let the pin go into the hole on the far side, so it would go in about 90% and stick. Okay, that's not right, so I pulled the pin out and tried to fit it in from the other side, no go. This was the only manufacturing defect I found and it's just that a hole wasn't big enough. Luckily, I had a drill bit set for my Dremel and reamed the hole wide enough for the pin. BTW, the axle end gets ######## hot when you are drilling. I nearly cooked my finger tips.

20FrontSuspension.jpg


21FrontHalf.jpg


Snapping on those ball links for upper tie rods and for steering links is a royal pain in the rectum. I had a HUGE set of pliers handy that I had to use cause the jaws were so big, they could grab the end of the rod and snap it onto the ball with a simple squeeze. The effort required means that I'm not too scared of the ball links popping off during and driving.

Next bag, rear suspension. A little different since there are carriers.

22RearCVD.jpg


23RearSuspension.jpg


24Rearhalf.jpg


Now, for a little spring in my step ...

25Shocks.jpg


First the Front.

26Frontshocks.jpg


Then the Back.

27Rearshocks.jpg


Ahh, nothing quite like a sense of accomplishment ... Now, for the middle bits in Part 4.
 
SC10 4x4 build. Part 4.

New bag. More progress.

28Themiddlebit.jpg


Front attached to middle.

29Nerfbarsfrontassembly.jpg


And now the back ...

30Roller.jpg


Yep, that's a roller.

Now, on to Cinderella ... The Slipper.

31Slipperparts.jpg


Let's connect the front and rear a second way.

32Belted.jpg


I went with the 32 pitch gear.

33Slipperon.jpg


Let's work on buttoning this baby up.

34SlipcoverandRxBox.jpg


This is where I ran into major troubles trying to get the motor in and got all flustered and swearing and ... Anyhow. I put in the rest of the electronics and ended up with a powered roller.

35Poweredroller.jpg


I'm in the home stretch.

36Frontbumperskid.jpg


38Frontdone.jpg


Okay, that's the front end completed. I'll wrap this up in Part 5.
 
SC10 4x4 build. Part 5. Completion.

The rear bumper.

39Rearbumper.jpg


Those mudflaps are a bit annoying to mount, but I used my body reamer to flare open the holes a bit on the rear bumper, made putting them on a LOT easier.

40RearBumperassembled.jpg


The rear end is done.

41Reardone.jpg


42Justneedwheels.jpg


Last bag, finally. The wheels.

43CompletedSC10.jpg


I sort of noticed it before, when I was working on the front end. I didn't pay too much attention to it, but when the wheels went on, it was very exaggerated. The stock camber they want you to use is strange to me.

44WeirdCamber.jpg


Meh, whatever ... 3 things left to do.

1) Glue the tires.
2) Paint the body.
3) Get it dirty.

The third part will be the most fun. :)
 
hmm nice build sometimes team ae has kit hickups but my 18t was organized way more than hpis kits , probly a first run thing I'm sure they will fix things as the kit gets out. Nice truck but maybe the camber is like that cause well its a short corse truck haven't you seen one in real life lol
 
Ta Dah :)

BodyOn.jpg


Finally got it painted up and trimmed out.

Just gonna add some stickers and be done.

I've got a Castle Link on the way from eBay that'll let me mess about with the tuning and I've also got a Waterproof servo from HPI on the way from amain. It's currently got the second Traxxas servo from the e-Revo in it.

The first one was sheared off by the servo arm when I smacked a roll of carpet at Douro Arena. Oops.

Not sure if the HPI servo has a metal pinion on top or what, I'll know when it arrives in the mail. The servo I ordered is the one from the new e-Firestorm Flux that's waterproof. I'm glad to see HPI expanding their line this way.
 
Damn, I was tired and not paying close enough attention. The website I got my info from was talking about the brushless e-Revo and how to use the castle link to program the ESC and I thought they meant the Velineon. The Brushless e-Revo has a Castle Mamba.

Ah, well.

Looking at the HPI waterproof e-Firestorm, it's powered by Castle with the Vapor ESC.
002.jpg


I can always just buy that motor and ESC for the SC10.
 
Don't pay HPI 50% more than Castle charges for the same thing ;)
I believe the Sidewinder V2 is the same system. Id try either the 1406 4600 or the 1410 3800 like I have in my Blitz.
 
My goal is (maybe I'll stop bothering) to have a Waterproof rig.

Something that I can toot around the yard with when the grass is wet or even if it's raining and not have to worry a bit about the electronics.

I've had a few more problems with this truck. I broke the steering again ... Revo waterproof servos SUCK ... I'll be putting in a HPI SF 20W (Waterproof e-Firestorm steering servo) cause I bought it in case the Traxxas crap didn't hold up.

If that dies as well, it's game over and I'll throw some cash to a good steering servo and forget about all-weather by stepping up the motor and ESC as well.
 
Oh, I forgot to mention, when I was running on a track the other day, the screw inside the shock that holds the piston on the shock shaft popped out. The shocks came pre-assembled, so *I* didn't screw up.

I highly recommend breaking down and rebuilding the shocks to make sure that screw is loctited in place.

The shaft came with out of the body, tore a small hole in the boot and I lost a shock spring retainer, so my run for the day ended there.

I'll be contacting Associated to see about the chances of getting some parts sent out to fix their mistake.
 
The belt seems to be holding up fine. I'll be inspecting it when I change over the steering servo.

Since the 1st shock failure, I don't trust the other 3 to stay together and I'm rebuilding all of them. Also, I basically need to rebuild the entire truck to be able to access the diffs to inspect them and see if the factory actually greased them or not. Since that was another part they pre-assembled.

With any luck, all the parts for the shocks came into the LHS today and then I'll just have to fight with Associated to pry the same parts I'm buying out of them for their poor workmanship.

Any other time in any other truck, I've never had a problem with factory assembled parts. They built the shock that fell apart. They should pay for the parts, but I didn't wanna wait to see the results of this dispute to be able to run the truck again.
 
hey man where abouts do you go race ferraros or hotrodds in hamilton or average joes
 

Latest posts

Members online

Back
Top