P&P: Mach 26SS/Sportwerks M26

This site may earn a commission from merchant affiliate
links, including eBay, Amazon, and others.

Larsenracing

Well-Known Member
Manufacturer
Messages
3,849
Location
Worthington, MN
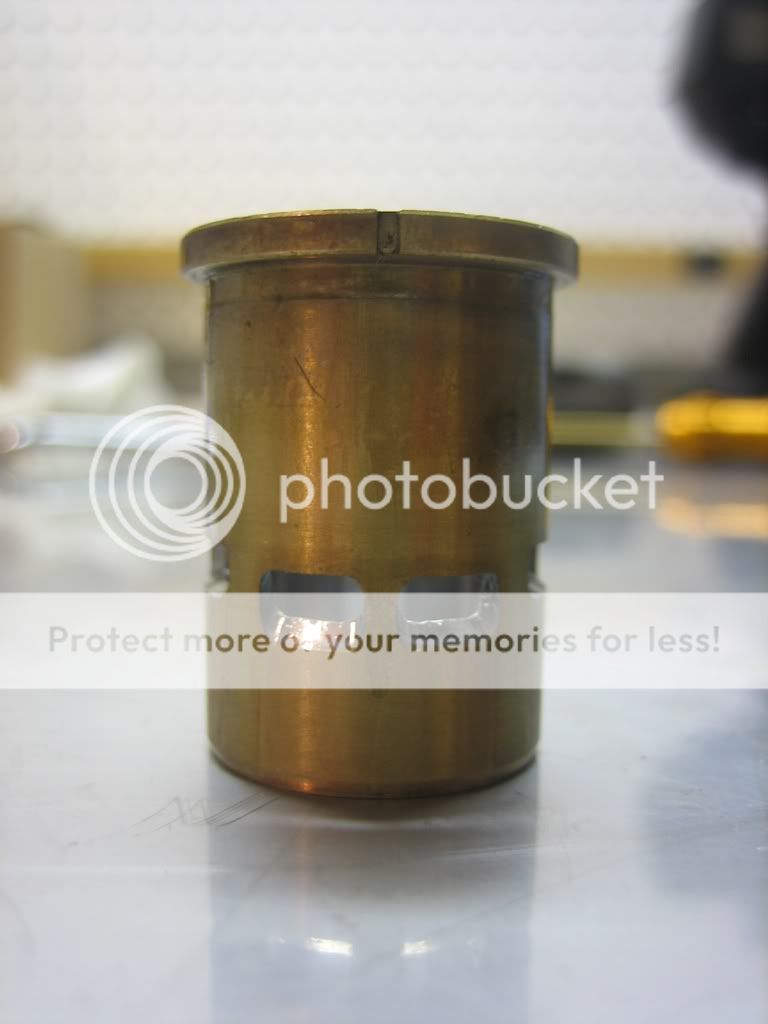
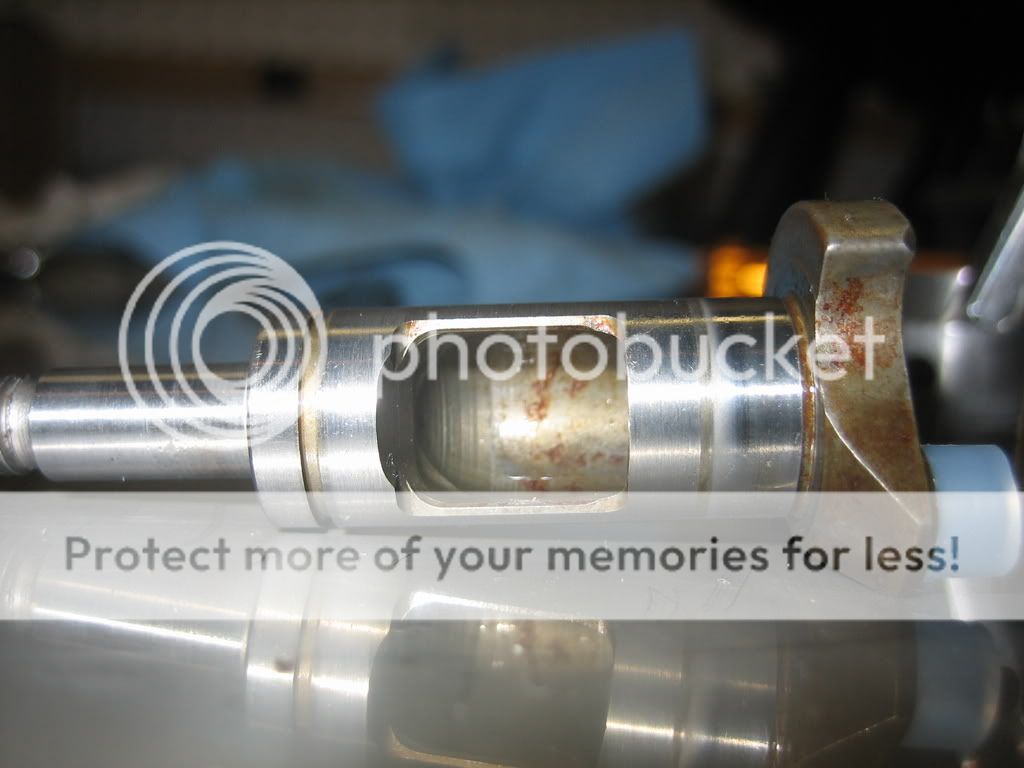
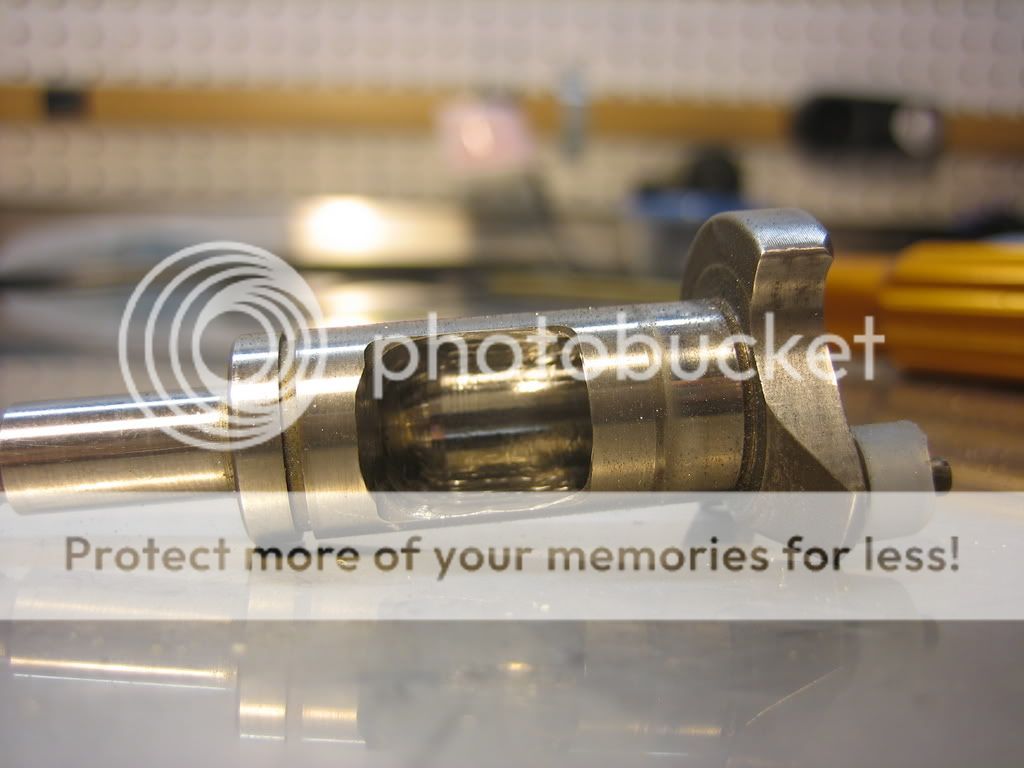
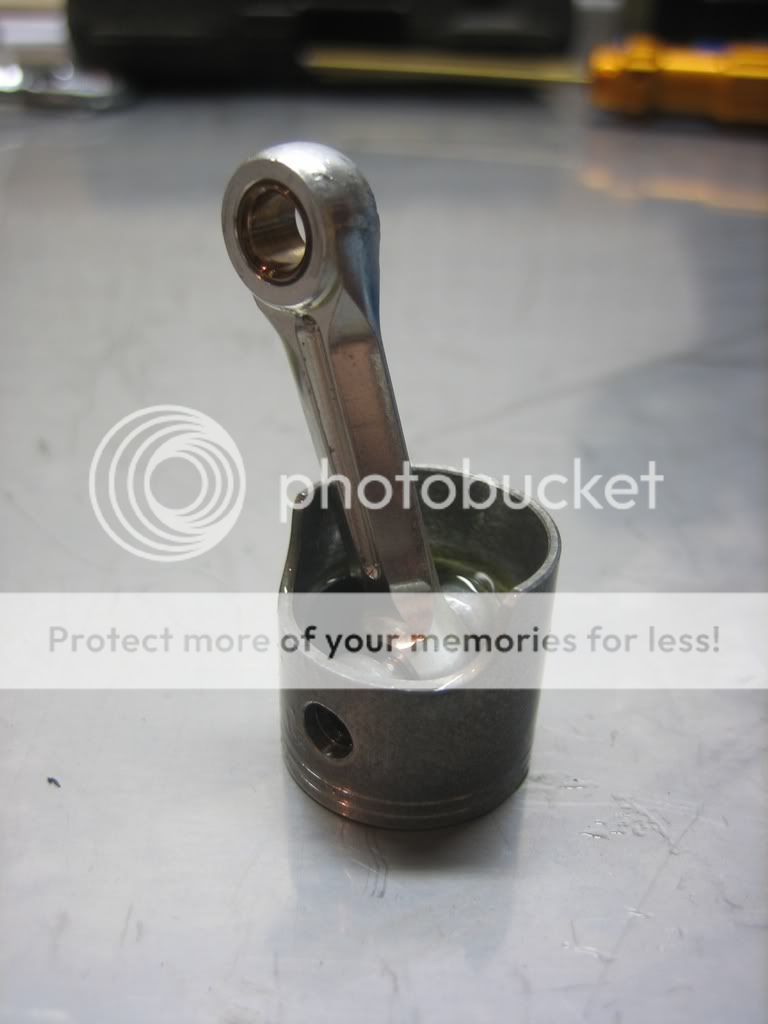
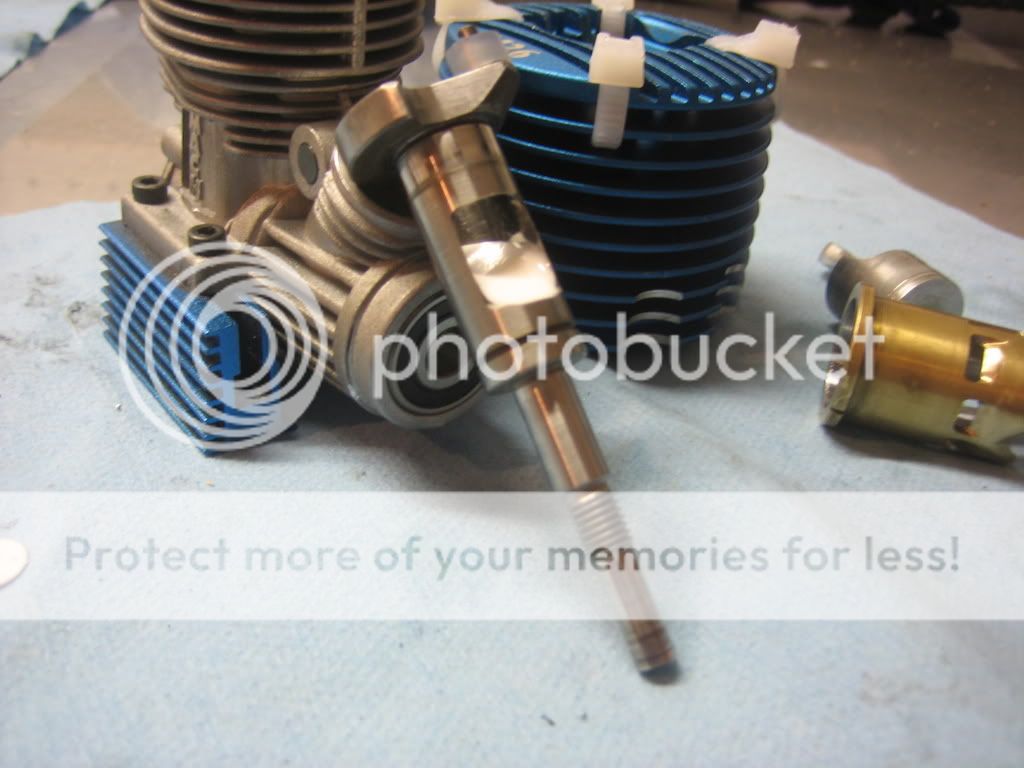
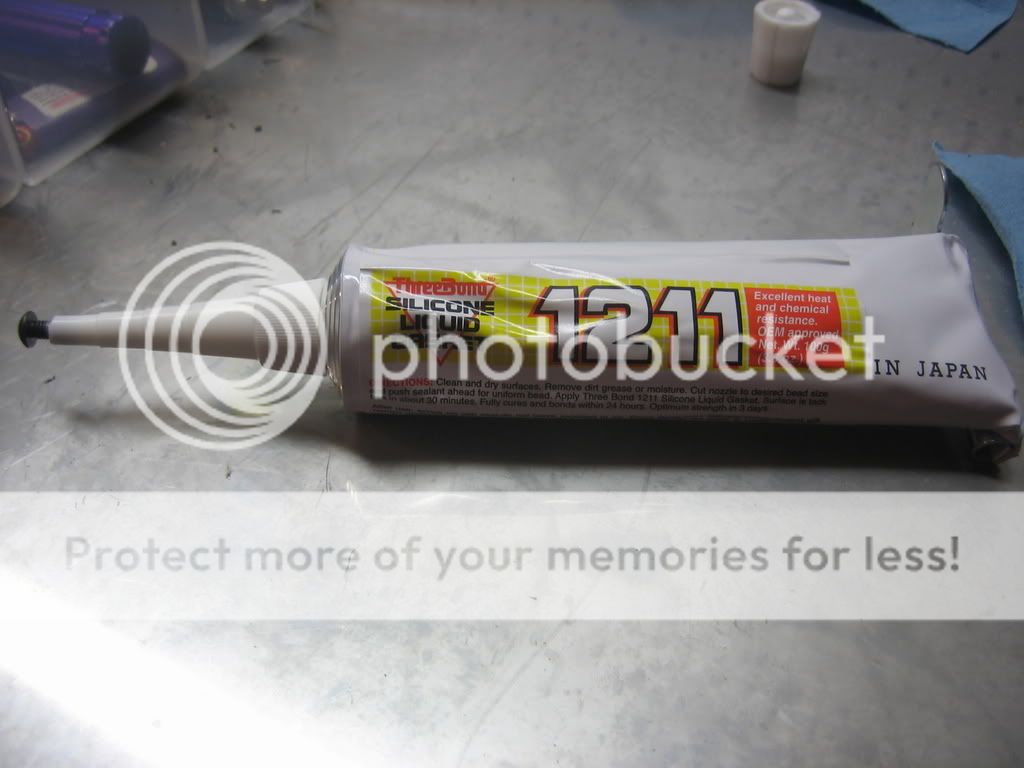
Hey everyone, well this is my second Mod job so I hope it screems since the first one did. This one is done better and ported out a bit more expecially on the crank and a bit on the Sleeve. I have a bit of touching up to do on the crank and I also plan to fill/stuff the crank with some Triplebond 1211 as soon as it comes in. I will post picts of this as soon as I get the stuff and if I remember to grab picts when i'm done. Here we go I will start with stock then to ground then to finnished and will add the filled/stuffed later.
Stock1.jpg


Stock4.jpg


stock2.jpg


stock3.jpg


StockCrank1.jpg


StockCrank.jpg


StockCrank2.jpg
 
Looks like someone has been having some fun!
Nice pics dude thanks for sharing-one day I will give it a go-one day....
 
Thanks Pine.

I didn't polish the whole sleeve due to the fact that if you polish the whole sleeve you allow more clearance between the block and the sleeve allowing air to escape between the different ports so you keep then as close of tolerance between them as possible. Also do not touch the exhaust port. Like noted there is a bit out fine tuning/touch up to do but its very close to done.

Let me know what you think.
 
That looks great! Are you going to be offering these mods up for sale at some point?
 
I could do them for you some time. I'm not sure how much Id charge but if your interested let me know. Doing this is very time consuming along with it eats up grinding/polishing bits. If interested PM me. Like said I am no professional at this I'm just doing it to learn and have fun.
 
Last edited by a moderator:
OK got the Crank Filled and assembled and sealed up and a few tanks threw it. We will start with Pict's of the crank even thought I didn't get very good ones.
Truggybuilt002.jpg


This is what I used:
Truggybuilt006.jpg


Now for how it ran:
This thing ran like a top, Much better throttle response better acceleration and seemed to tune better and easier. It drank a bit less fuel and held lower temps by a few degrees. Overall I'm satisfied with the time I had into it and will defiantly keep going doing them. I'm sure I will get a bit more aggressive on the next one. I will keep you informed as I keep running it. I only put 3-4 tanks threw it the other day and it had about 3/4 of a gallon threw it before modding. I also removed the thin head shim about 4 thanks before the mod which gave it a touch more power (slightly noticeable).
 
Thanks Bud, I had this thing out and ran another 2 tanks threw it so I really got to see the top end performance because I was in a large parking lot at our local high school and this motor is a whole new machine. Its a lot pepier expecially in the high end RPM range. and the throttle responce in much crisper. I almost want to take it out of my buggy and throw it I'm my moster truck because it has more power than either of them. It also holds a tune very well.
 
great review on your modding larsenracing!!! and awsome pics as well, it was explained really well i must say to... i wonder if you would see a difference if ya did that with a 4.1:resp:
 
Last edited by a moderator:
You would defiantly see a difference with the F4.1. If just depends on how extreme you go with it.

Thanks nitroaddict for the comments.

I recently did a axial 29 spec 1S which was a fairly mild port and I noticed a difference but nothing Like this one, which could have been done better as well but was a definite improvement.
 
hmmm something to think about as my 4.1 is a spare so could "go for broke" with it lol
 
I agree Crash. Pure was much of my inspiration as well. He is a lot of help when it comes to modding of engines as he is great and willing to help and will even post picts of his work.

Thanks bud.
 
Thanks for the kind words Crash and Larsen, Yes I'm on sc as well. I noticed a few of the boys are here also so I figured why not. It seems like a very friendly site and I thought I could help out a bit here as well so I joined a while ago. I seem to have problems when I post, I have to refresh each page before I can see my post (thus the double post) I'm not sure why that is, is it my computer?

The way I see it with the pictures is, if someone has the courage to grind on their own engines, go for it, I will show you what you can do. The gains may be small but it's something to be proud of. I don't get into timing changes because that's where the real power is unleashed and cutting chrome is very hard and extremley easy to mess up, that's where I come in :)

When I started I was alone, no help, no one to ask questions and it cost alot of money and r&d to figure things out. Most modders won't do what I do, some may even resent me lol. I'm here to contribute my knowledge (well not all of it) and will help when I can. Thanks again.

Crash, what's your handle on sc, I'm not sure who you are.
 
Its good stuff but it takes forever to dry. Id let it set for 2 days before touching it and 3 days before running the engine its in.
 

hey mate just a quick question on the sleve i noticed you have taken out some metal from the bottom of the sleve why is this and also why have you made another grove in the side of the crank when it doesnt look like it will do anything and why have you opened up the crank where the fuel goes into the crank

hope u can clear this up with me coz I'm looking at doing this mod to my motor
thanx
 
The extra material removed from the sleeve is to allow more air to be moved into the combustion chamber on the stroke. If you take a motor apart you will see there is very little space between the block and the sleeve to allow air to flow by this opens it up.

Remember power is all about getting air in and then out smoothly and fast and getting more forced into the combustion chamber to create more torque.Then to create the power you just need to match the fuel mixture.

The extra groove in the end of the crank is to scoop or direct the air into the ports and opening the slot in the crank is again to allow more air and smooth the air into the crank case. This is also why I have filled or added the filler to the crank.

If you still have questions please ask I will do my best to answer.
 
thanx heaps mate I'm probs gonna do this 2 my motor i just got one of these new as a backup to the K4.6 would u recomend doing it before i run in the motor or after now i only need a pull start or the shaft for the rotostart coz i got it new with the roto start on the rear and i also have the right drill but i need the shaft do u know anyone that would like 2 sell one i will ask in donating parts as well
also what did u do to the crank with the sealant
thanx heaps
 
check post #8 for the sealant stuff.

I would personally break in the motor first and get a little run time on it because it will then be easier to mod the sleeve becuse it leeves fuel flow lines on the side of the sleeve. These linese are what you want to follow somewhat.

I know of noone to buy the shaft from other than my LHS or Ebay or whatever. If you are looking for the spin start hex haft but pull start as well get this does both. I am looking at buying one soon. http://www.horizonhobby.com/Products/Default.aspx?ProdID=LOSR1037
 
OK got the Crank Filled and assembled and sealed up and a few tanks threw it. We will start with Pict's of the crank even thought I didn't get very good ones.
Truggybuilt002.jpg


This is what I used:
Truggybuilt006.jpg


Now for how it ran:
This thing ran like a top, Much better throttle response better acceleration and seemed to tune better and easier. It drank a bit less fuel and held lower temps by a few degrees. Overall I'm satisfied with the time I had into it and will defiantly keep going doing them. I'm sure I will get a bit more aggressive on the next one. I will keep you informed as I keep running it. I only put 3-4 tanks threw it the other day and it had about 3/4 of a gallon threw it before modding. I also removed the thin head shim about 4 thanks before the mod which gave it a touch more power (slightly noticeable).

Heyy just wondendering did you leave that stuff you put in the crank as in the pic or did you do somethign to it before assembling it again
 

Latest posts

Members online

No members online now.
Back
Top