ShiftPoint
Well-Known Member
- Messages
- 840
- Location
- Ft. Laduredale, FL
Review: HPI’s 2002 Dodge Ram Body Part #7178
I have to post this in a couple post's, it is too long for one post.
Reviewing a body, first thing I thought when I was given this opportunity was “How to review a body?” Not too much to review except the quality, appearance, durability, cost and contents.
I can however show how easy and enjoyable it can be to paint these, I decided I will do a step by step of how I do a body, the tools I use and the steps I take from start to finish, I hope this will help others, especially those who haven’t painted one before. First I want to hit the items I mentioned above.
Quality: The quality of this body (actually most of this applies to every HPI Savage body I have ever had) is good for the price we pay, they are well made for the job they do, I am not sure they could be made much better. They will help keep the dirt out, offer some protection, and they can be painted to make our Savage’s look awesome. Something I like about HPI’s body’s is that they have indentations where the holes need to go, and the areas that need to be cut out are clearly marked, this makes it easy to trim and drill the holes, you wont have to mark the places yourself unless you want. One last thing I love about these bodies is there is a protective film that covers the outside of the body, it helps protect the outside of the body while your working on it, also allows you to draw designs on the outside to help getting the look you want.
Things that would improve the quality of this body (and other HPI bodies I have painted) I would like to have the masking and decals precut through the backing of the material. (you will see why later in the review) I have also noticed on this (and other HPI bodies) is the window masks do not seem to fit exactly, this could be better.
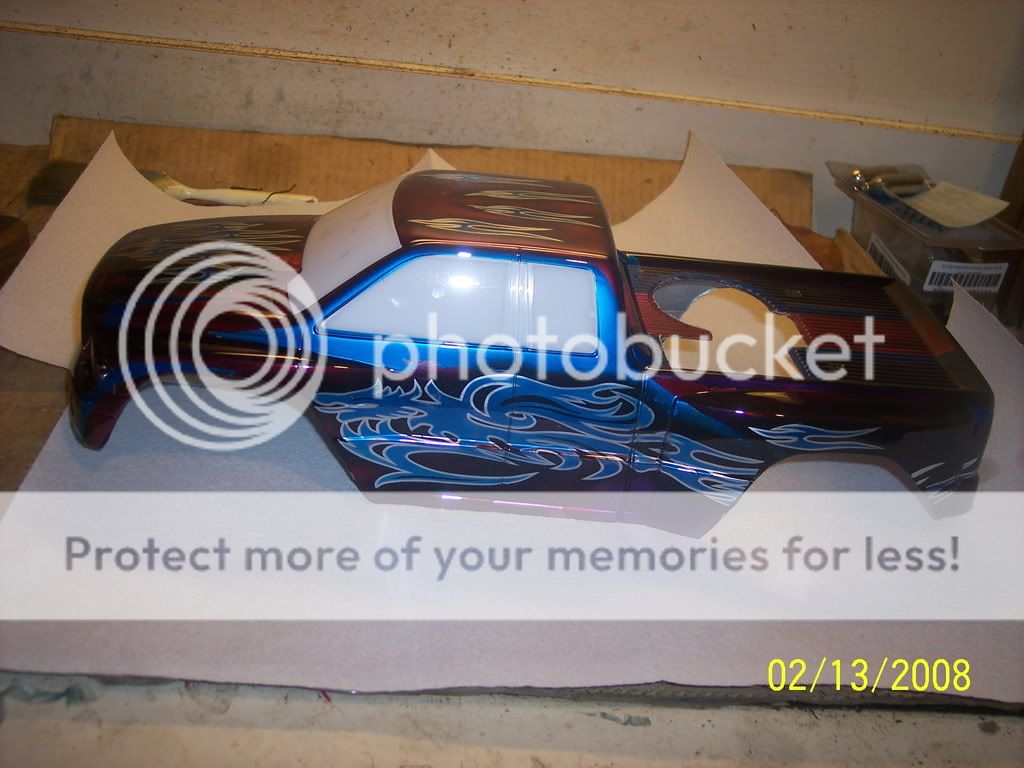
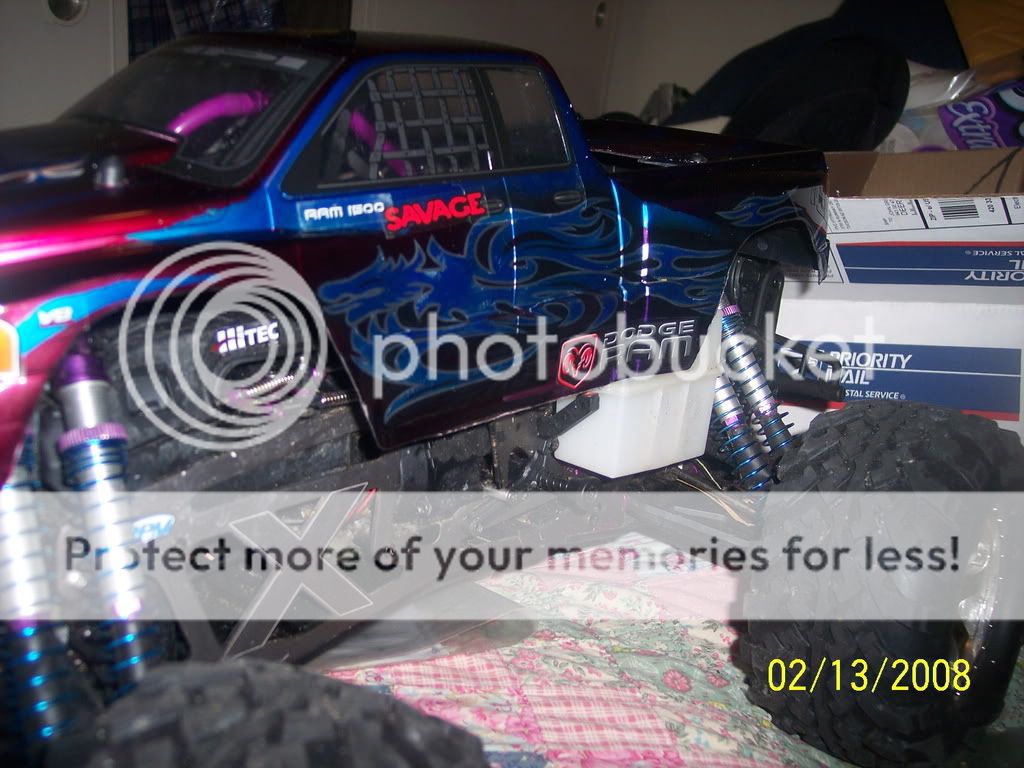
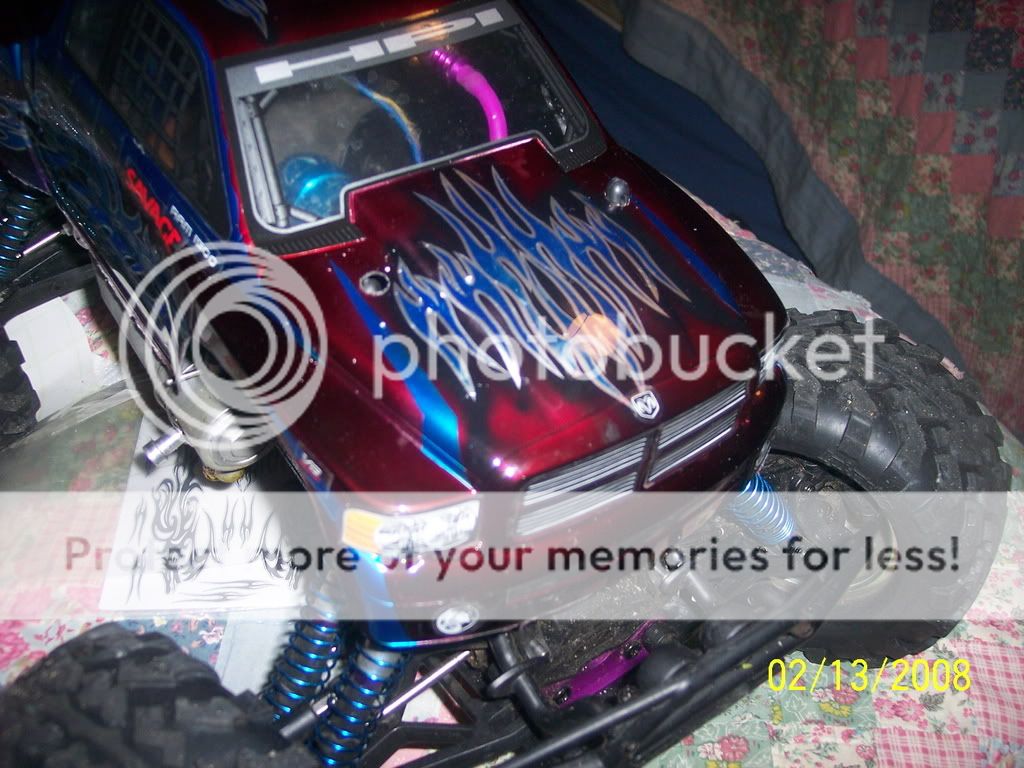
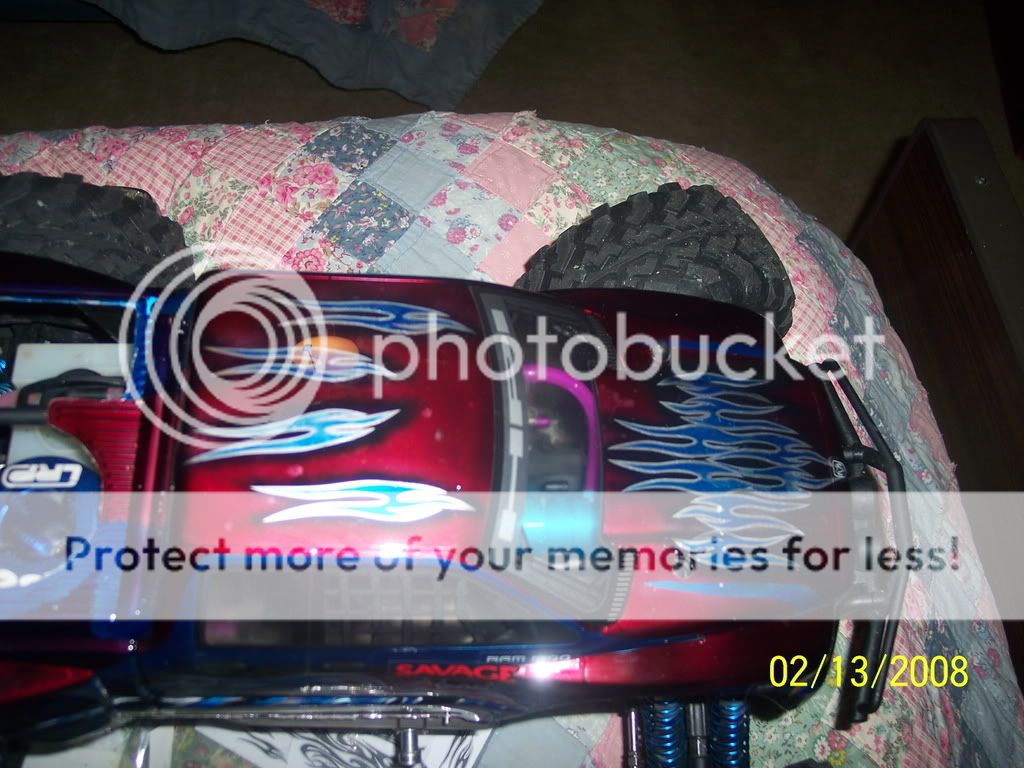
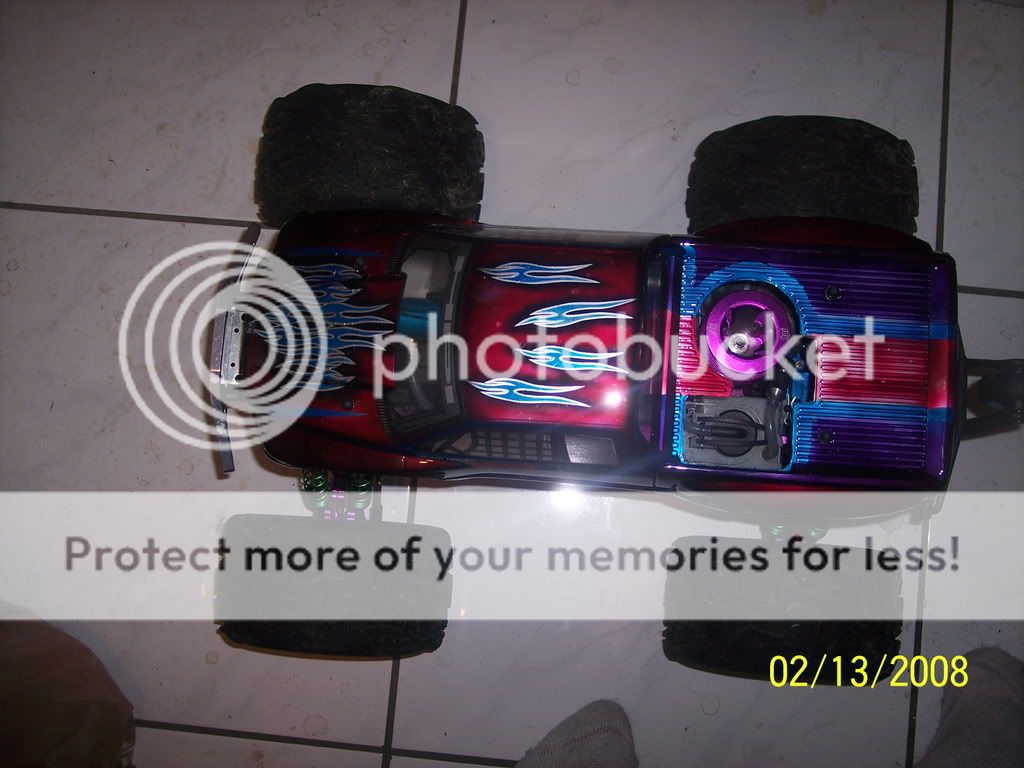
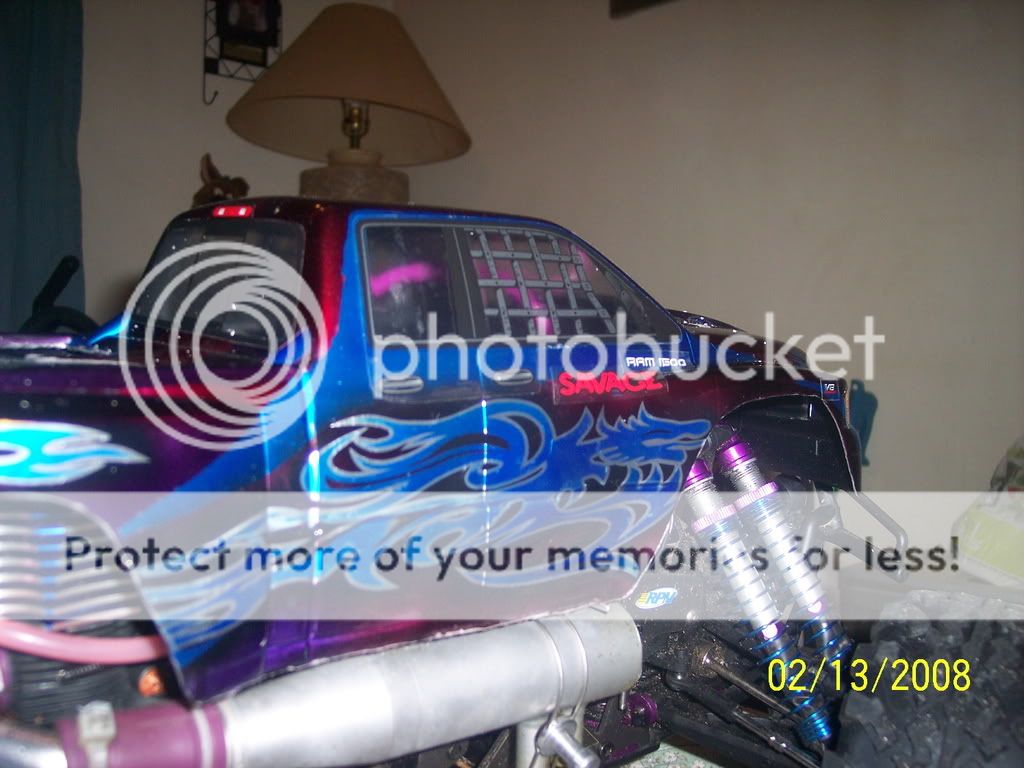
Appearance: Mush of the appearance is opinion, if you like the Dodge Ram, you will like this body. In my opinion this body is as nice as any of the other bodies I have had, HPI does a very good job with the detail, it does look like a Dodge Ram, The decals are also very detailed and the instructions show exactly where they should go.
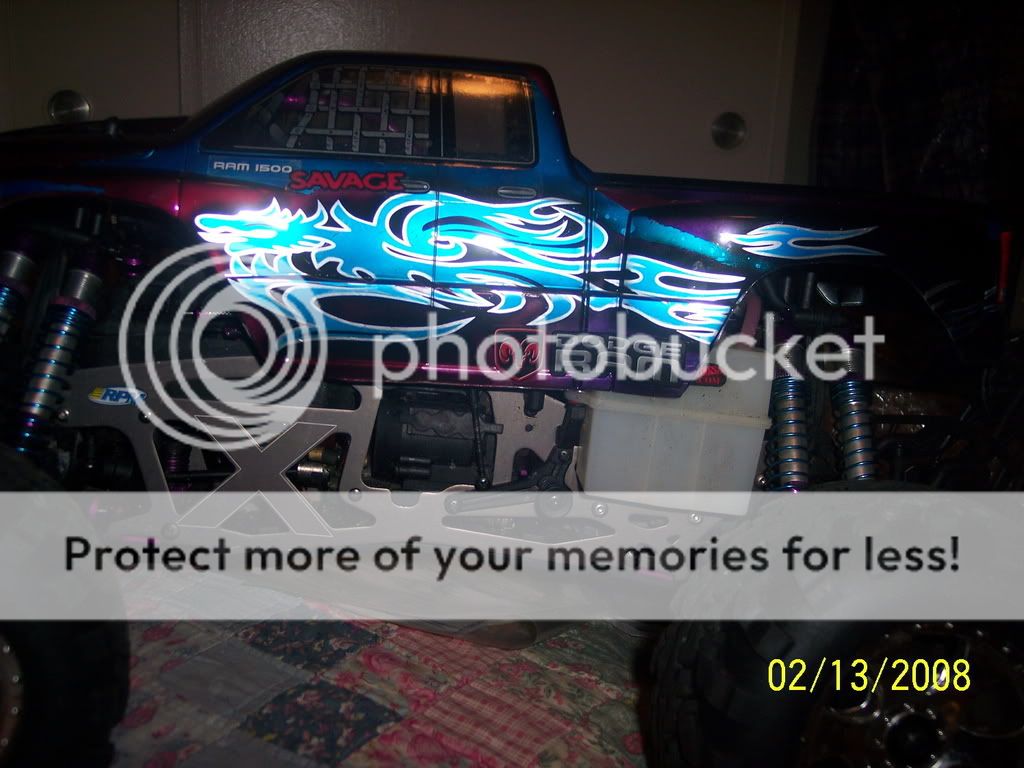
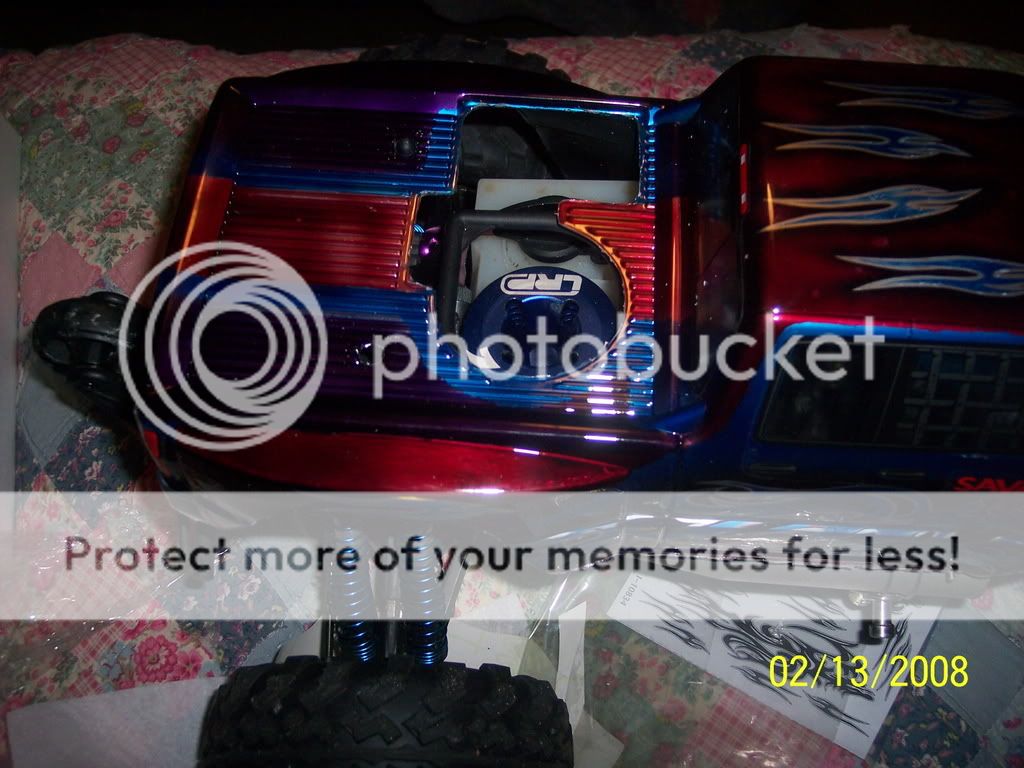
Durability: This is something that only time and use holds the answer. Something I noticed about this body is the bed of the truck it is particularly strong as it has many ridges which should add quite a bit of strength. Most of HPI’s body’s have these ridged areas incorporated into the design which makes for good reinforcement, however this truck has more than others I have seen, it also adds to the overall look of this body. This should also provide good protection to the engine too.
What’s included?
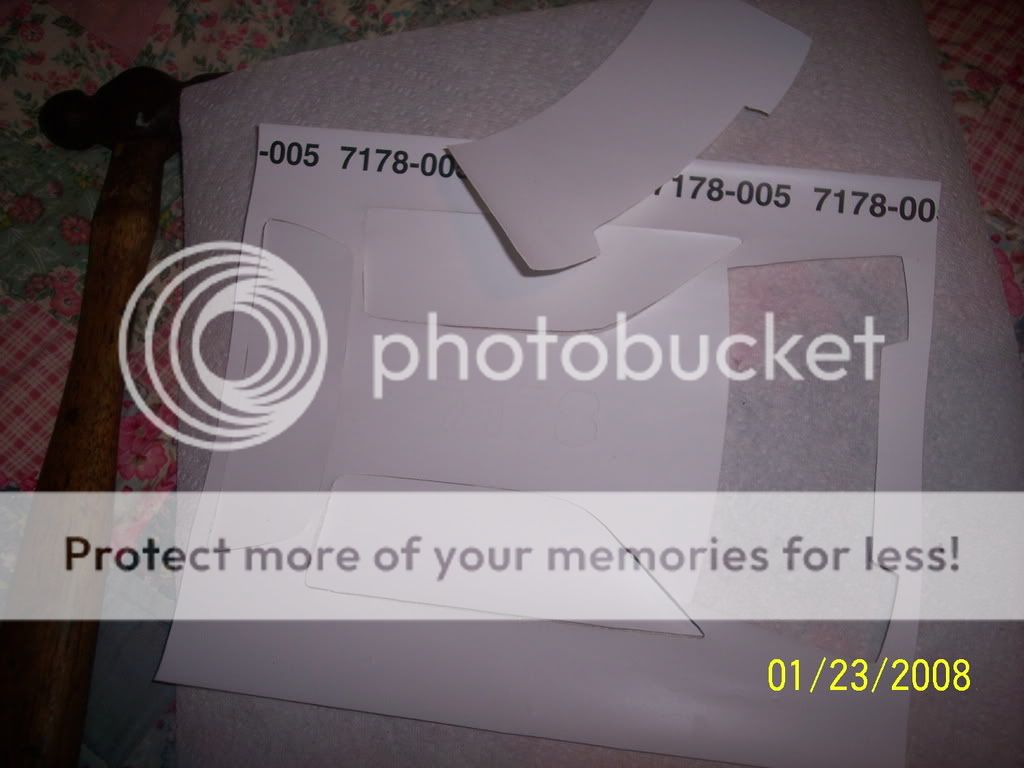
Here are some pictures of what you will find inside the package. An instruction sheet, pre-cut mask’s for the windows, stickers for the outside of the body, the body itself, and a HPI catalog that unfolds into a poster of an action shot of HPI’s Baja.
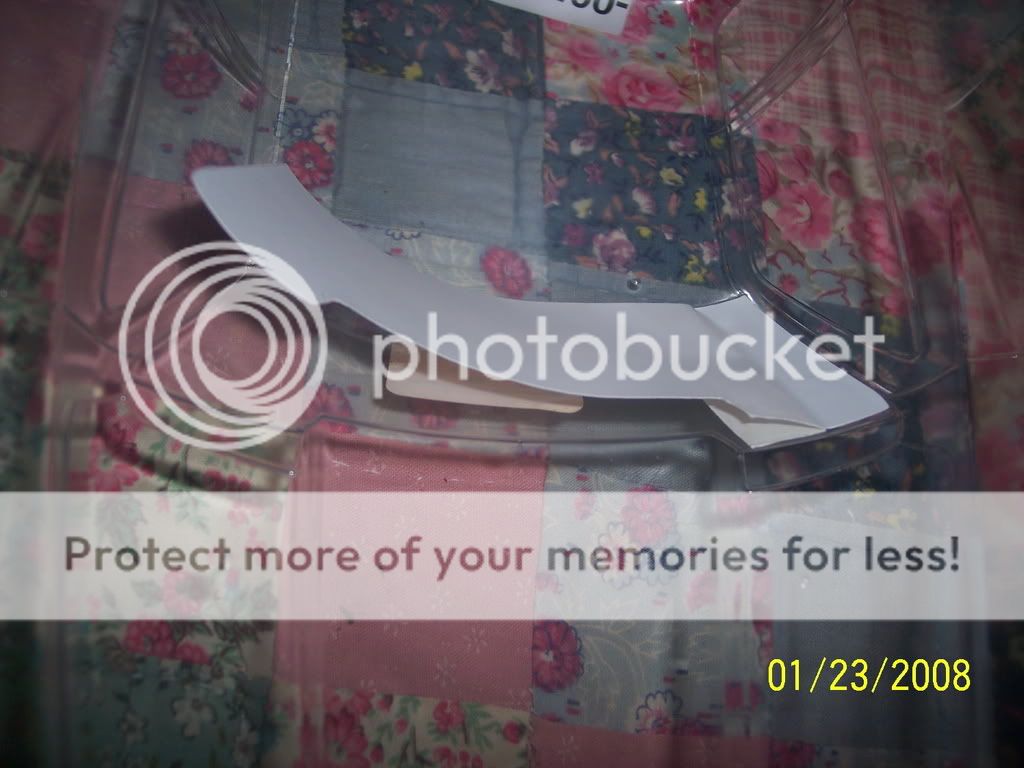
Instruction sheet, window mask’s and Decal’s

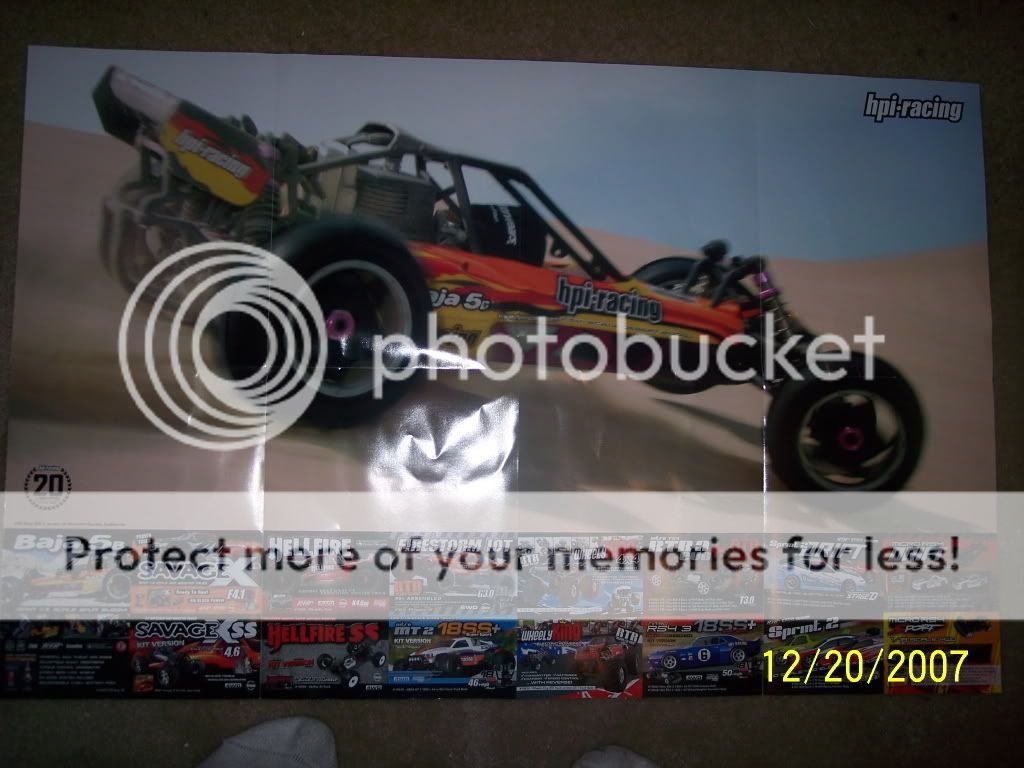
All of HPI’s body’s include a catalog, when unfolded the back is a large poster of the HPI Baja 5b. Here’s a shot of the Poster.
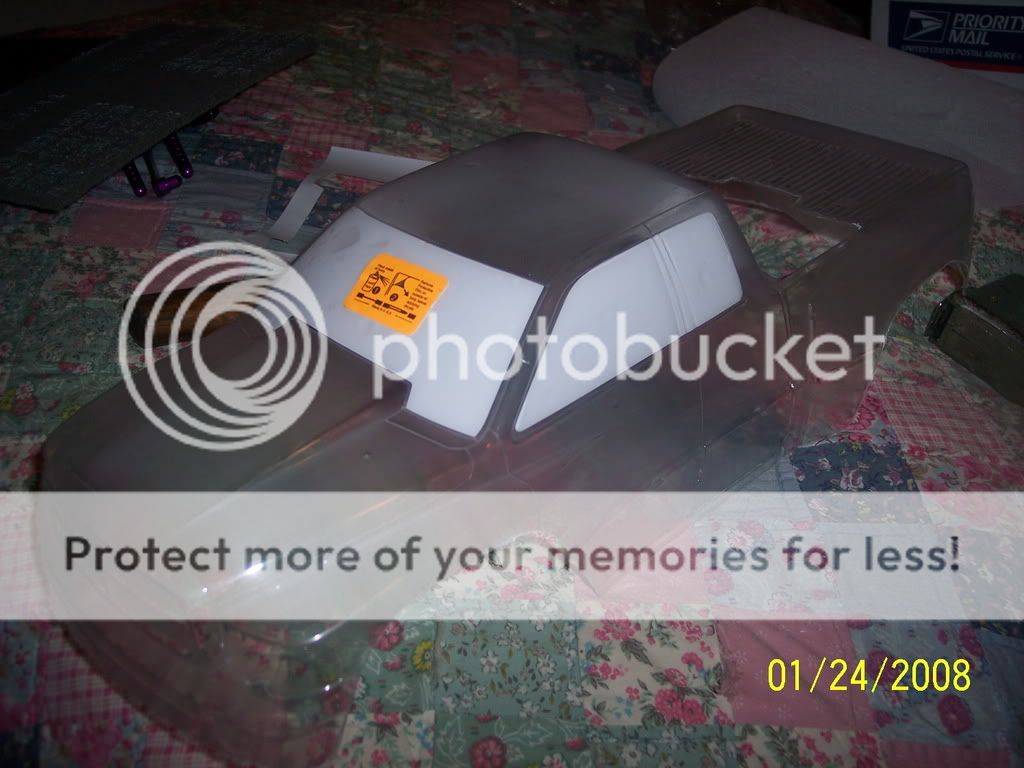
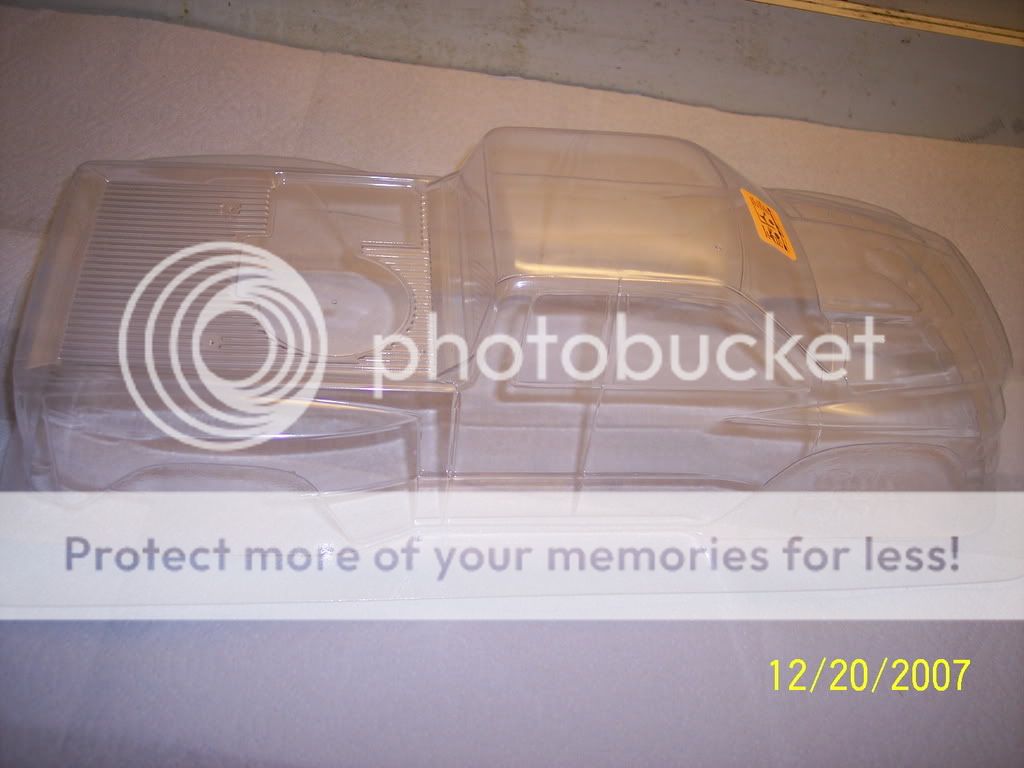
Finally the Dodge Ram Body, ready to be painted, almost…
How I paint these bodies.
First I want to say, I am now where near a pro at doing these. This is only the 4th body I have ever done. I have no idea how this will turn out. If you want a perfect paint job on your body you can spend as much time preparing the masks as you like. If you do want as near perfect as you can, I suggest during the preparation part do it over as many times as it takes because, well I know no way of fixing it once you put paint down. I guess you could wait till the paint drys and sand it off. As for myself I am still learning, I do it once and if I mess up on the masking or something I just keep going. They usually look ok when finished anyway. Also remember most of us will just destroy these body’s soon after finishing so I suggest just enjoy what your doing and try harder on the next one. Usually you will be happy with it anyway.
Note: I just finished, I wanted to add this to the beginning, there are plenty of mistakes. Mostly from my lack of experience and my inexpensive airbrush.
TOOLS:
Safety equipment:.
Air filtration mask. (Breathing Mask) -- I don’t have one of these so I only spray in a well ventilated area with a fan blowing fresh air my way
Safety glasses – I do have these and use them when using the dreml tool, should also be used while using a compressor.
Tools I use for prepping the body:
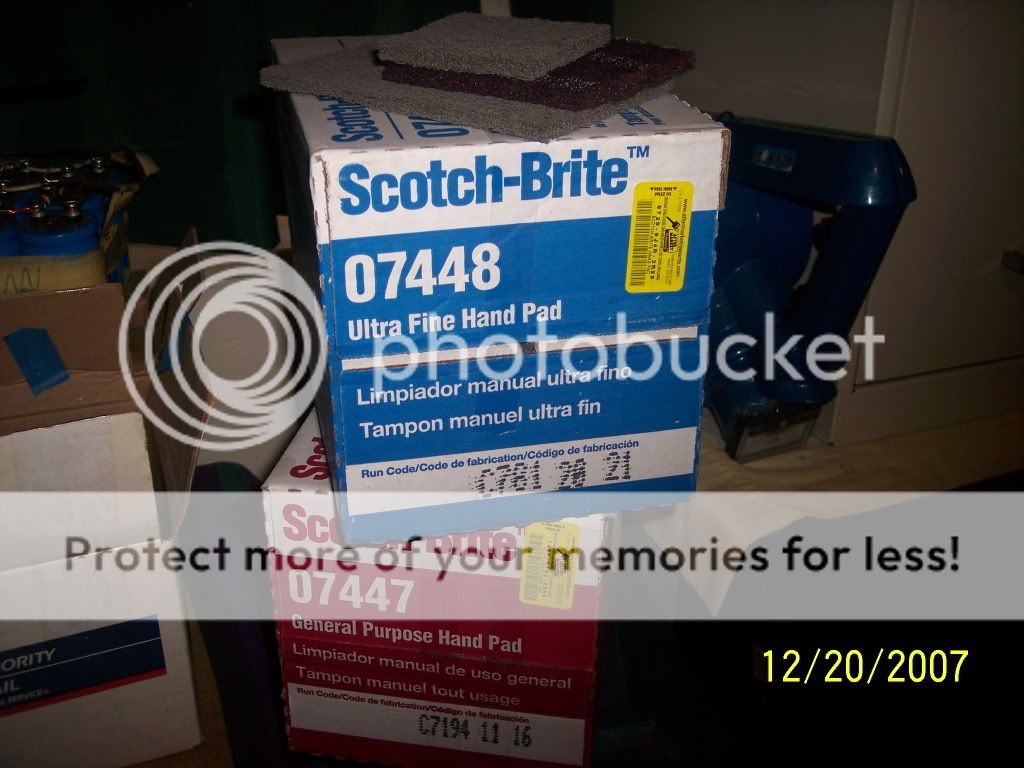
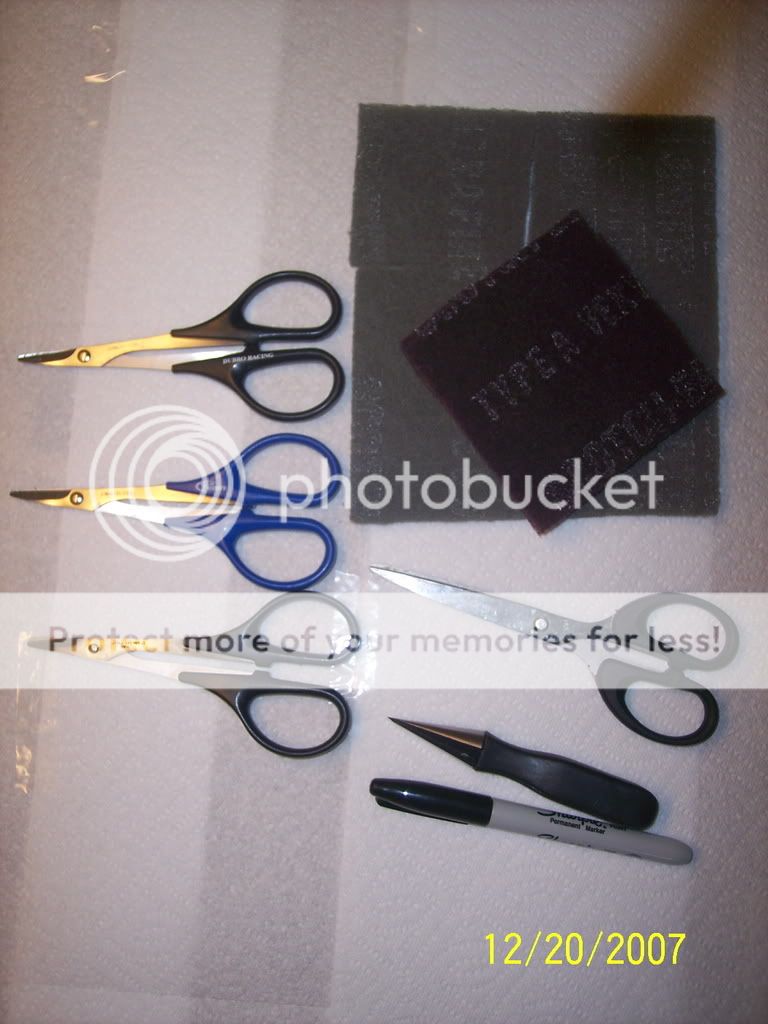
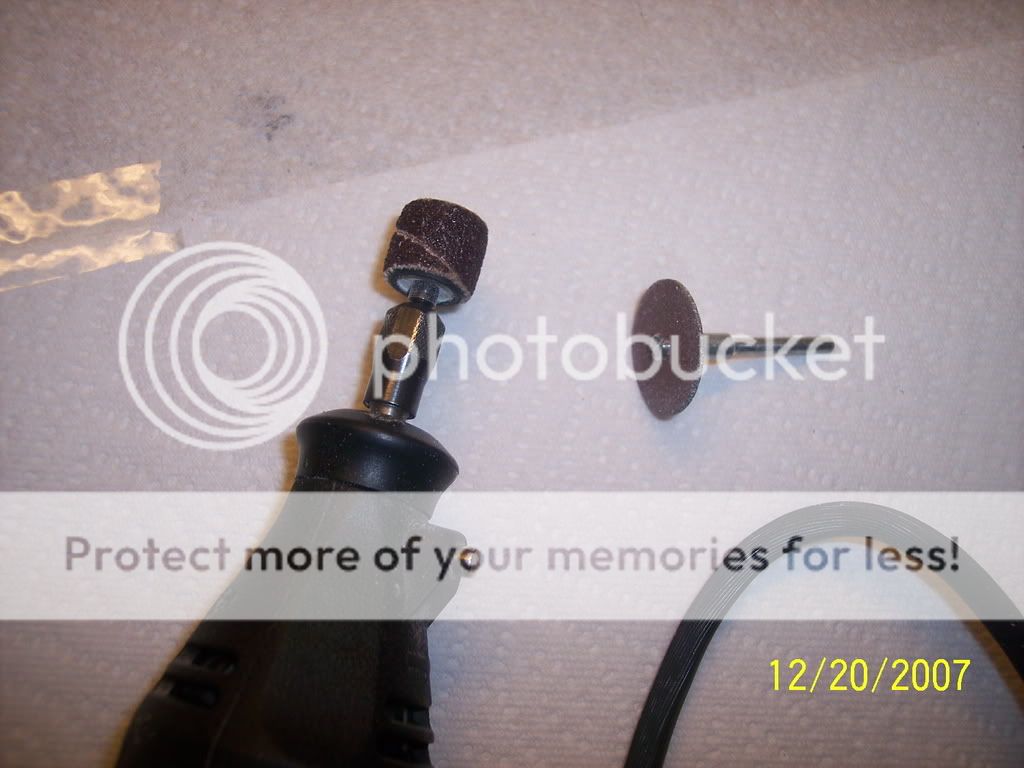
These are the tools I use for preparing the body : a dremel with cutting disk’s and a sanding wheel, Body scissors made for cutting lexan body’s (the blue handled associates seem to work slightly better for me), a reamer for reaming the holes foor the body post’s and antenna, and Scotchbrite pads (numbers #07447 gray and #07448 red) used for roughing up the inside of the body, this will help keep the paint from chipping. (I will also be using some dish soap)
Here are some pic’s of the tools I use.
Scotchbrite pads, reaming tool, trimming and regular scissors, and a sharpie marker.
Dremel and bits used
The tools I use for painting
Airbrush, I don’t recommend this model, but it is inexpensive. I tends to spray blotches of paint which messed up this body in a couple of spots. It may just be because I am using it wrong, have the air pressure set too high or too low. I have tried to stop it from happening. I suspect it is just the quality of the brush I have, around $60 for the kit.
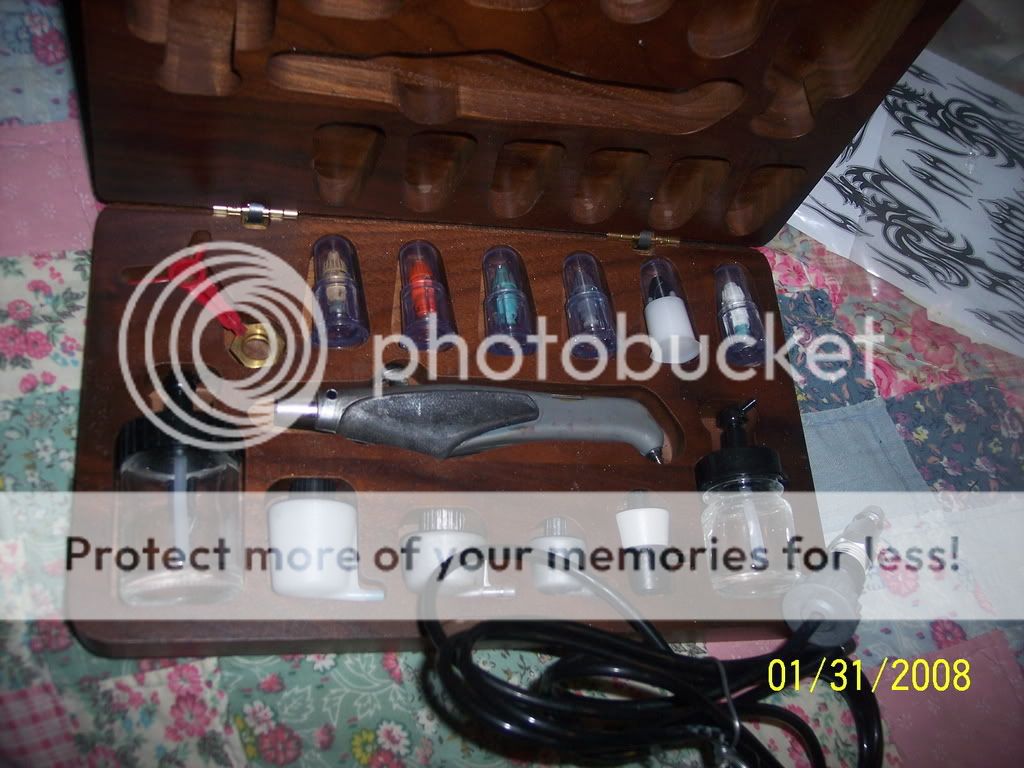
You will also need an air compressor with regulator and water separator or caned compressed air. The canned air is much more expensive over time.
For the paint I am going to be using Spaz Stix Paints I have some on hand and like the way they look.. Spaz Stix paint is a Lacquer paint. You could also use acrylics which are water based. For this project I am going to use the Spaz Stix paint because I love the look it gives, also because this being only my 4th paint job I have only used their paint so far. I do have some acrylic paint I am wanting to try. I also use thinner for clean up.
Misc items, scissors, liquid masking, thinner for lacquer paints (For acrylics water can be used for thinning the paint and clean up), alcohol, paint brushes, Sharpe marker, and Paper towels.
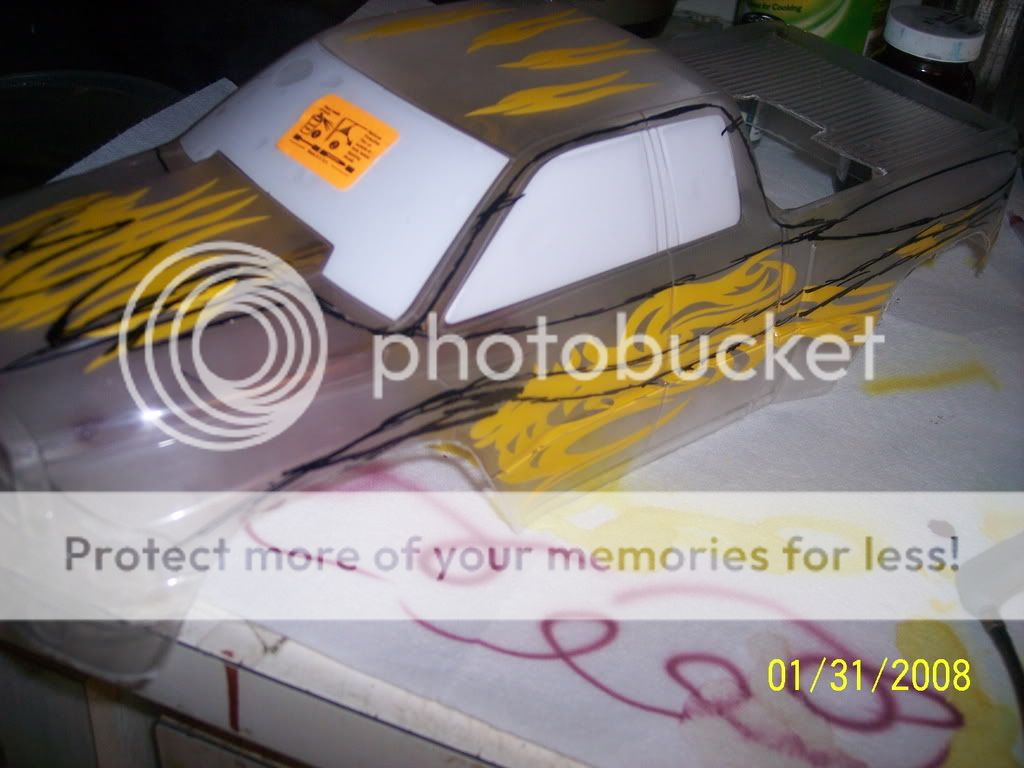
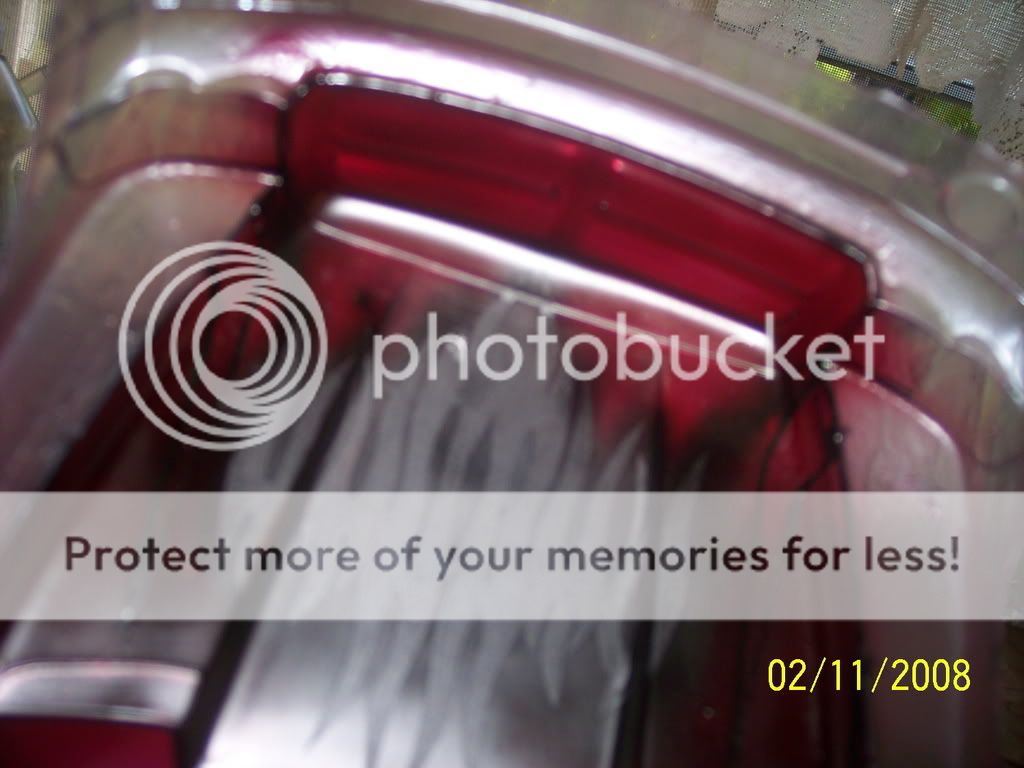
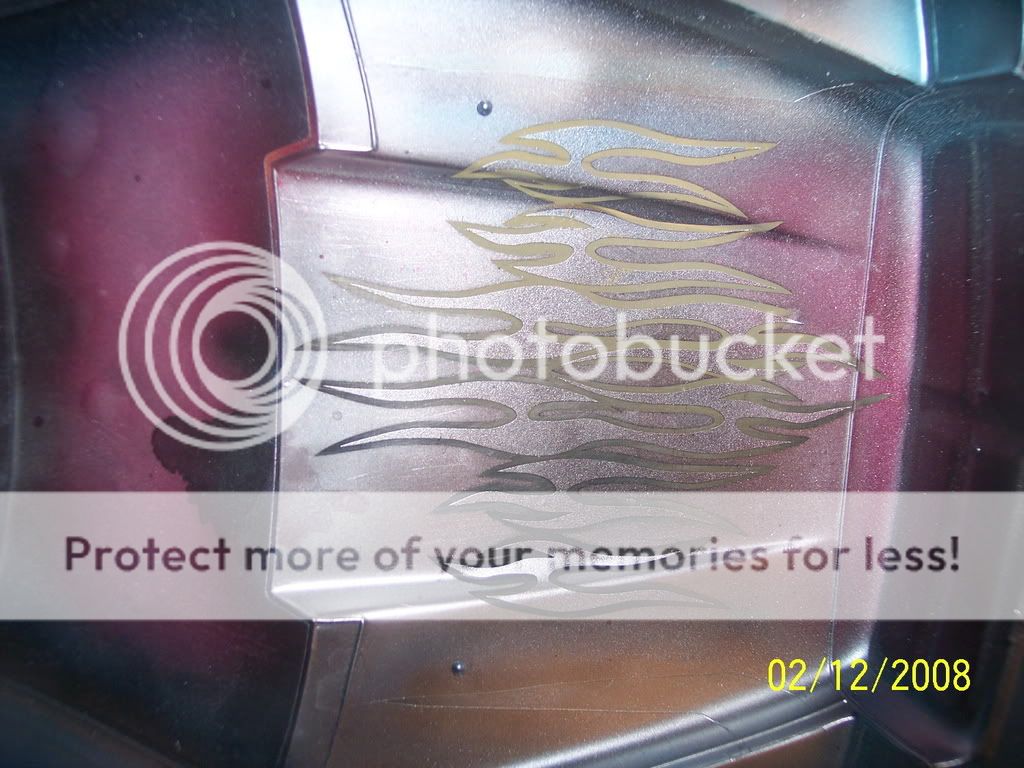
You’ve already choosen the HPI Dodge Ram body, now its time to decide masking, color(s), design and over all look you want your HPI Dodge Ram to look when finished. This is something I do from the time I pick out a body till near the end of painting. To dream up a design, this is for me by far the hardest part of painting these body’s. First I study the body and pre-cut mask if using one. Try to see what you can come up with in your head. Usually I end up starting one idea then go from there. Sometime I start by drawing a design on the outside of the body, which is covered by a clear film, using a sharpie marker. If you don’t like what you come up with the sharpie will clean off using alcohol.. Some times I end up using some of each of these techniques.
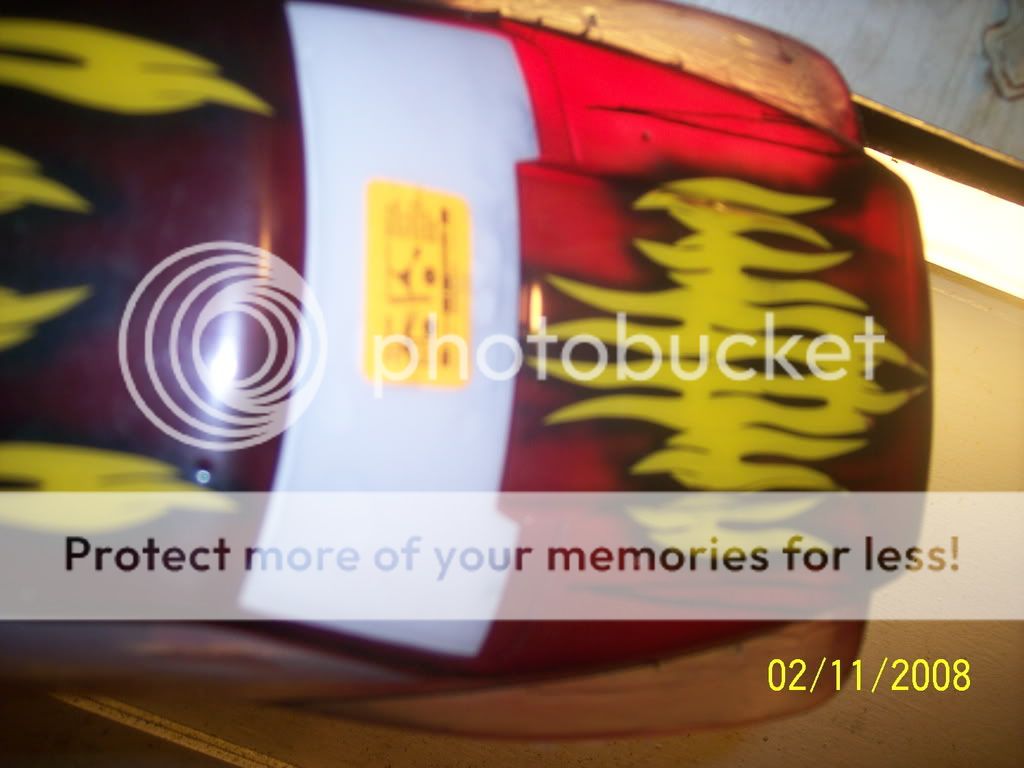
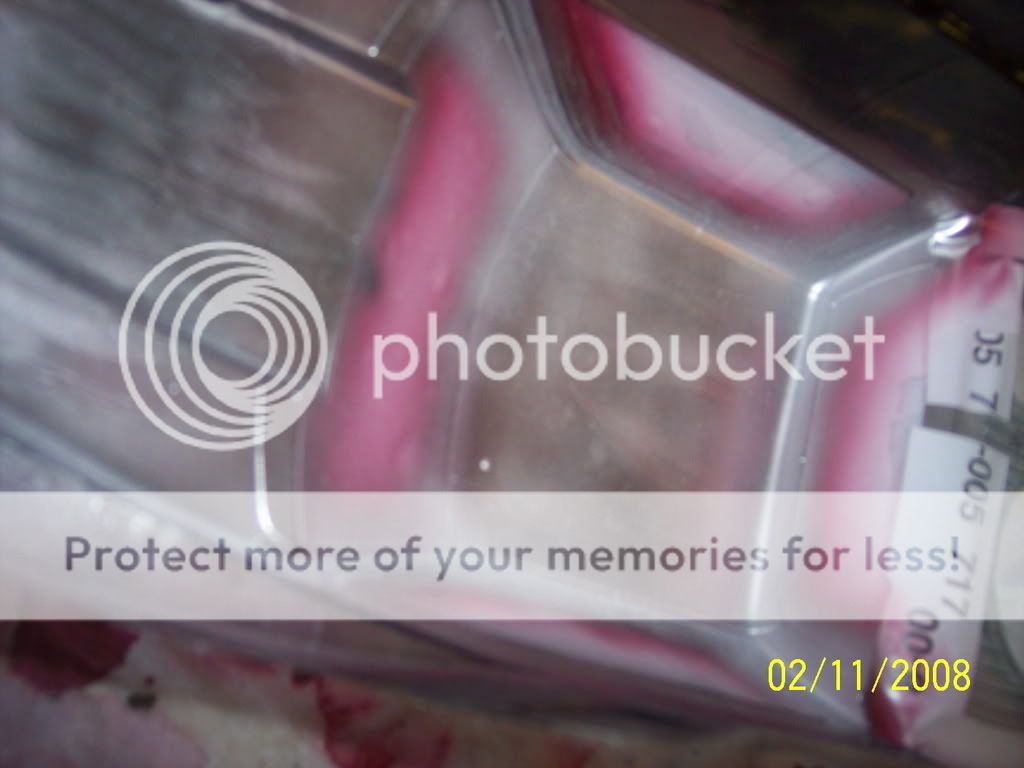
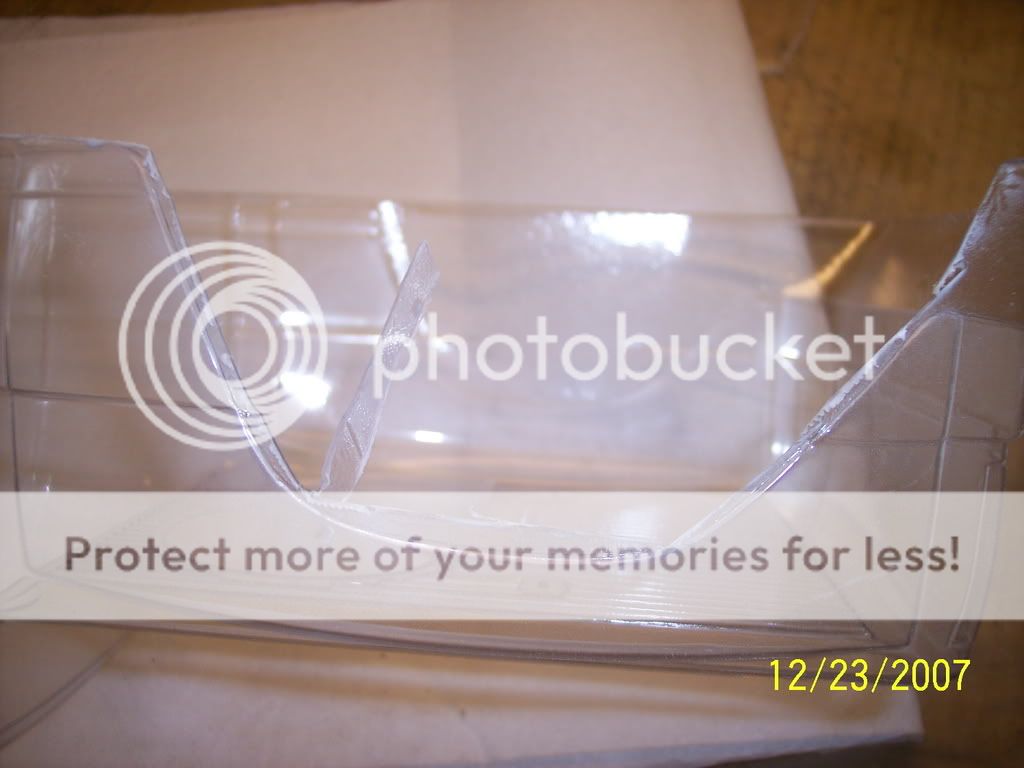
To help me choose colors. I use any clear plastic, for example one of these is a shell that a roll of tape came in, another is a piece I trimmed lexan from another body, or a empied 2 liter coke bottle cut in half., spray and back the different colors of paint you have on them. This gives me an idea of what the paint will look like on the body.
For this body you guys at HPISF choose a pre-cut mask by Parma in a poll, thanks guys! Pictures of the mask can be found here in the thread containing the poll.
https://www.hpisavageforum.com/forums/showthread.php?t=4646
Preparing the body:
While I am thinking about a design, colors, etc… I am going to trim the body. Some people trim the body last, I like to get it out of the way. Also if I mess up and hit the body I wont remove any paint, and can cover any marks that may be made during trimming. I do however drill the holes after painting.
Trimming:
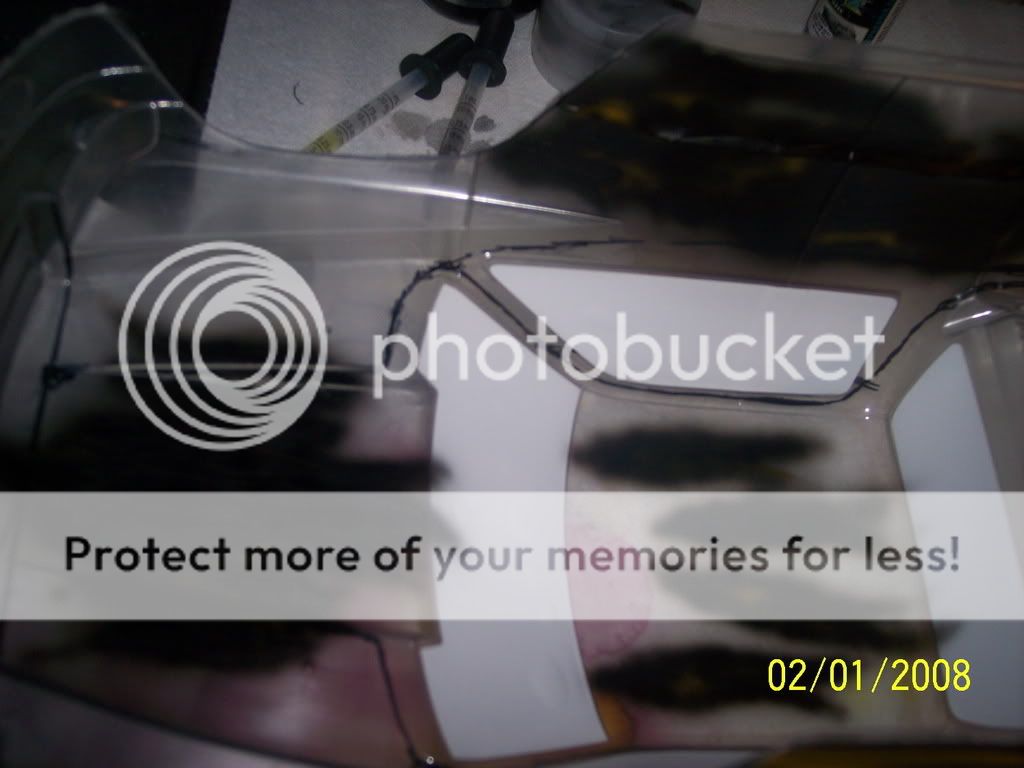
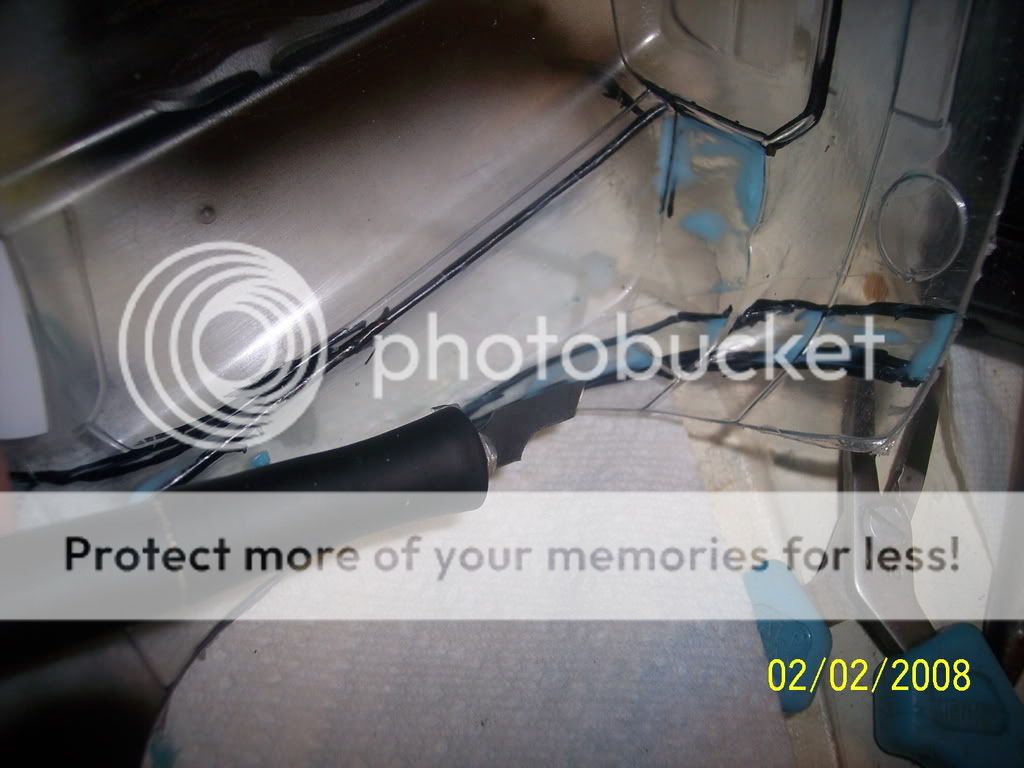
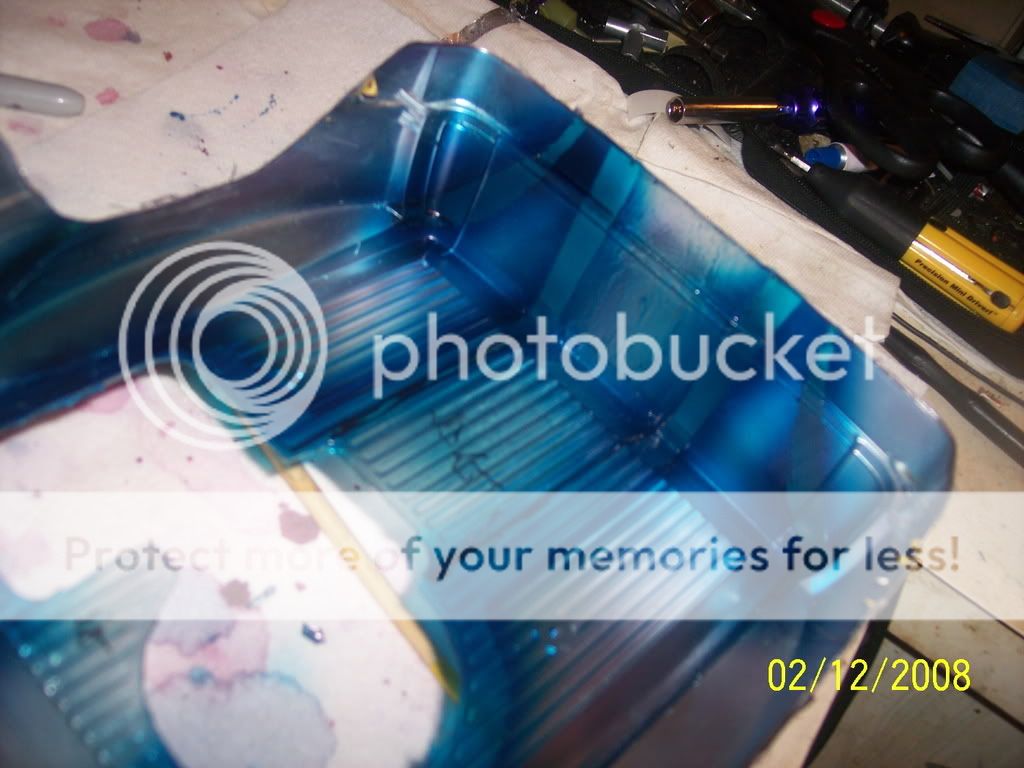
All you have to do is remove all the plastic you don’t want on the finished product. First I will Dremel with a cutting disk to cut off the large areas of the material getting as close to the line as I can without chancing a mistake.
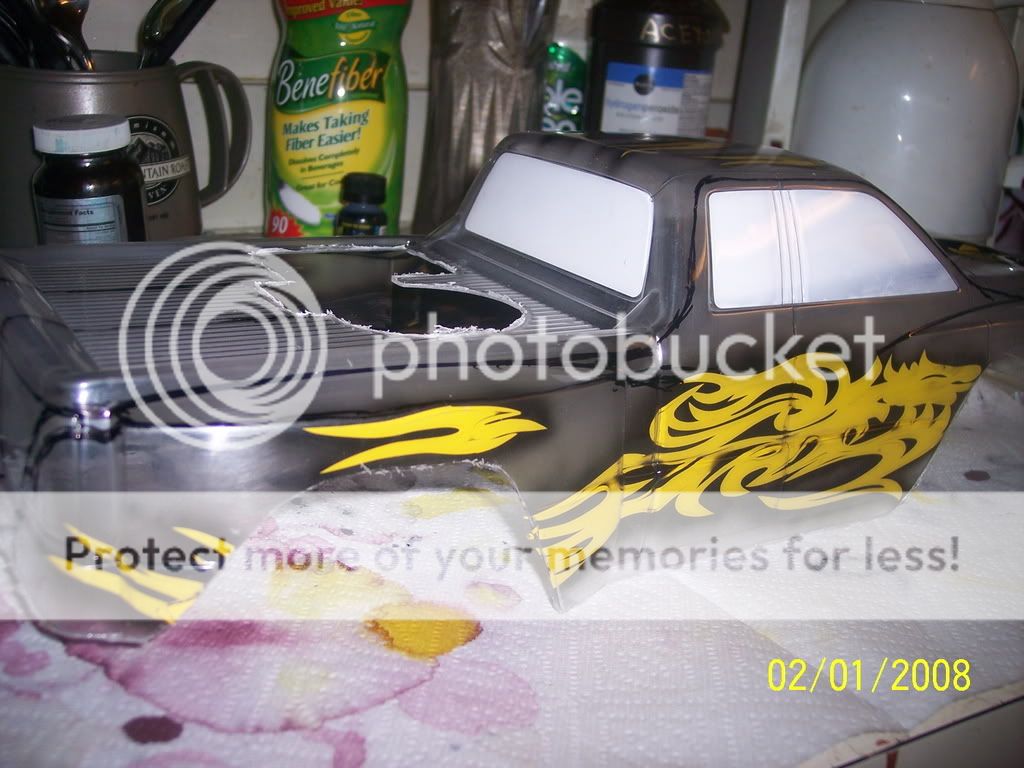
First I remove as much of the extra lexan as I can with the Dremel tool and a cutting disk. Don’t forget the hole for the engine and gas cap.
I use the body scissors to cut out the areas I couldn’t get to with the cutting disk if needed, I didn’t have to do this with this body..
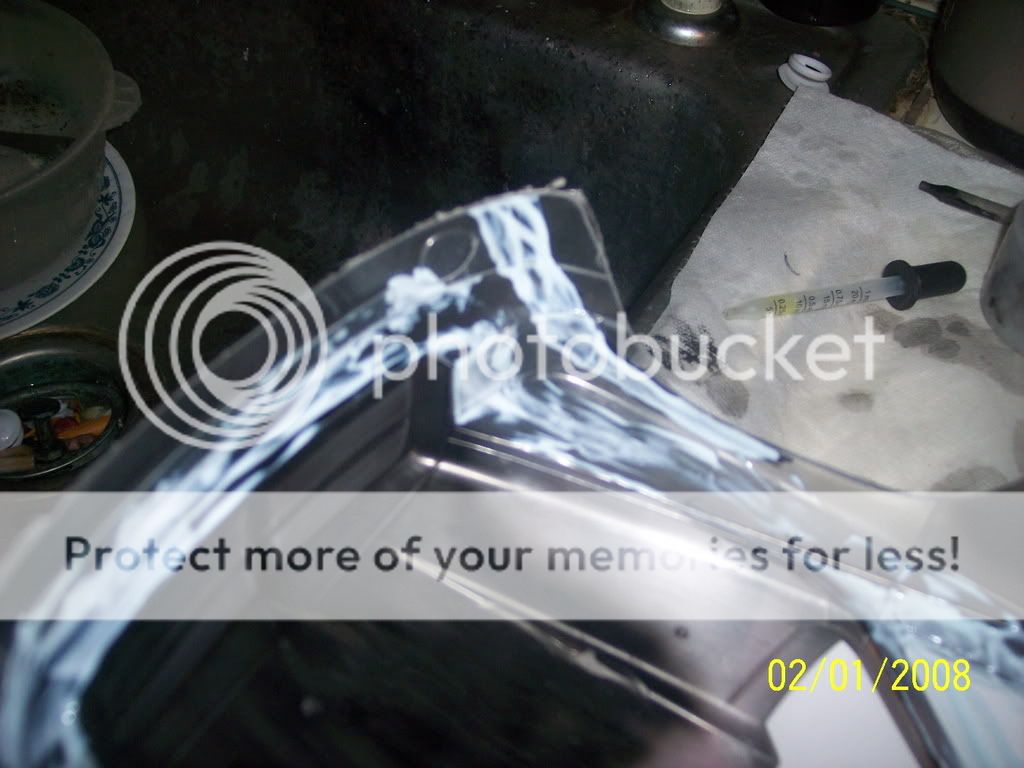
Finally I will use e Dremel with the sanding cylinder to remove the rest of the unwanted material us to the line and to smooth out any sharp edges. The better job you do with the cutting disk and scissors, the less work you will have here.
Finished trimming.
I have to post this in a couple post's, it is too long for one post.
Reviewing a body, first thing I thought when I was given this opportunity was “How to review a body?” Not too much to review except the quality, appearance, durability, cost and contents.
I can however show how easy and enjoyable it can be to paint these, I decided I will do a step by step of how I do a body, the tools I use and the steps I take from start to finish, I hope this will help others, especially those who haven’t painted one before. First I want to hit the items I mentioned above.
Quality: The quality of this body (actually most of this applies to every HPI Savage body I have ever had) is good for the price we pay, they are well made for the job they do, I am not sure they could be made much better. They will help keep the dirt out, offer some protection, and they can be painted to make our Savage’s look awesome. Something I like about HPI’s body’s is that they have indentations where the holes need to go, and the areas that need to be cut out are clearly marked, this makes it easy to trim and drill the holes, you wont have to mark the places yourself unless you want. One last thing I love about these bodies is there is a protective film that covers the outside of the body, it helps protect the outside of the body while your working on it, also allows you to draw designs on the outside to help getting the look you want.
Things that would improve the quality of this body (and other HPI bodies I have painted) I would like to have the masking and decals precut through the backing of the material. (you will see why later in the review) I have also noticed on this (and other HPI bodies) is the window masks do not seem to fit exactly, this could be better.
Appearance: Mush of the appearance is opinion, if you like the Dodge Ram, you will like this body. In my opinion this body is as nice as any of the other bodies I have had, HPI does a very good job with the detail, it does look like a Dodge Ram, The decals are also very detailed and the instructions show exactly where they should go.
Durability: This is something that only time and use holds the answer. Something I noticed about this body is the bed of the truck it is particularly strong as it has many ridges which should add quite a bit of strength. Most of HPI’s body’s have these ridged areas incorporated into the design which makes for good reinforcement, however this truck has more than others I have seen, it also adds to the overall look of this body. This should also provide good protection to the engine too.
What’s included?
Here are some pictures of what you will find inside the package. An instruction sheet, pre-cut mask’s for the windows, stickers for the outside of the body, the body itself, and a HPI catalog that unfolds into a poster of an action shot of HPI’s Baja.
Instruction sheet, window mask’s and Decal’s
All of HPI’s body’s include a catalog, when unfolded the back is a large poster of the HPI Baja 5b. Here’s a shot of the Poster.
Finally the Dodge Ram Body, ready to be painted, almost…
How I paint these bodies.
First I want to say, I am now where near a pro at doing these. This is only the 4th body I have ever done. I have no idea how this will turn out. If you want a perfect paint job on your body you can spend as much time preparing the masks as you like. If you do want as near perfect as you can, I suggest during the preparation part do it over as many times as it takes because, well I know no way of fixing it once you put paint down. I guess you could wait till the paint drys and sand it off. As for myself I am still learning, I do it once and if I mess up on the masking or something I just keep going. They usually look ok when finished anyway. Also remember most of us will just destroy these body’s soon after finishing so I suggest just enjoy what your doing and try harder on the next one. Usually you will be happy with it anyway.
Note: I just finished, I wanted to add this to the beginning, there are plenty of mistakes. Mostly from my lack of experience and my inexpensive airbrush.
TOOLS:
Safety equipment:.
Air filtration mask. (Breathing Mask) -- I don’t have one of these so I only spray in a well ventilated area with a fan blowing fresh air my way
Safety glasses – I do have these and use them when using the dreml tool, should also be used while using a compressor.
Tools I use for prepping the body:
These are the tools I use for preparing the body : a dremel with cutting disk’s and a sanding wheel, Body scissors made for cutting lexan body’s (the blue handled associates seem to work slightly better for me), a reamer for reaming the holes foor the body post’s and antenna, and Scotchbrite pads (numbers #07447 gray and #07448 red) used for roughing up the inside of the body, this will help keep the paint from chipping. (I will also be using some dish soap)
Here are some pic’s of the tools I use.
Scotchbrite pads, reaming tool, trimming and regular scissors, and a sharpie marker.
Dremel and bits used
The tools I use for painting
Airbrush, I don’t recommend this model, but it is inexpensive. I tends to spray blotches of paint which messed up this body in a couple of spots. It may just be because I am using it wrong, have the air pressure set too high or too low. I have tried to stop it from happening. I suspect it is just the quality of the brush I have, around $60 for the kit.
You will also need an air compressor with regulator and water separator or caned compressed air. The canned air is much more expensive over time.
For the paint I am going to be using Spaz Stix Paints I have some on hand and like the way they look.. Spaz Stix paint is a Lacquer paint. You could also use acrylics which are water based. For this project I am going to use the Spaz Stix paint because I love the look it gives, also because this being only my 4th paint job I have only used their paint so far. I do have some acrylic paint I am wanting to try. I also use thinner for clean up.
Misc items, scissors, liquid masking, thinner for lacquer paints (For acrylics water can be used for thinning the paint and clean up), alcohol, paint brushes, Sharpe marker, and Paper towels.
You’ve already choosen the HPI Dodge Ram body, now its time to decide masking, color(s), design and over all look you want your HPI Dodge Ram to look when finished. This is something I do from the time I pick out a body till near the end of painting. To dream up a design, this is for me by far the hardest part of painting these body’s. First I study the body and pre-cut mask if using one. Try to see what you can come up with in your head. Usually I end up starting one idea then go from there. Sometime I start by drawing a design on the outside of the body, which is covered by a clear film, using a sharpie marker. If you don’t like what you come up with the sharpie will clean off using alcohol.. Some times I end up using some of each of these techniques.
To help me choose colors. I use any clear plastic, for example one of these is a shell that a roll of tape came in, another is a piece I trimmed lexan from another body, or a empied 2 liter coke bottle cut in half., spray and back the different colors of paint you have on them. This gives me an idea of what the paint will look like on the body.
For this body you guys at HPISF choose a pre-cut mask by Parma in a poll, thanks guys! Pictures of the mask can be found here in the thread containing the poll.
https://www.hpisavageforum.com/forums/showthread.php?t=4646
Preparing the body:
While I am thinking about a design, colors, etc… I am going to trim the body. Some people trim the body last, I like to get it out of the way. Also if I mess up and hit the body I wont remove any paint, and can cover any marks that may be made during trimming. I do however drill the holes after painting.
Trimming:
All you have to do is remove all the plastic you don’t want on the finished product. First I will Dremel with a cutting disk to cut off the large areas of the material getting as close to the line as I can without chancing a mistake.
First I remove as much of the extra lexan as I can with the Dremel tool and a cutting disk. Don’t forget the hole for the engine and gas cap.
I use the body scissors to cut out the areas I couldn’t get to with the cutting disk if needed, I didn’t have to do this with this body..
Finally I will use e Dremel with the sanding cylinder to remove the rest of the unwanted material us to the line and to smooth out any sharp edges. The better job you do with the cutting disk and scissors, the less work you will have here.
Finished trimming.
Last edited by a moderator: