- Messages
- 3,849
- Location
- Worthington, MN
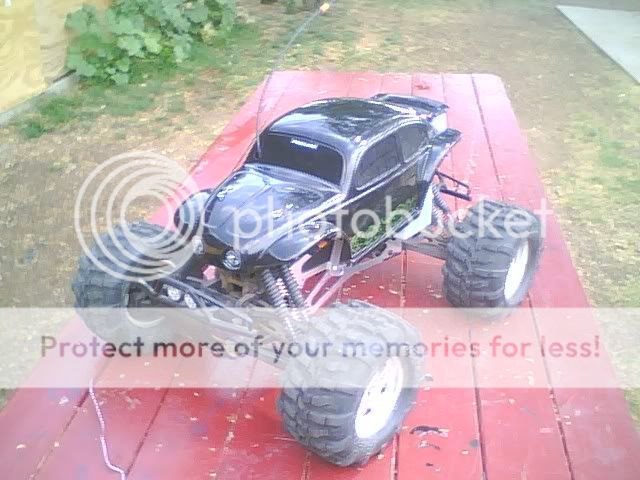
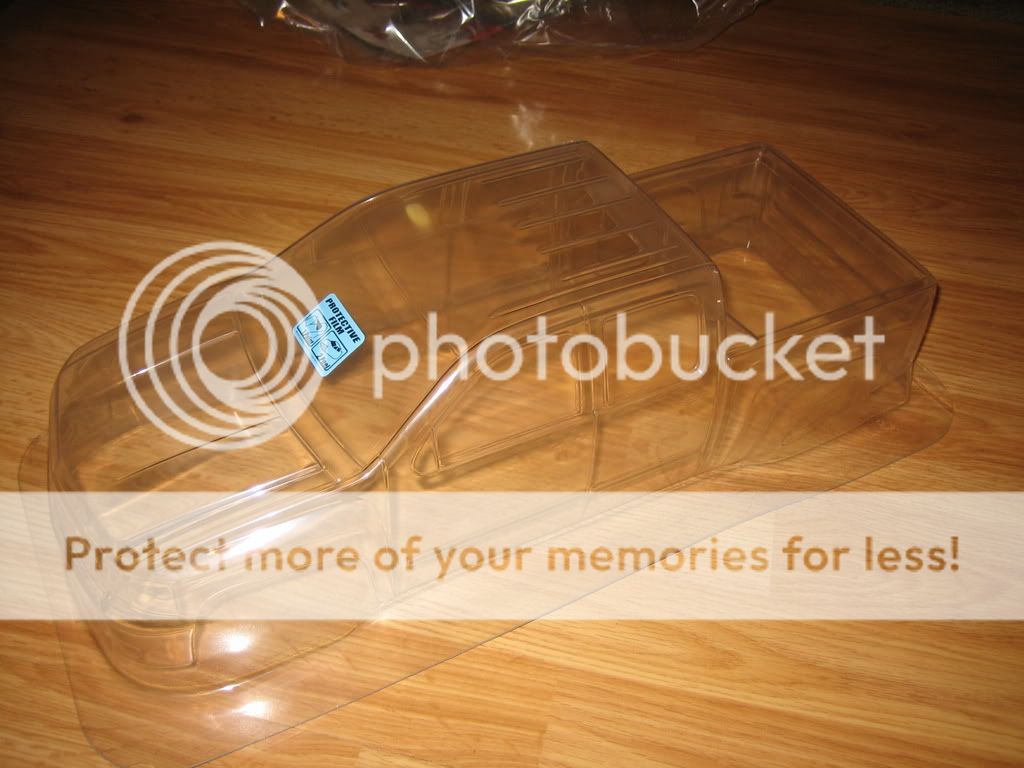
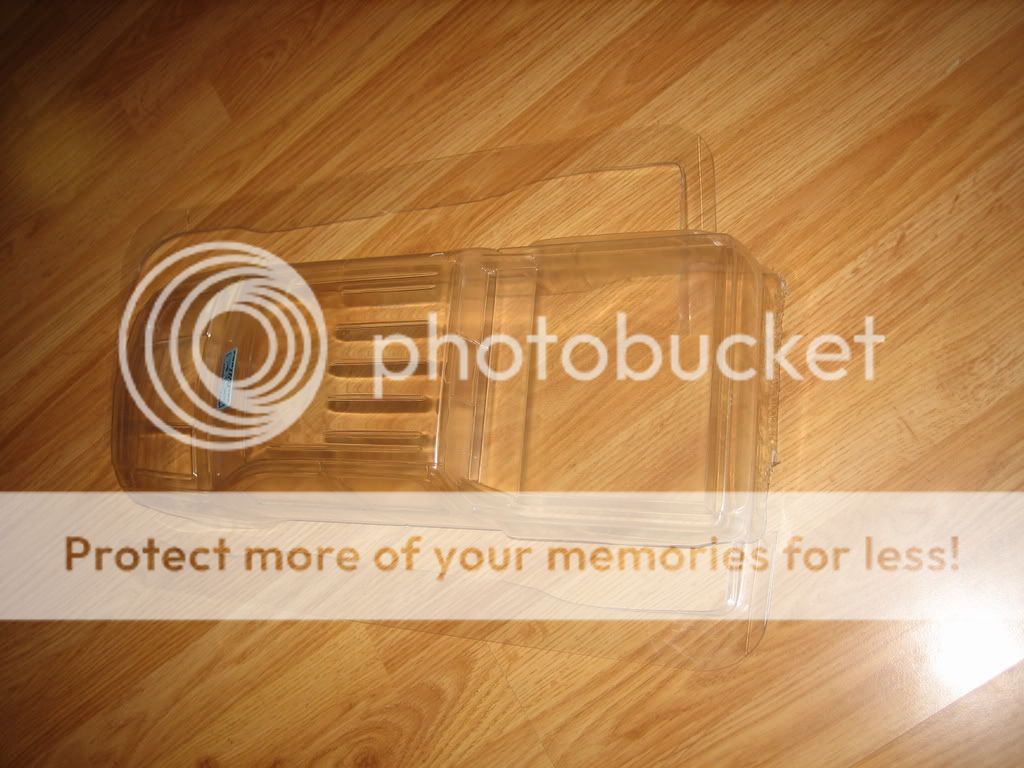
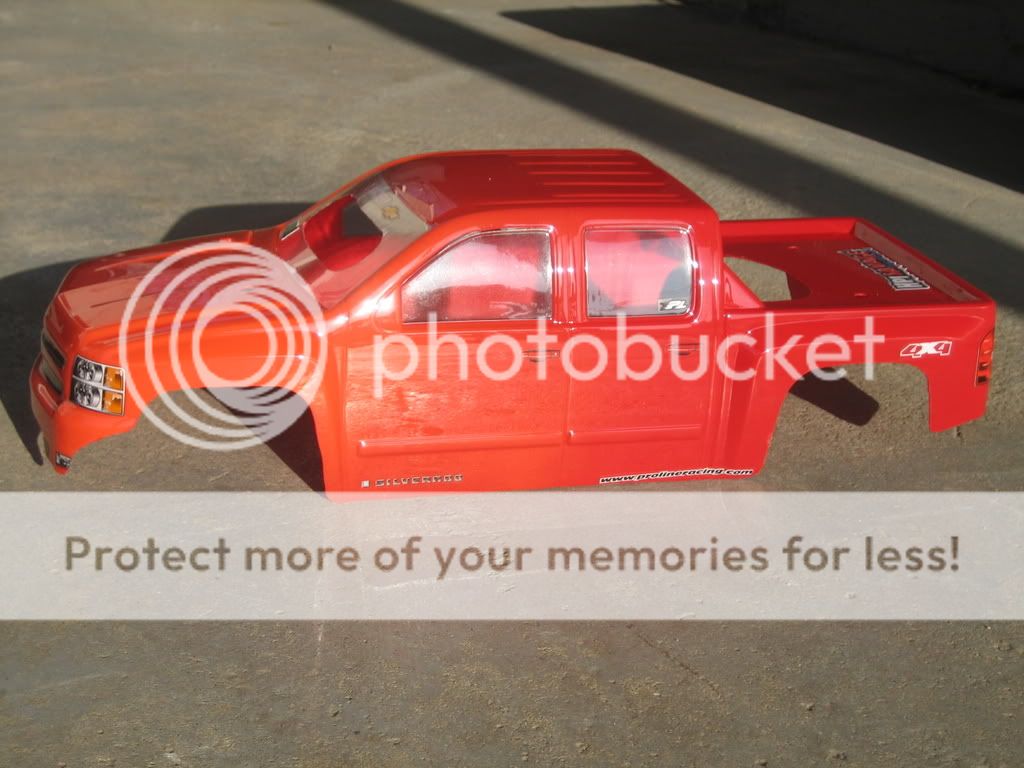
Alright, I went to the LHS and purchased a Proline 3230-00 07' Chevy Crew Cab Truck body which will be placed on my Extended Savy. This body is a MGT/LST size.
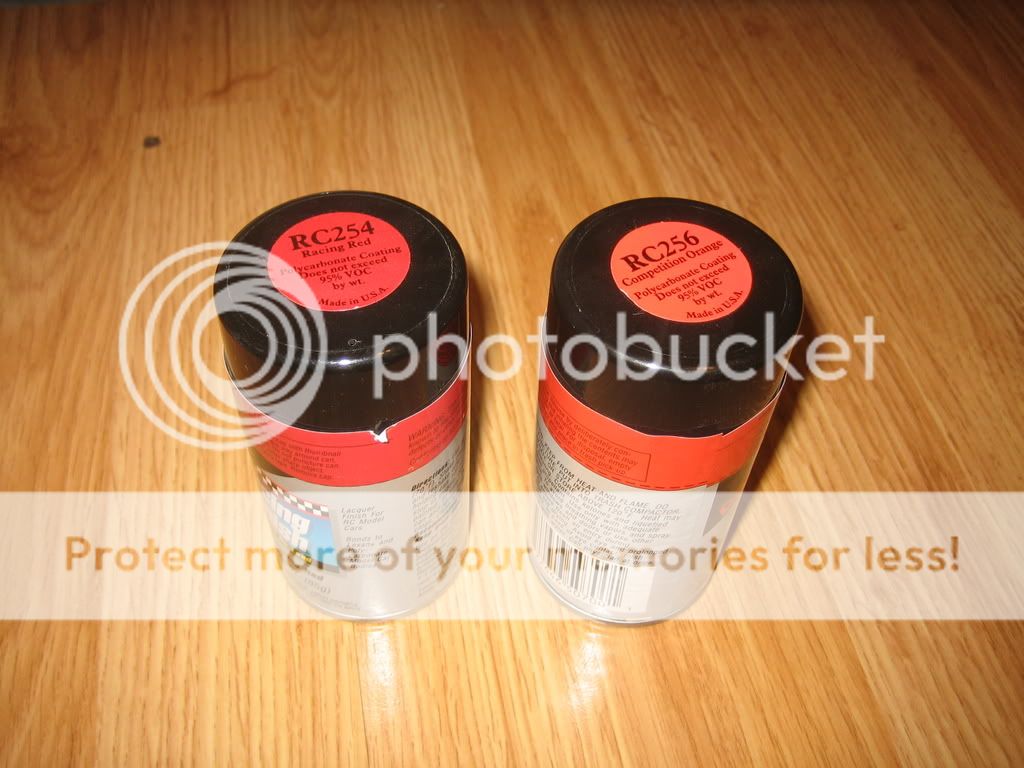
I also got some Pactra spray paint as I want it do be done fast as I will just destroy it anyway. The colors I chose were race orange #RC256 and Race Red #RC254
I used a standard scissors to trim the excess lexan.
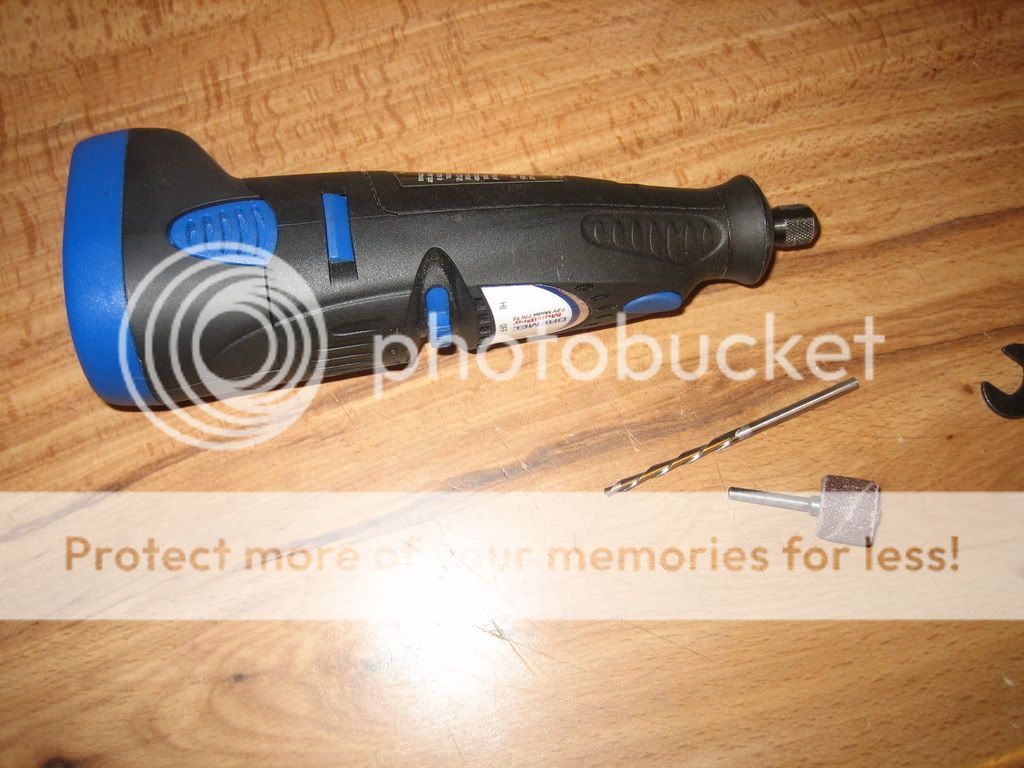
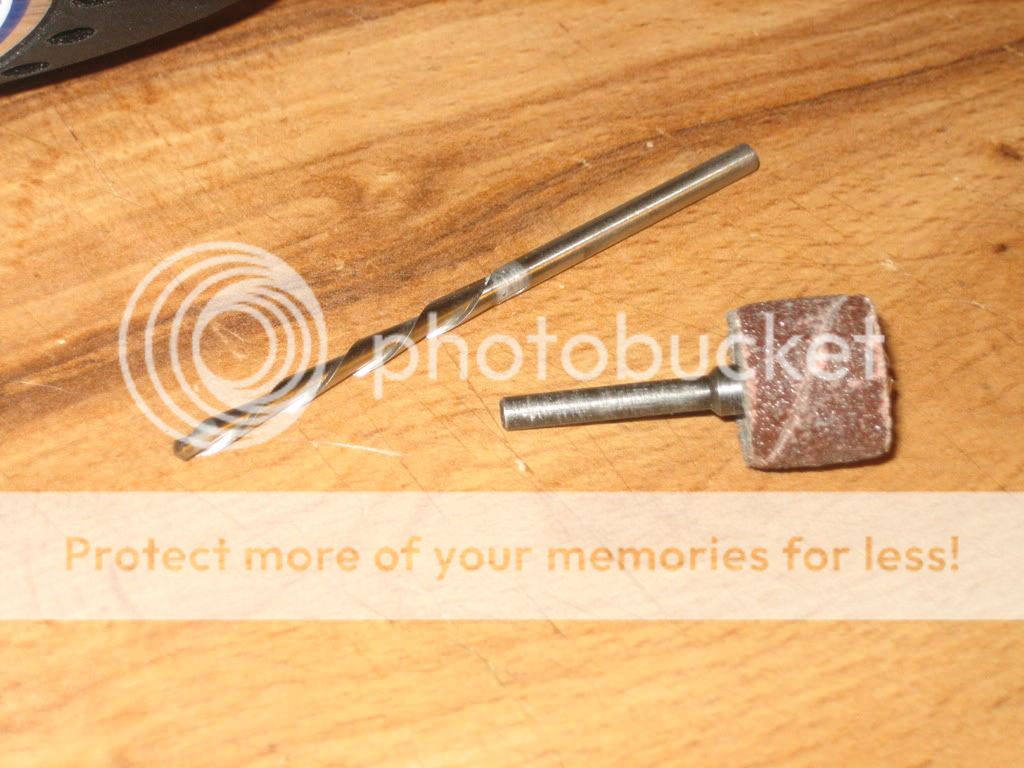
I use a Rolo Zip spiral cutter for cutting my body's out along with a standard 1/2" round sandpaper sanding wheel for cleanup.
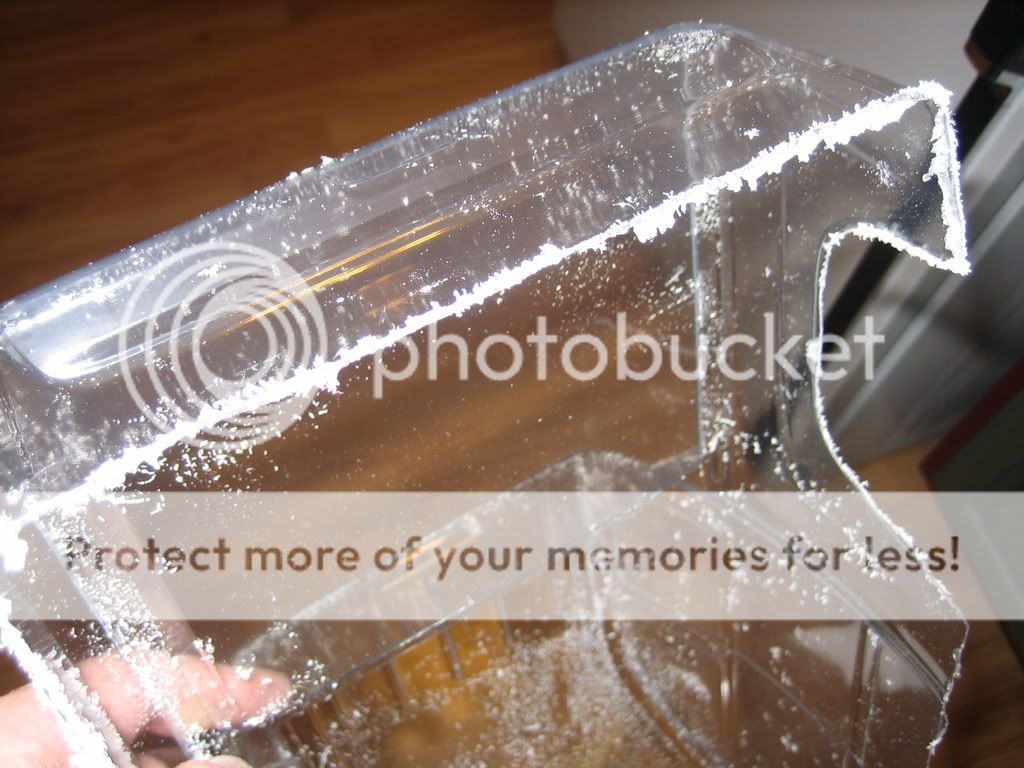
I then cut around the edges with the spiral bit.
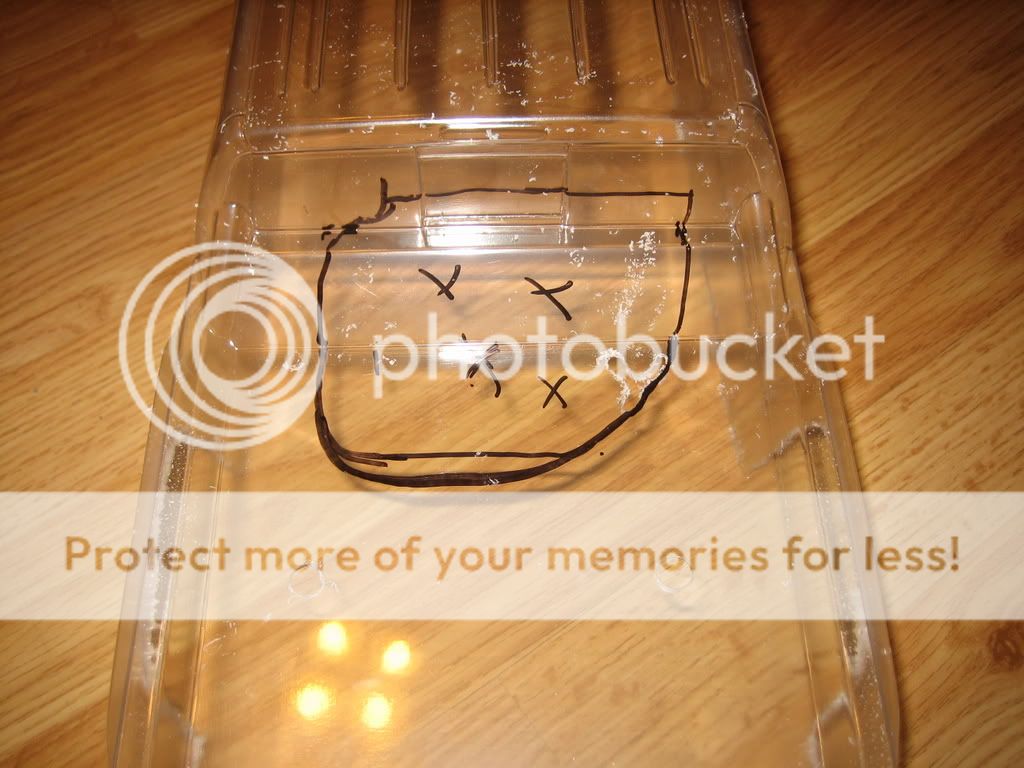
I then mark and drill for the body mount posts. Thought the next process fit the Body to the truck several times to ensure a proper fit.
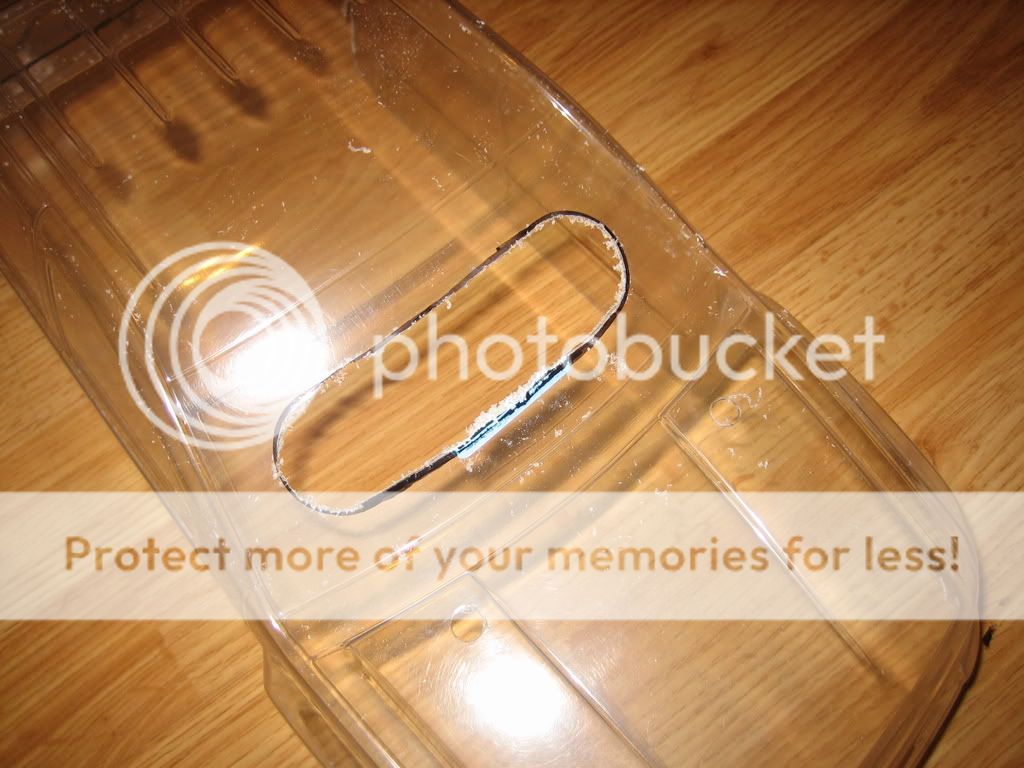
Then mark where parts need to be cut for things like roll bars, fuel tank fill holes, windshields.
Then using the Sanding wheel clean everything up.
I use dawn dish soap and warm water in the sink and wash it out good getting all the oils and dust from clean up off. Once its dry place the provided window covers on the inside of the body to keep them clear.
At this point you are going to start to paint. Like I said I was doing this one fast because I will just destroy it anyway as it will be on my basher truck.
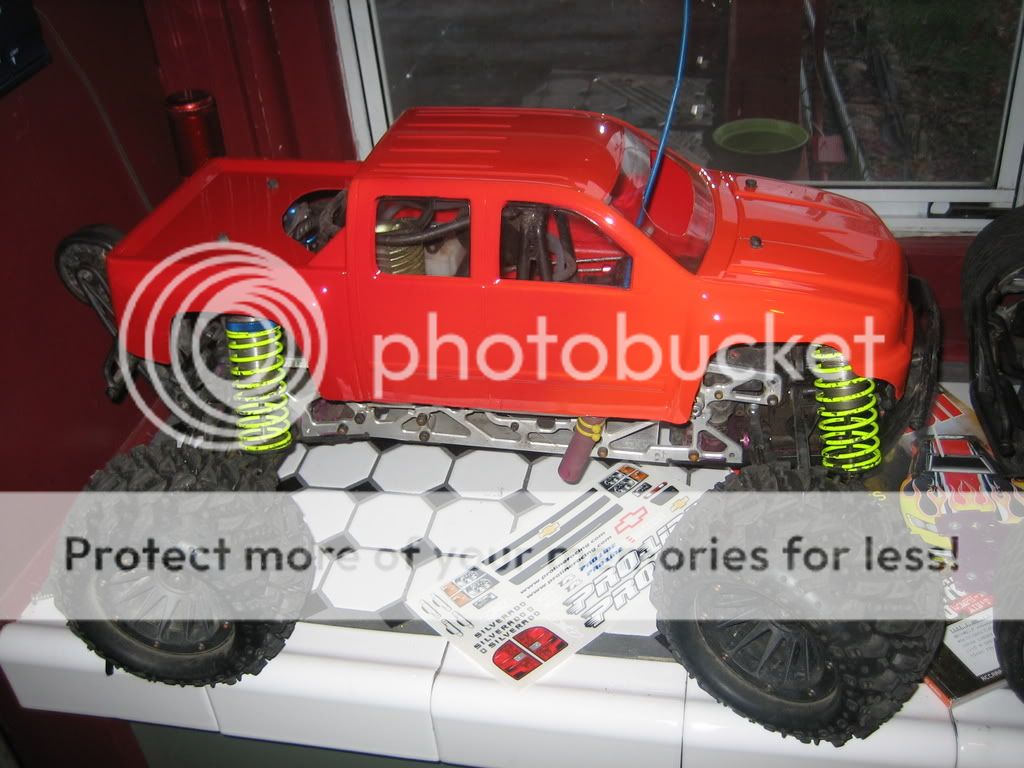
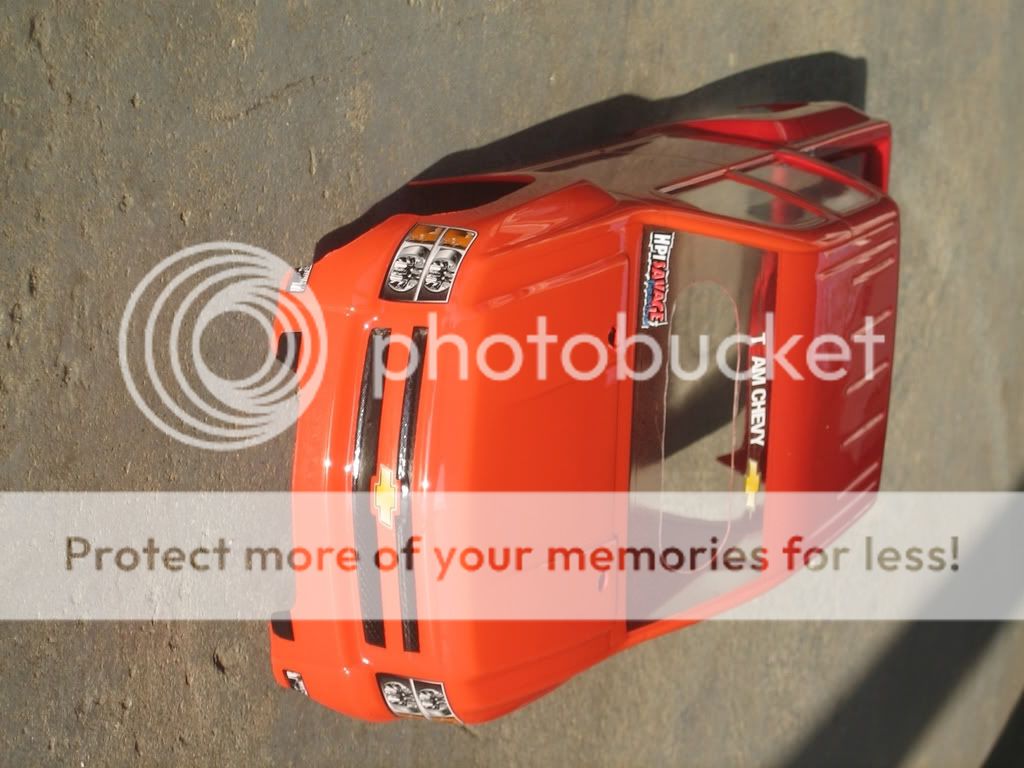
I decided that I was going to use the orange in the front of the truck and use the red on the rear and faid them together in the middle in a diagonal pattern.
I first painted the orange and then painted the red right after so it looked like this.
I let it dry for about 15-20 minuets then painted a see threw coat of orange in the middle and immediately fallowed with the red so they would blend greatly together instead of being spotted. I let it dry for about 5-10 minuets and gave it a nice backer coat of the Red just to help against scratching.
Now I let it dry overnight so everything can get cured. Making sure it is a worm dry room or it will take much longer to cure.
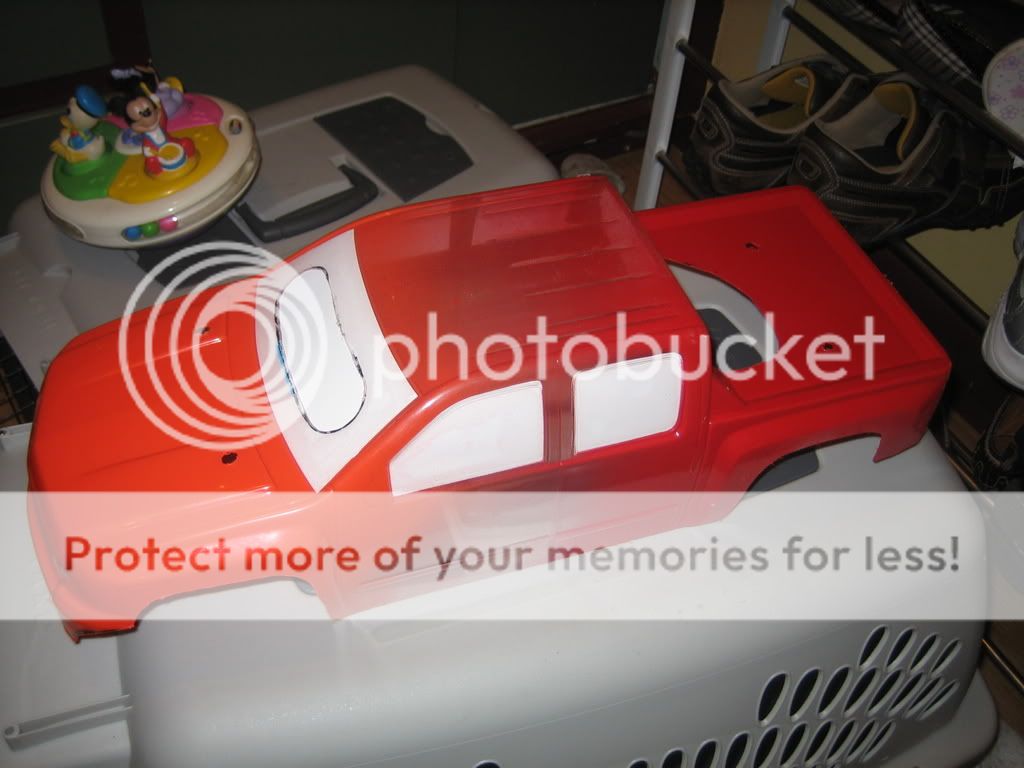
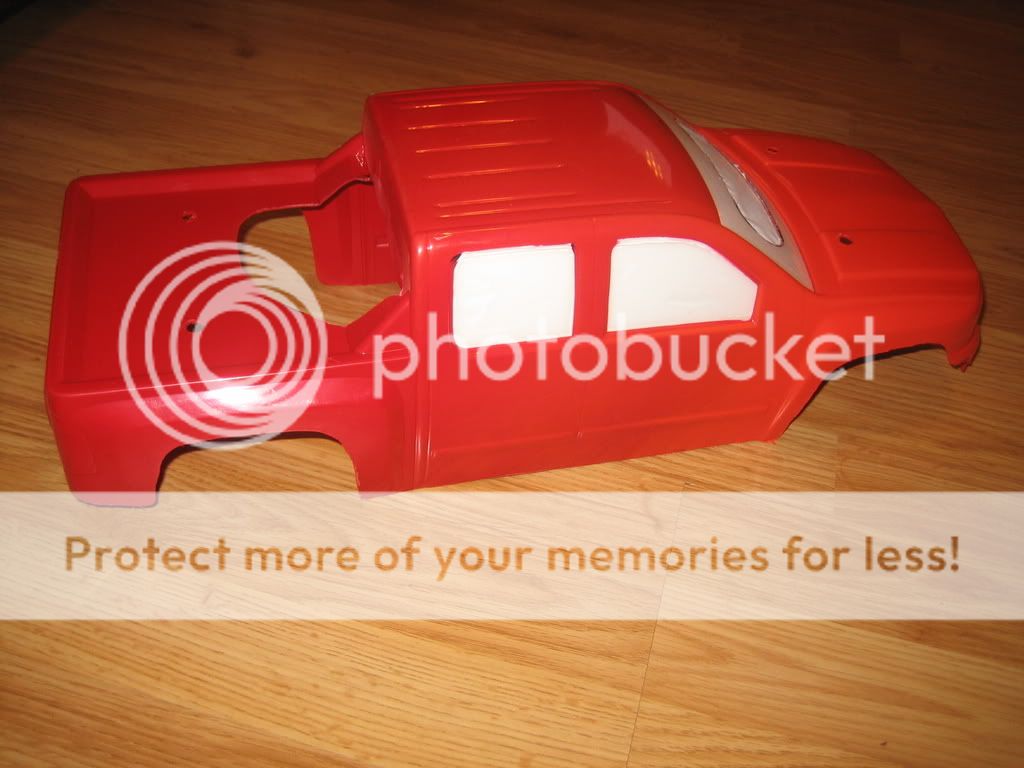
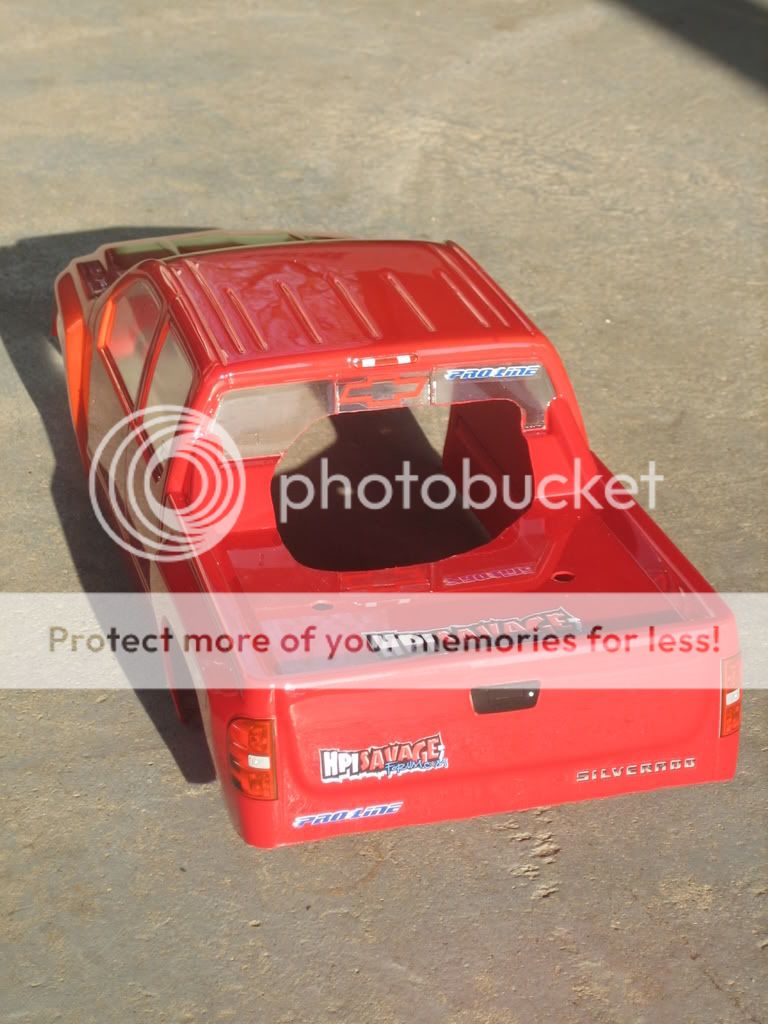
I then take the window stickers off along with the clear plastic sheet protective film off the top.
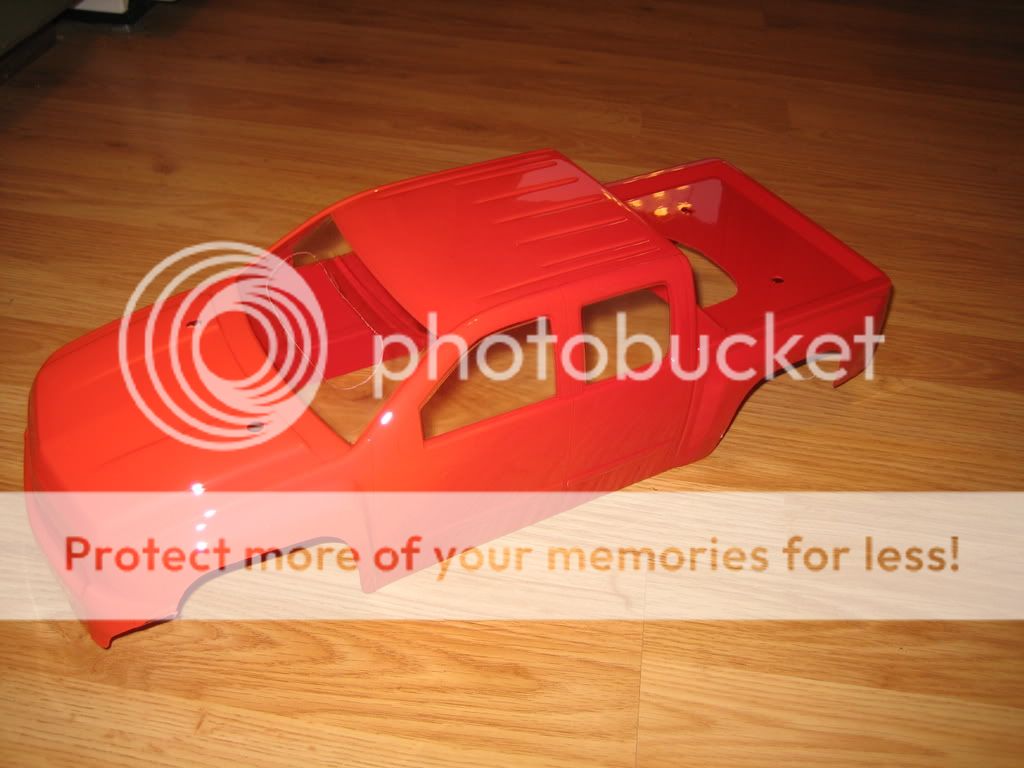
Place it on the truck to make sure that it fits correctly and nothing else needs to be cut or modified.
Then cut the sticker sheet out which has the lights, door handles and so on. Trim these nice and neat close to the edges of the parts wanted this make it look that much better.
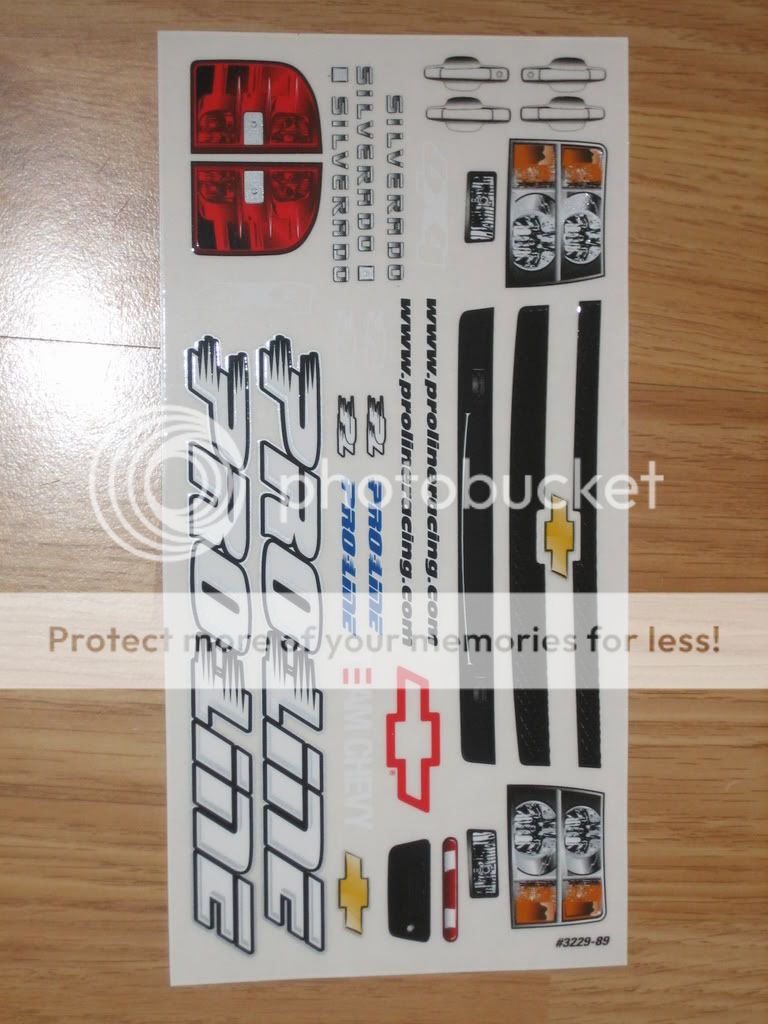
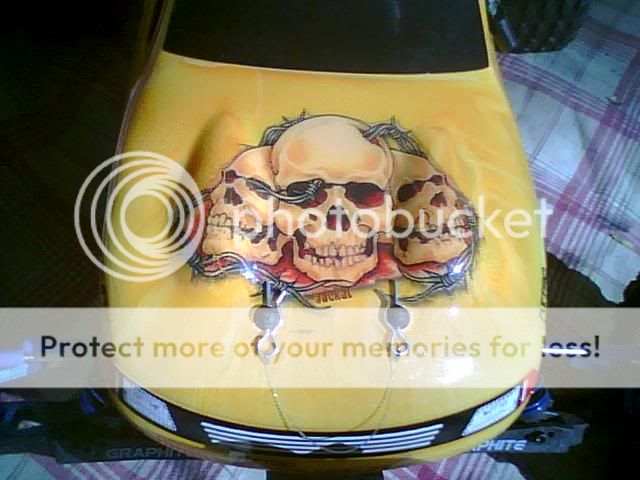
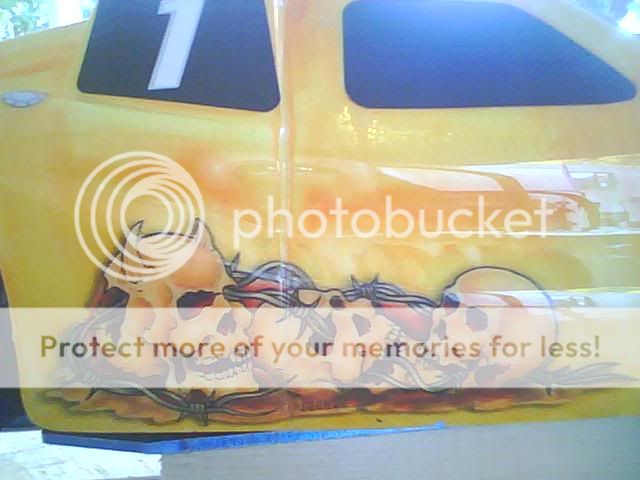
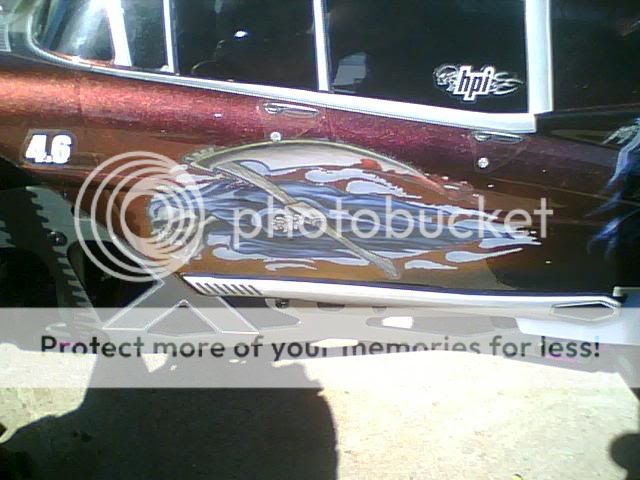
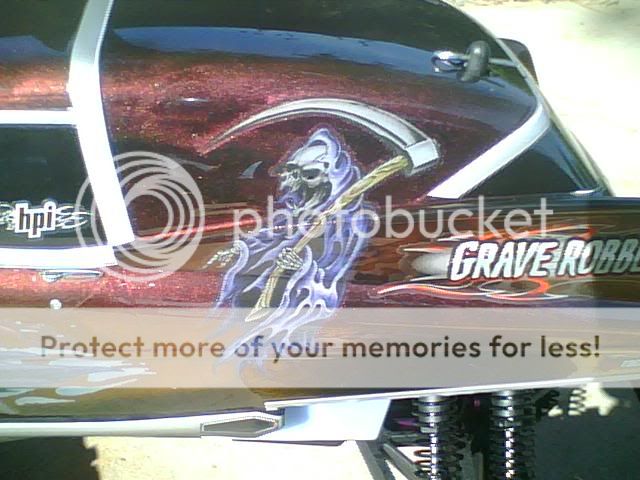
Now stick the decals of your choice where you want them.
I also like the Dubro Klip Retainers

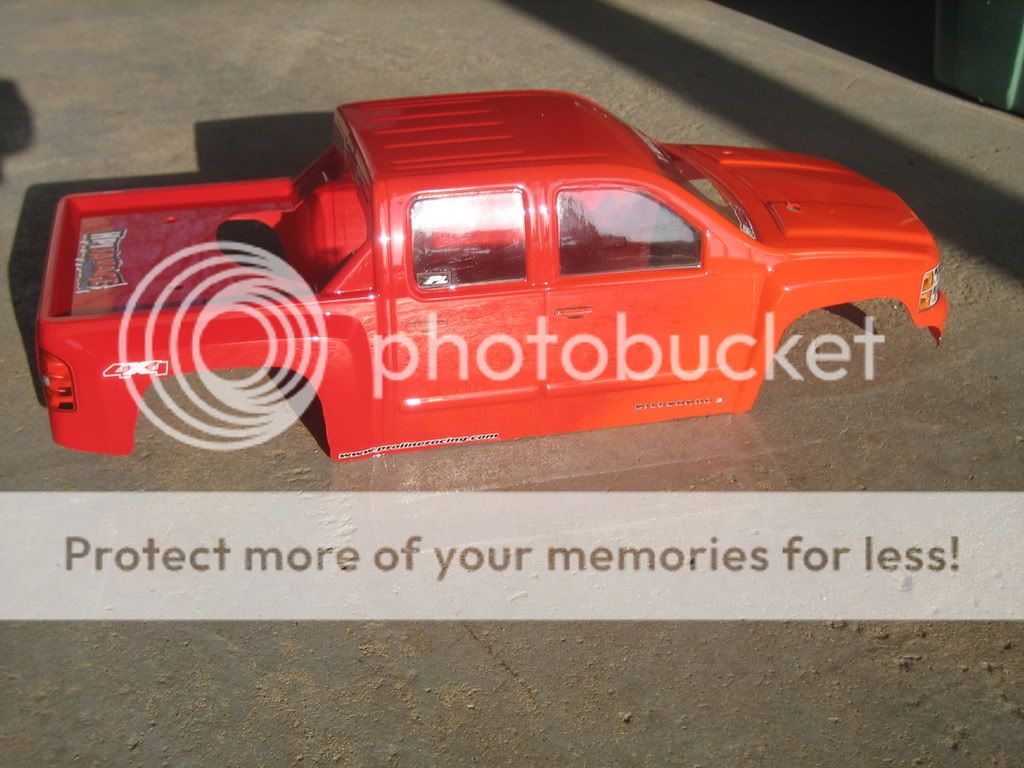
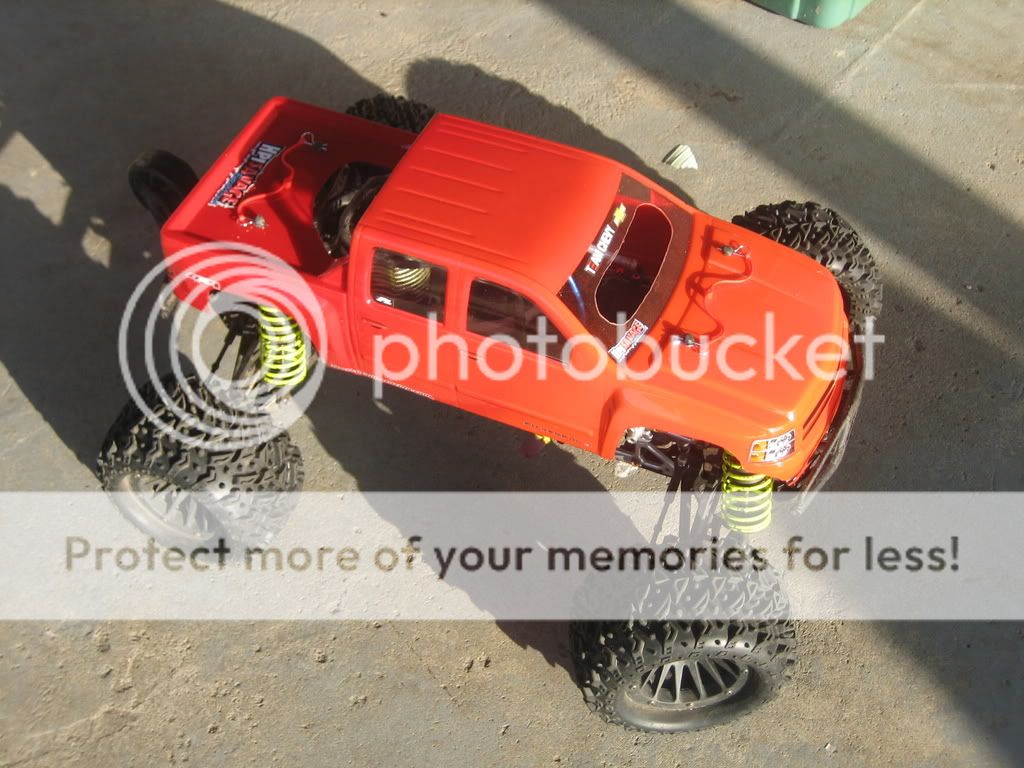
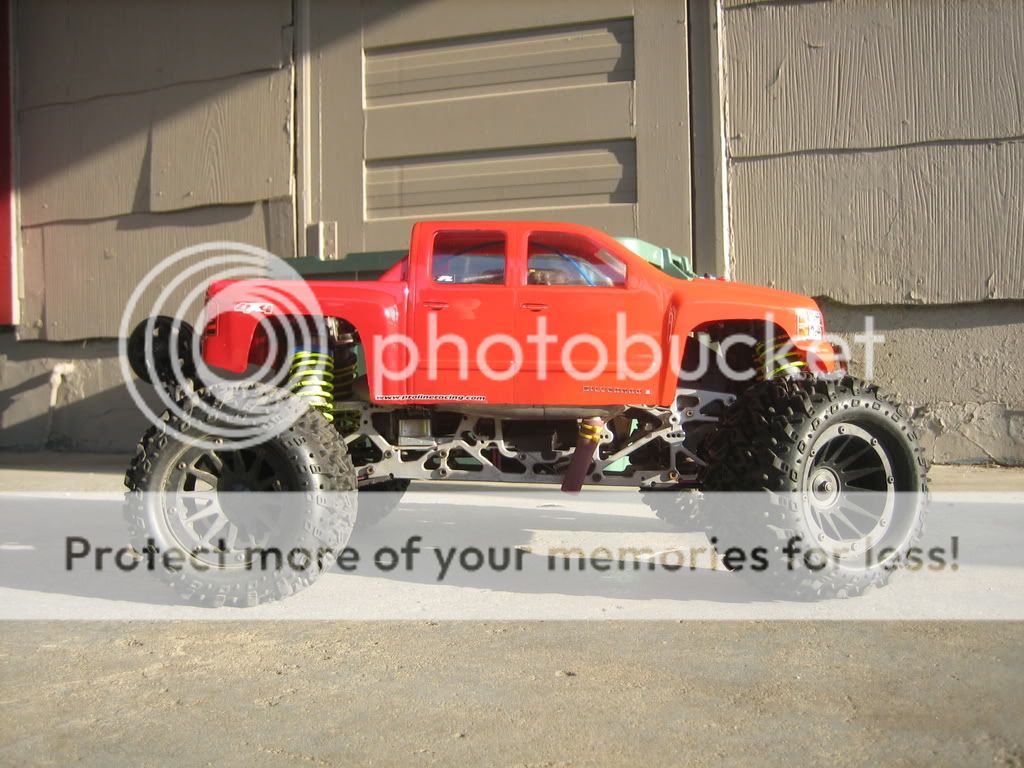
And the finnished product on the truck.
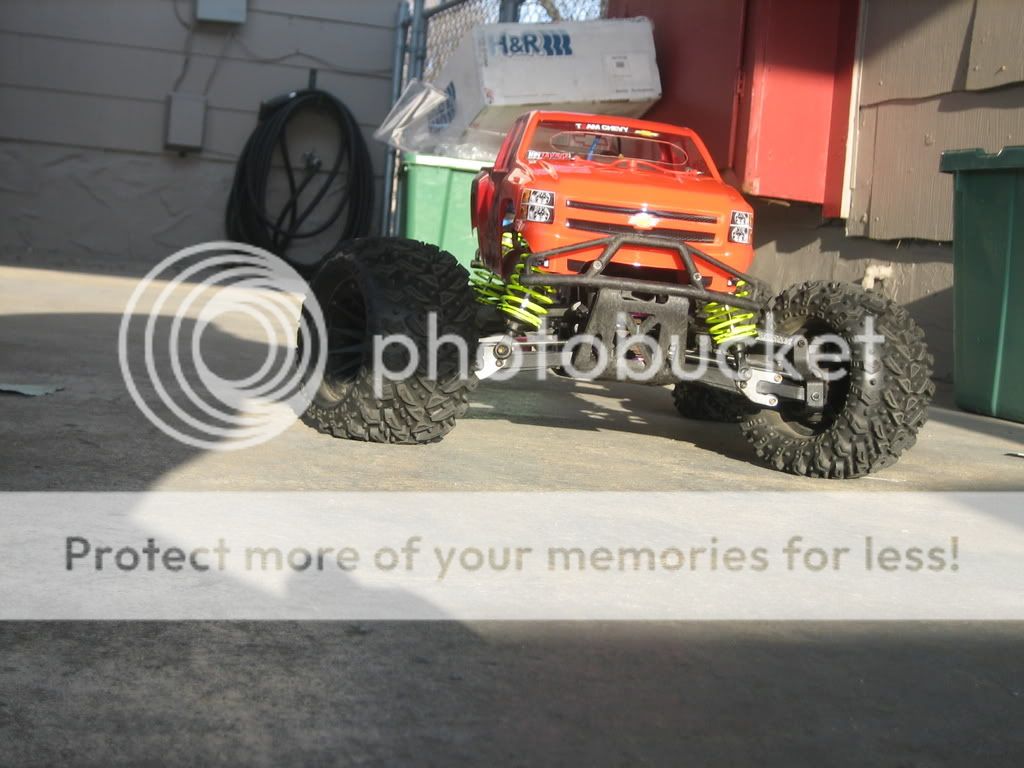
It's time now to go bash and destroy it and start all over again.
Enjoy and have fun.:jamout:
Sorry the picts don't show the difference in color very well along with the affect of the faiding but it looks much better in person. Also everyone has there own way of soing this but this is how I did this one.
I also got some Pactra spray paint as I want it do be done fast as I will just destroy it anyway. The colors I chose were race orange #RC256 and Race Red #RC254
I used a standard scissors to trim the excess lexan.
I use a Rolo Zip spiral cutter for cutting my body's out along with a standard 1/2" round sandpaper sanding wheel for cleanup.
I then cut around the edges with the spiral bit.
I then mark and drill for the body mount posts. Thought the next process fit the Body to the truck several times to ensure a proper fit.
Then mark where parts need to be cut for things like roll bars, fuel tank fill holes, windshields.
Then using the Sanding wheel clean everything up.
I use dawn dish soap and warm water in the sink and wash it out good getting all the oils and dust from clean up off. Once its dry place the provided window covers on the inside of the body to keep them clear.
At this point you are going to start to paint. Like I said I was doing this one fast because I will just destroy it anyway as it will be on my basher truck.
I decided that I was going to use the orange in the front of the truck and use the red on the rear and faid them together in the middle in a diagonal pattern.
I first painted the orange and then painted the red right after so it looked like this.
I let it dry for about 15-20 minuets then painted a see threw coat of orange in the middle and immediately fallowed with the red so they would blend greatly together instead of being spotted. I let it dry for about 5-10 minuets and gave it a nice backer coat of the Red just to help against scratching.
Now I let it dry overnight so everything can get cured. Making sure it is a worm dry room or it will take much longer to cure.
I then take the window stickers off along with the clear plastic sheet protective film off the top.
Place it on the truck to make sure that it fits correctly and nothing else needs to be cut or modified.
Then cut the sticker sheet out which has the lights, door handles and so on. Trim these nice and neat close to the edges of the parts wanted this make it look that much better.
Now stick the decals of your choice where you want them.
I also like the Dubro Klip Retainers
And the finnished product on the truck.
It's time now to go bash and destroy it and start all over again.
Enjoy and have fun.:jamout:
Sorry the picts don't show the difference in color very well along with the affect of the faiding but it looks much better in person. Also everyone has there own way of soing this but this is how I did this one.
Last edited by a moderator:
")