CTDpower
Well-Known Member
- Messages
- 253
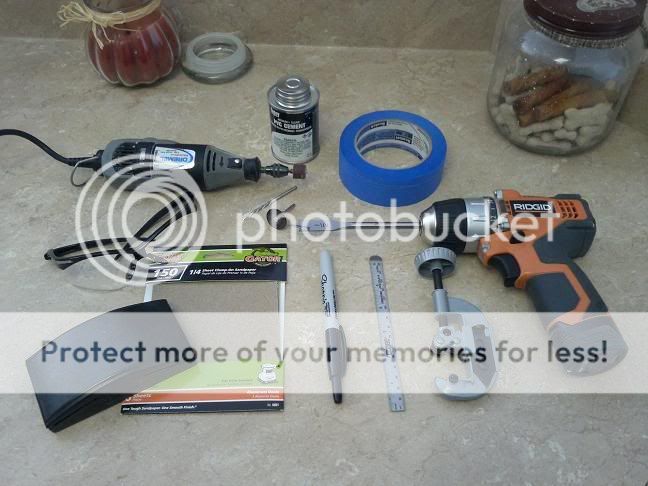
I started off with these tools:
-Cordless drill w/ 1/2" spade bit
-Dremel tool w/ cut off wheel, drum sander, and roto zip bit
-Pipe cutter (for copper, these don't work the greatest for PVC, a miter saw would be better)
-Small ruler
-Sharpie marker
-Sanding block
-Sand paper (150 grit)
-PVC glue
-and of course.... Safety Glasses (hot melted plastic in your eye sucks)
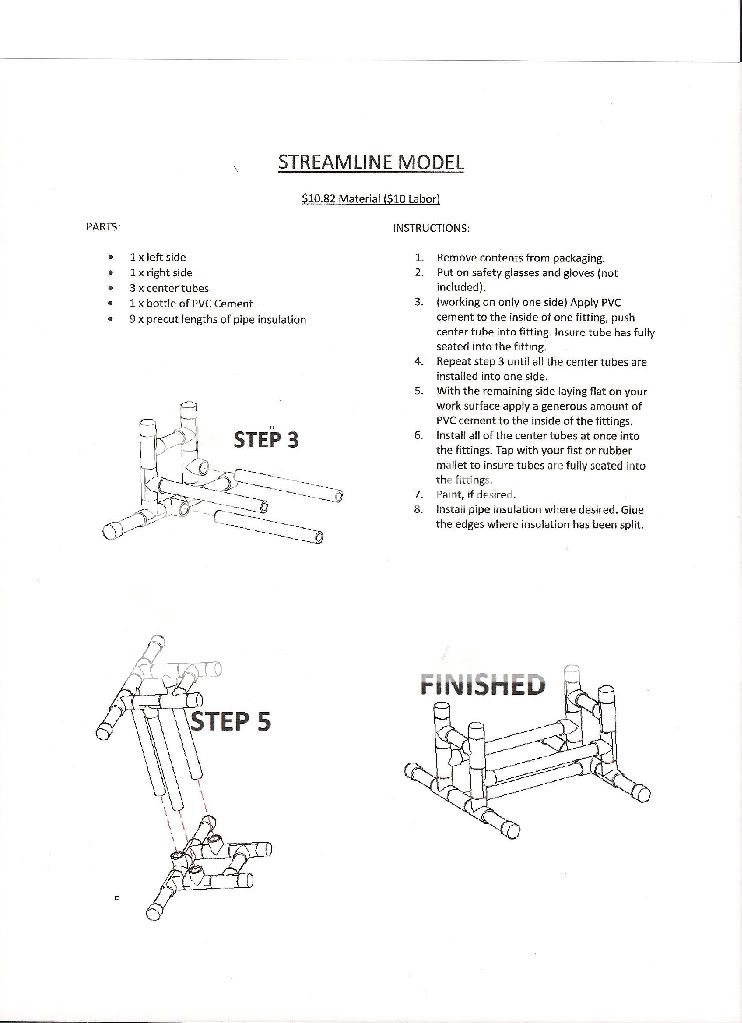
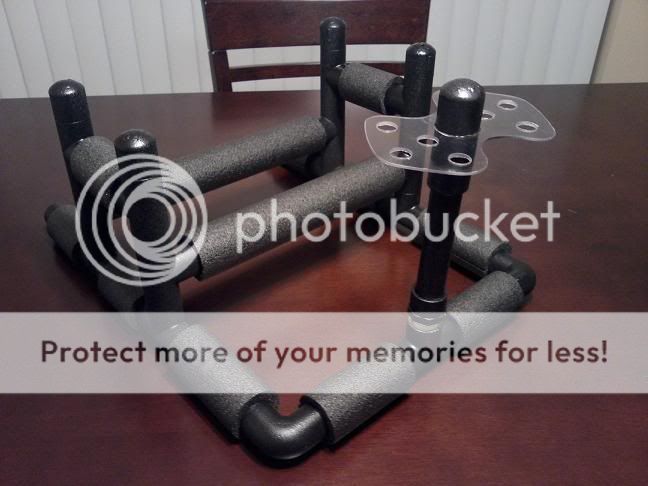
STAND:
12 x 1/2" slip TEE
6 x 1/2" slip Cap
2 x 1/2" 90* slip Elbow
1 x 1/2" slip/thread TEE
1/2" schedule 40 PVC cut into these lengths:
12 x 1-1/4"
4 x 3-3/4"
2 x 4"
2 x 4-3/4" (for ext 4-1/4")
2 x 5"
2 x 10⁻³/8" for XL (for ext 9-7/8")

Assembled (remember to use a good right angle to get all the fitting pointing the right direction. I used the backsplash of my kitchen counter, just lube it up with glue and push it into the corner so the fittings are perpendicular to one another, or push them flat on the counter to make sure they are parallel to one another):
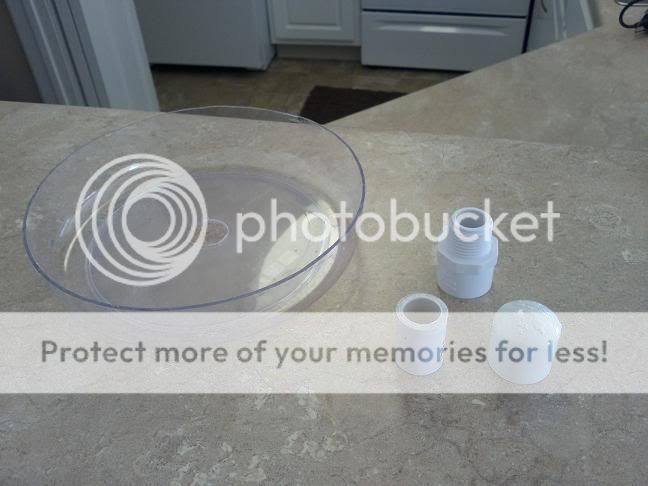
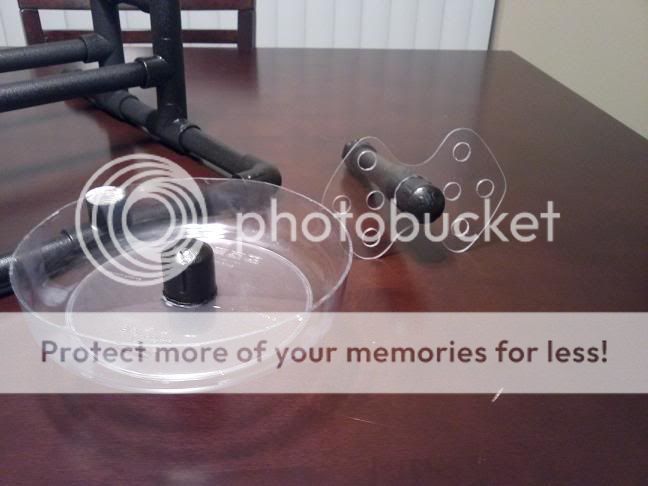
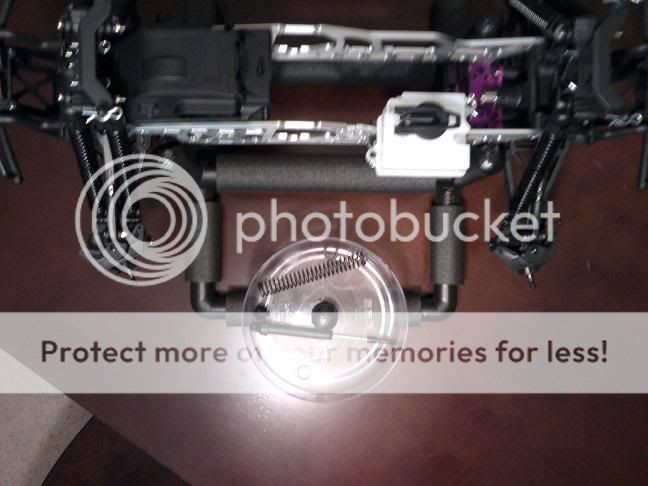
PARTS BOWL:
1 x Tupperware Container
1 x 1/2" threaded male Adapter
1 x 1/2" slip Cap
1/2" schedule 40 PVC pipe cut into these lengths:
1 x 1-1/4"
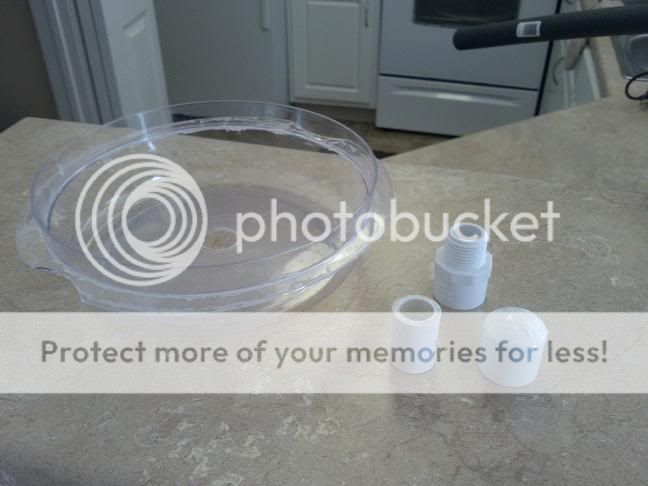
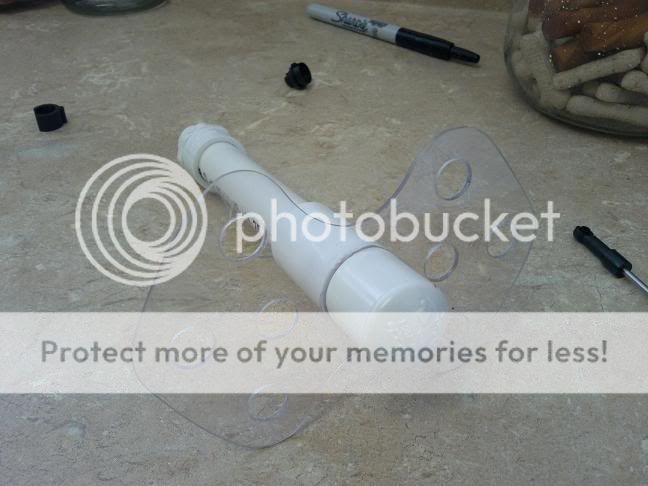
Cut the top off, and cut a hole in the center for the PVC pipe:
Assembled:

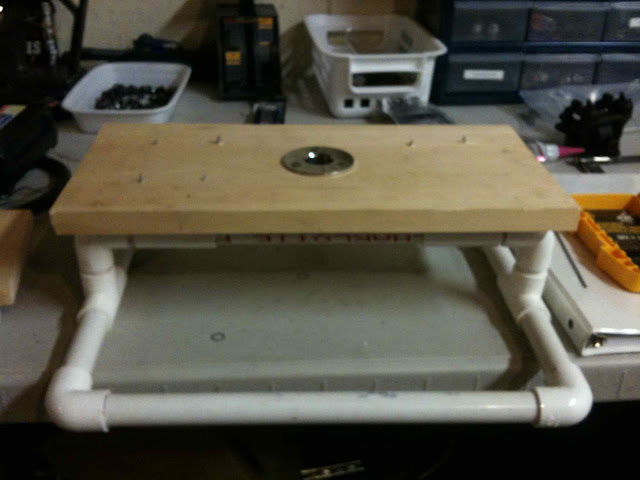
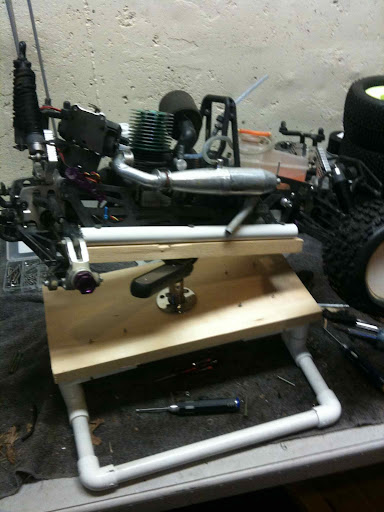
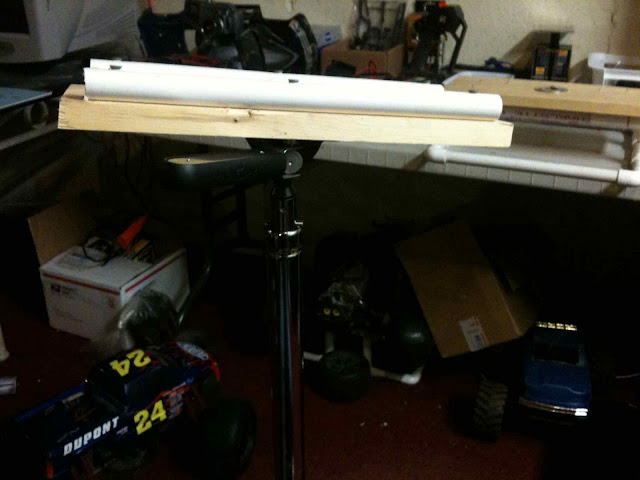
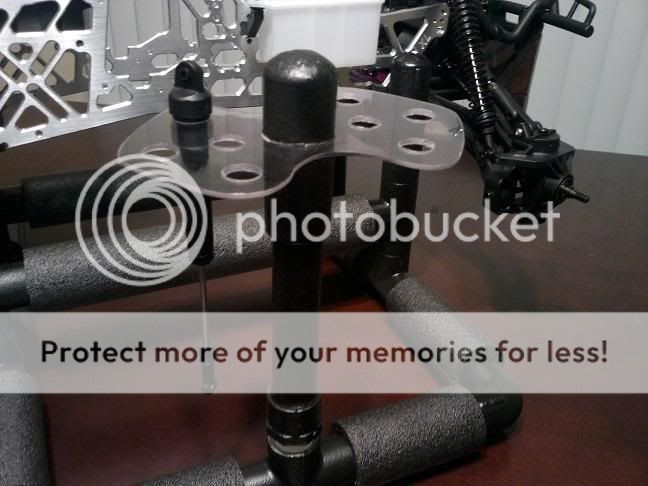
SHOCK STAND:
1 x Tupperware Lid
1 x 1/2" threaded male Adapter
1 x 1/2" slip Cap
1 x 1/2" slip Coupler
1/2" schedule 40 PVC pipe cut into these lengths:
1 x 1-1/4"
1 x 5"
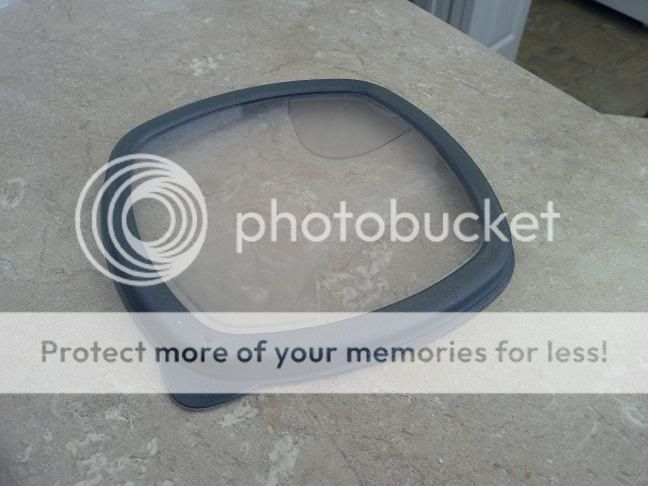
Cut your shape and drill 1/2" holes for standard shocks (not BB) and cut a hole for the PVC pipe:

Assembled:
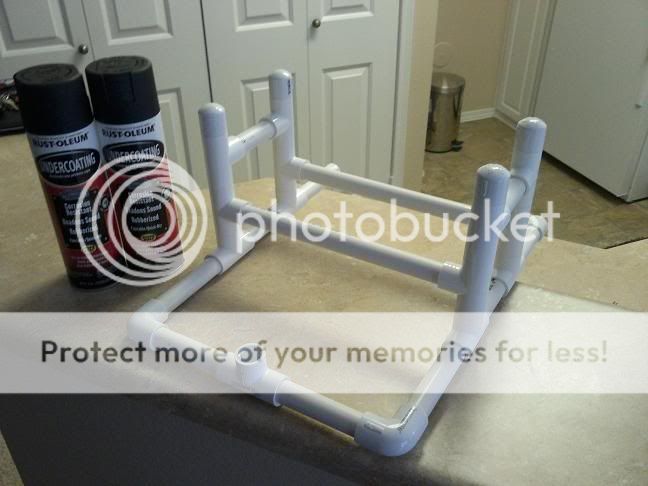
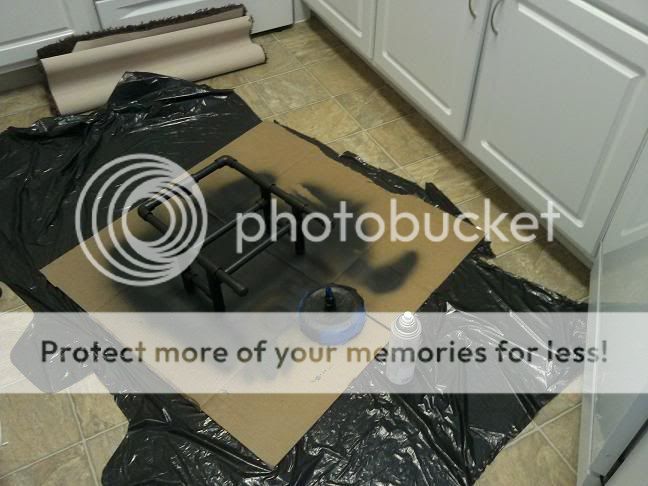
PAINTING
Now that all the assemblies are built, next step is painting. Tape off all the important stuff and spray away.
I used some spray on bed liner for a durable long lasting finish. I had some left over from when I made some rear foot pegs for the four-wheeler, and decided to use it up.
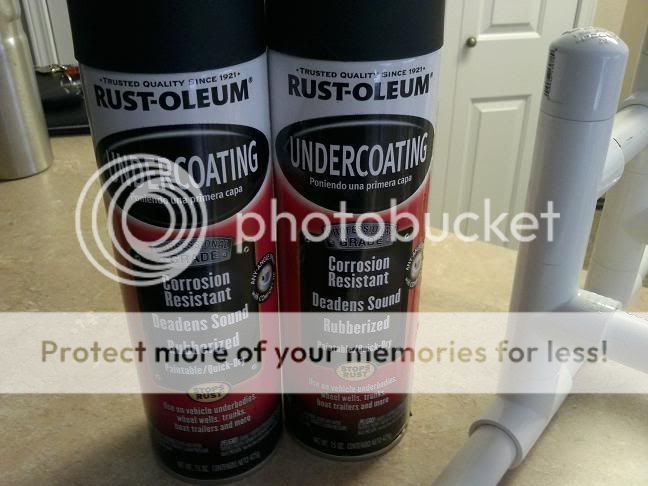
Make sure to work in a well ventilated area, like your kitchen floor (man I was feeling good, haha).
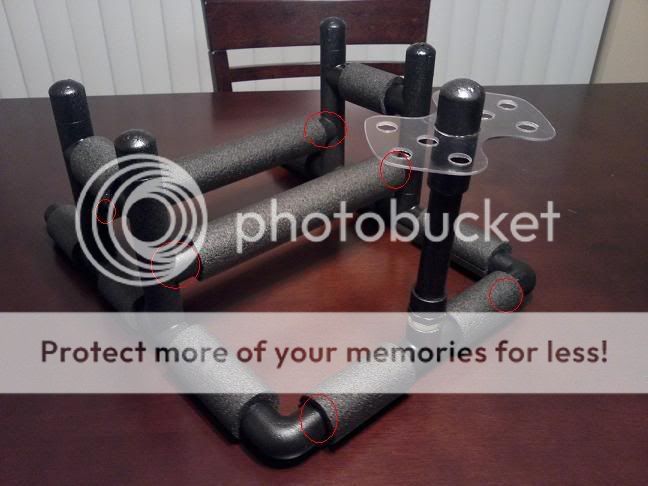
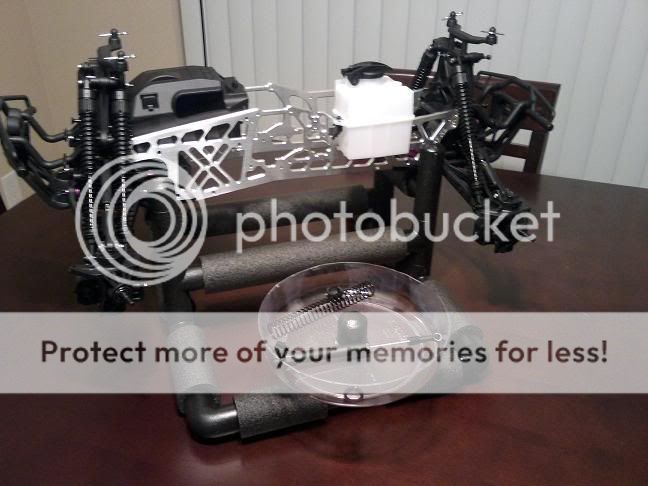
ALL DONE
All done, here it is.
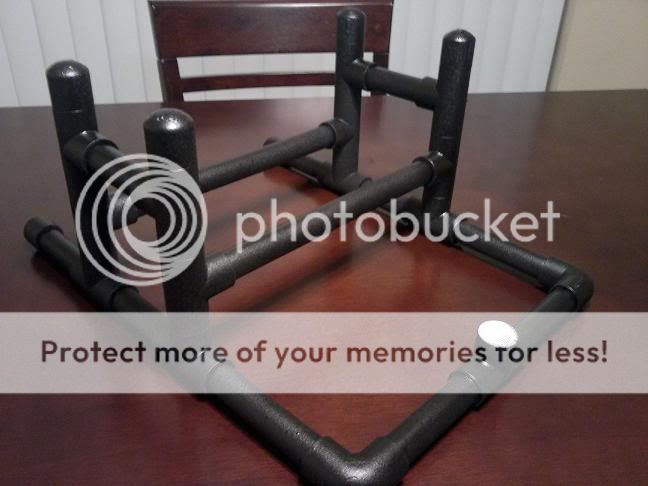
Check out that sweet finish.
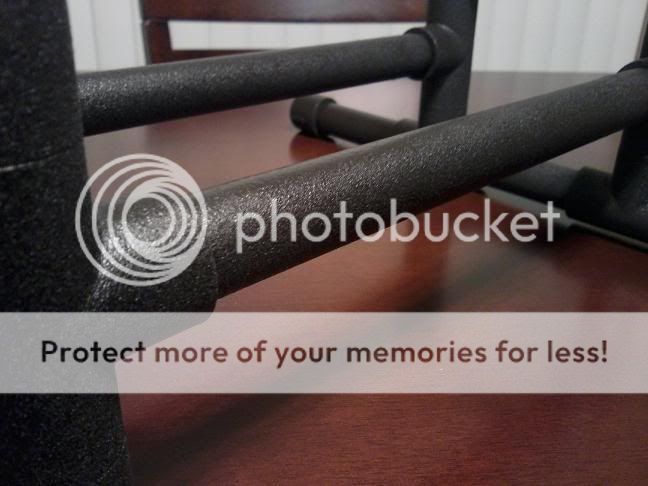
Add some 3/4" pipe insulation (3/4" means for copper thin wall, it will work for your 1/2" schedule 40).
Now all it needs is your truck")
-Cordless drill w/ 1/2" spade bit
-Dremel tool w/ cut off wheel, drum sander, and roto zip bit
-Pipe cutter (for copper, these don't work the greatest for PVC, a miter saw would be better)
-Small ruler
-Sharpie marker
-Sanding block
-Sand paper (150 grit)
-PVC glue
-and of course.... Safety Glasses (hot melted plastic in your eye sucks)
STAND:
12 x 1/2" slip TEE
6 x 1/2" slip Cap
2 x 1/2" 90* slip Elbow
1 x 1/2" slip/thread TEE
1/2" schedule 40 PVC cut into these lengths:
12 x 1-1/4"
4 x 3-3/4"
2 x 4"
2 x 4-3/4" (for ext 4-1/4")
2 x 5"
2 x 10⁻³/8" for XL (for ext 9-7/8")
Assembled (remember to use a good right angle to get all the fitting pointing the right direction. I used the backsplash of my kitchen counter, just lube it up with glue and push it into the corner so the fittings are perpendicular to one another, or push them flat on the counter to make sure they are parallel to one another):
PARTS BOWL:
1 x Tupperware Container
1 x 1/2" threaded male Adapter
1 x 1/2" slip Cap
1/2" schedule 40 PVC pipe cut into these lengths:
1 x 1-1/4"
Cut the top off, and cut a hole in the center for the PVC pipe:
Assembled:
SHOCK STAND:
1 x Tupperware Lid
1 x 1/2" threaded male Adapter
1 x 1/2" slip Cap
1 x 1/2" slip Coupler
1/2" schedule 40 PVC pipe cut into these lengths:
1 x 1-1/4"
1 x 5"
Cut your shape and drill 1/2" holes for standard shocks (not BB) and cut a hole for the PVC pipe:
Assembled:
PAINTING
Now that all the assemblies are built, next step is painting. Tape off all the important stuff and spray away.
I used some spray on bed liner for a durable long lasting finish. I had some left over from when I made some rear foot pegs for the four-wheeler, and decided to use it up.
Make sure to work in a well ventilated area, like your kitchen floor (man I was feeling good, haha).
ALL DONE
All done, here it is.
Check out that sweet finish.
Add some 3/4" pipe insulation (3/4" means for copper thin wall, it will work for your 1/2" schedule 40).
Now all it needs is your truck
Last edited by a moderator: