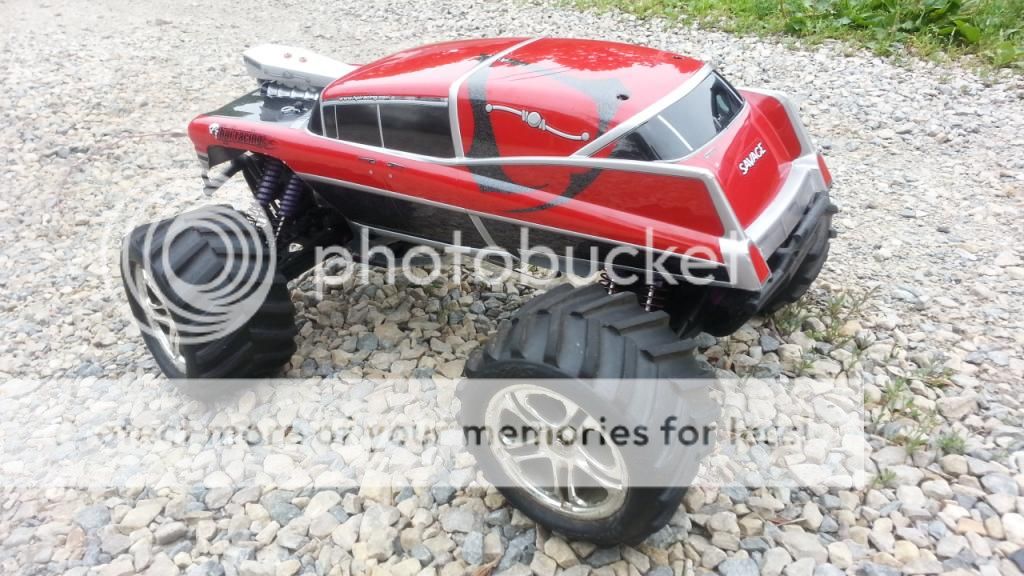
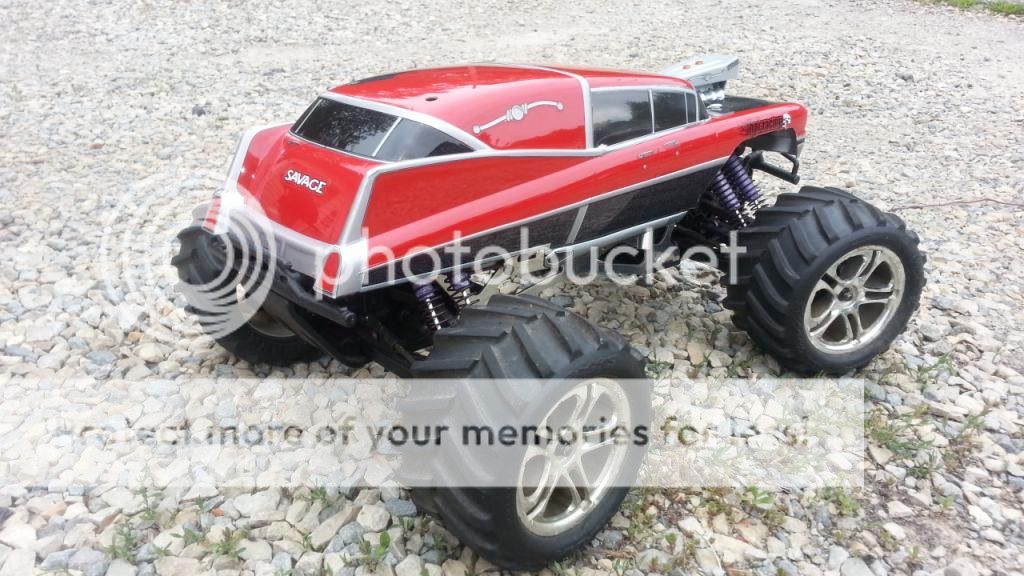
TheFixxer's "The Assassin"

This site may earn a commission from merchant affiliate
links, including eBay, Amazon, and others.

TheFixxer

100% Addict..There is no hope
Messages
348
Location
Menasha, WI
Ok, maybe a dumb cliche name for a truck but considering where the project is going, it just might fit. This thing is gonna be killer. This will be my build thread and log for my Savage SS. This is my first nitro RC (bought a few more since, but this is my first) so I look forward to tips, tricks, feedback, kudos, and criticisms along the way.

My initial plans for the truck are as follows. So far all the parts have been purchased. Should be able to get some time in the next few days to get things started. I will post pics along the way as well as process. If you have any ideas that would make this project more awesome.....pitch em at me.

Ofna linkage mods
Hitec servos
6.3v hump pack for the receiver and servos
Wheelie Bar
Tiger Drive S704
Losi 3.4 Carb
Mid Tank Mod
PL Trencher MT Tires
Desperado Rims
HPI Grave Robber Hearse body with custom sharpie art paint job most likely done in an Assassins Creed theme
 
Looking forward to seeing your project take form!

On a side note, I had a car when I was a teenager with part of the license plate number of "ASN". All my friends called it the assasin, so you are not alone with that cliche naming convention. lol
 
^^ Thanks X. I name all my trucks as a term of endearment for the hobby. Rags To Riches (sorry old basket case stampede that started as an XL-1 and upgraded to VXL standards but better and cost a lot to get there), Blue Thunder (another pede), Black Widow (slash), The Goat (RS10 crawler), Ground Pounder (revo). I guess it also comes from a long time love of 1:1 monster trucks.

I have taken a couple days vacation tomorrow and Friday. Planning on spending 98% of that time in the work shop to work on the Savage.
 
Well...officially on vacation until Monday. Only had 2 days left to burn and I had to use em up by the 23rd. So let the games begin. First up....The Body

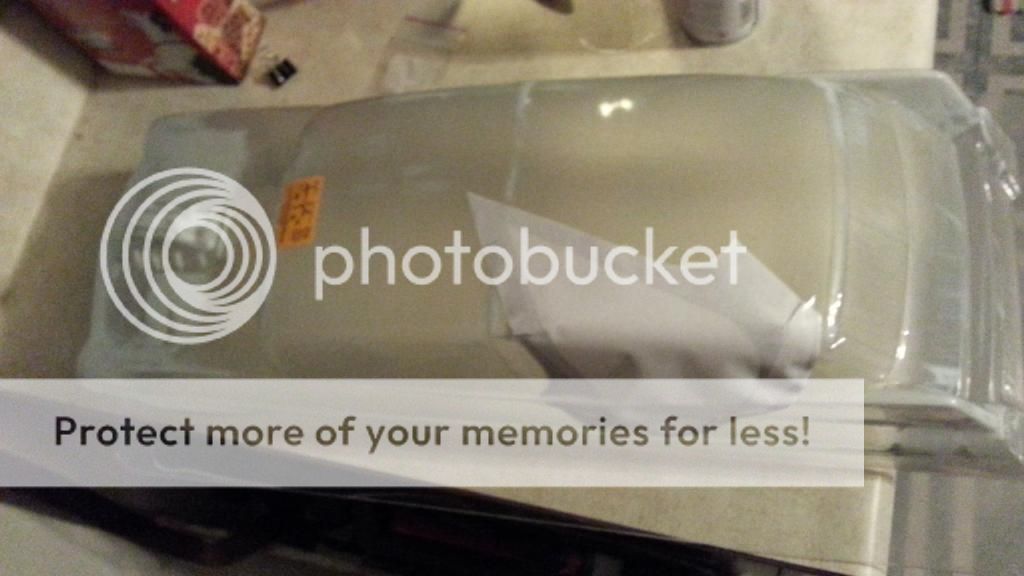
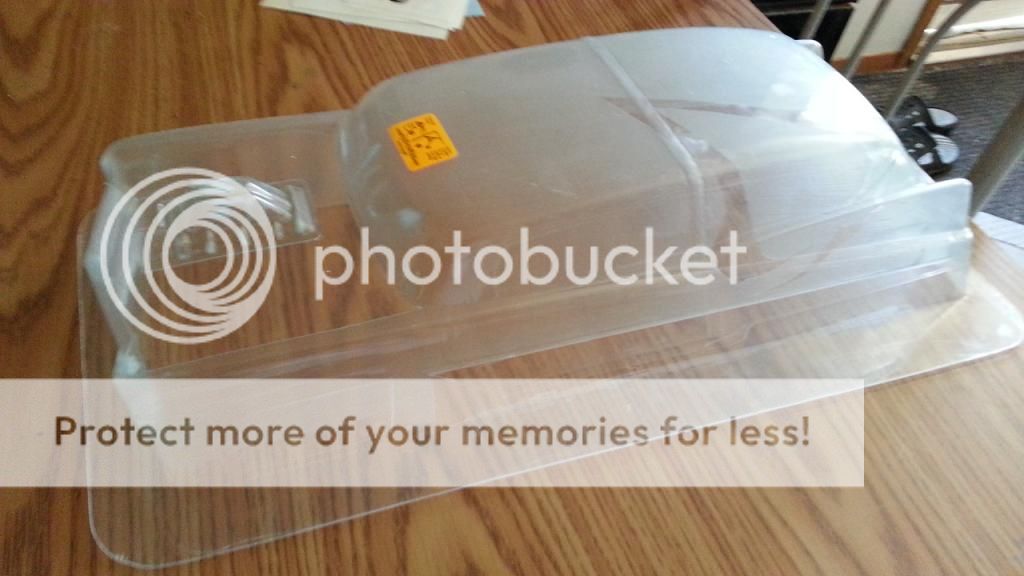
This is the HPI Racing's late 50's Grave Robber hearse. I had originally planned do a sharpie-art paint job but I changed my mind and going a different route.

All the supplies


The usual reamer and body scissors, hobby knife, liquid mask, paint brushes, masking line tape, shoe goo (gotta get drywall tape yet), body decal sheets (not using all of them) and the paint.

For the paint: I contemplated this for awhile when I was at the LHS and went back and forth a few times on the scheme. I settled on a two tone job. Starting with Tamiya Lame Flake PS-53 backed with Duratrax Basic Black PC250 on the bottom half of the body. On the top half of the body I went with Tamiya Red PS-2 (no metal flake). Then of course Tamiya Silver for the blower. The windows will be tinted (it is a hearse after all) with Duratrax window tint PC294.

Since the truck is going to be called The Assassin (named after the popular UbiSoft franchise Assassin's Creed video games) I am going to of course put the AC logo on it.


This will be done on the very top where most of the real estate is but it will be off center, angled, and half on the roof and half on the "driver side" of the body and painted in Basic Black but not come below the color change line. In white letters from the windshield along the passenger side edge of the roof will read "Nothing is permitted. Everything is true" which is the Assassin's creed.

So.....here we go!!
 
I like that Grave Robber body, I'll be interested to see how it turns out!!
Good luck!
 
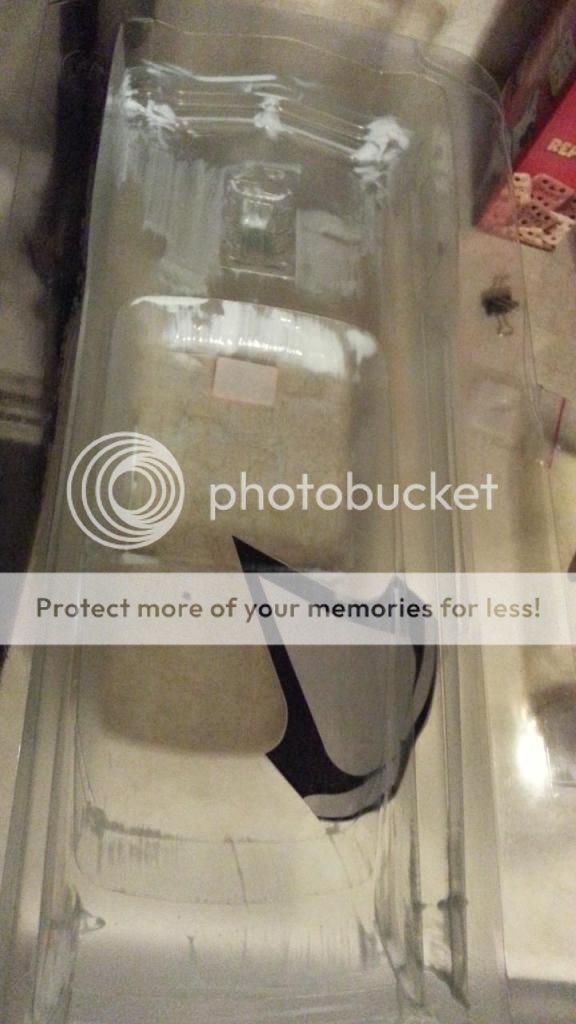
4th and final coat of liquid mask applied and drying. This body has no shortage of detail...lots of nooks and cranny spots. I taped the stencil of the AC logo where I wanted it on the outside and will cut it out of the mask tomorrow morning and get the flake and black laid down. Before you ask.....no, I do not use window masks. I can never get the edges clean enough. Liquid mask, very sharp hobby knife (I actually use a brand new one for every paint job) and a steady hand works best for me.

Outside


Inside


While the liquid mask dries over night I will start the tear down to get some of the mods installed.
 
Gonna dump some coffee down the gullet and get the paint job started this morning.

EDIT: Hour or so later I got bottom half, the hood (last minute decision), and the AC3 logo unmasked and sprayed the first light coat of metal flake on. It doesn't show up in a picture very well so I will wait to post a picture when I have some color behind it. Now I am flipping back and forth if I wanna go red on top or a deep blue. Both have always been a favorite color combo. What to do what do?!
 
Last edited:
Paint job udpate. Hope it's ok if I document every step of the process.

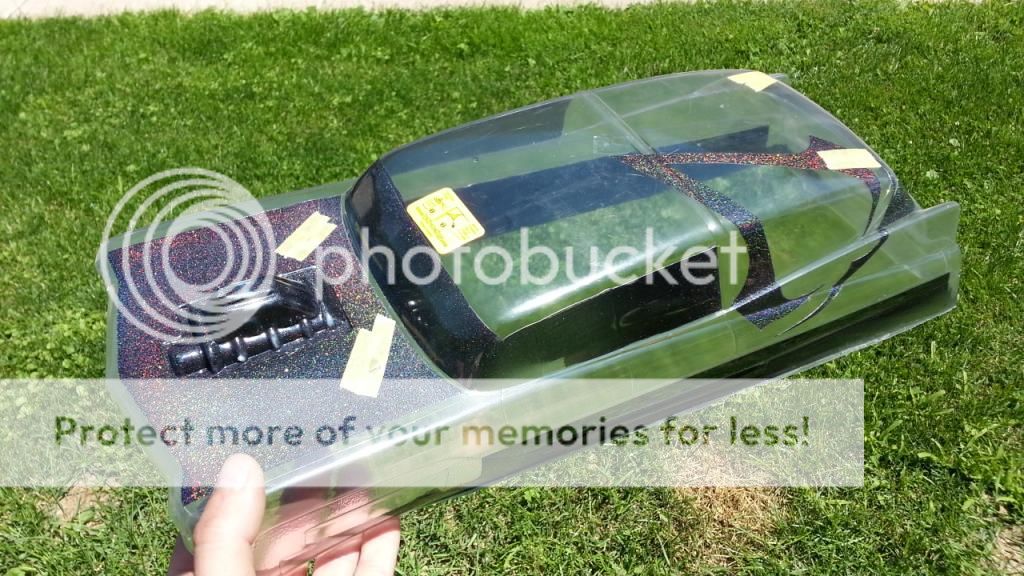
Here is a picture of the first layer of mask trimmed out. I shot that layer with the Tamiya Lame Flake clear, as mentioned I skipped the picture because it didn't show up.


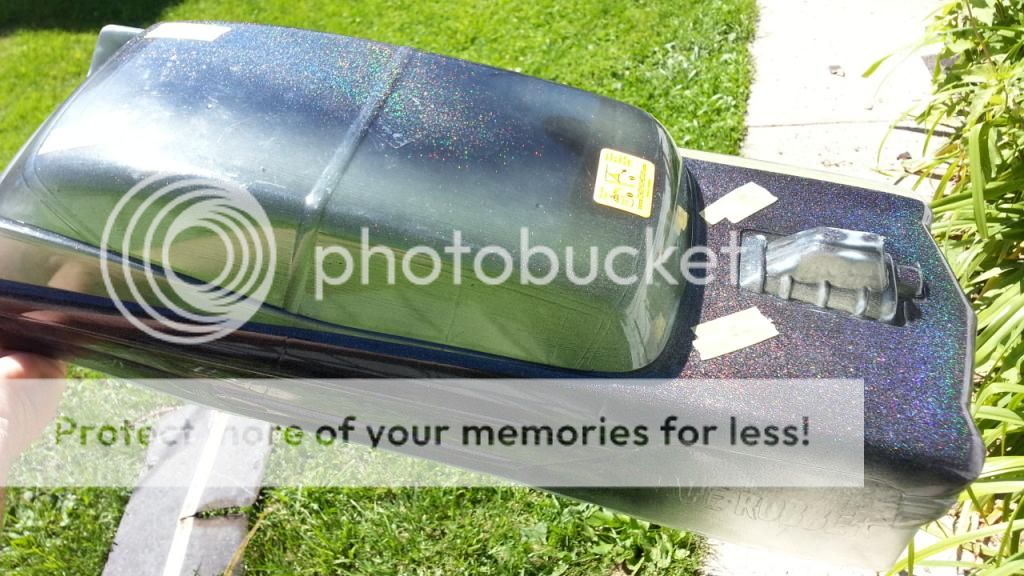
This next picture is the first color layer with the Duratrax (formerly Pactra) basic black. Took it in the sunlight. Really makes the metal flake pop.


2 more coats of the black then I will unmask the the majority of the body and hit it with the red. Yep, settled on the red. Since the blower relief is going to be silver I will pull that mask off last and just back the whole paint job with silver.
 
Next mask layer removed and all ready for the red. A quick wash up and off we go. Got the kid already shaking the rattle can.


^^ Thanks Preacher. Been a player since the beginning. Can't wait for Unity this fall.

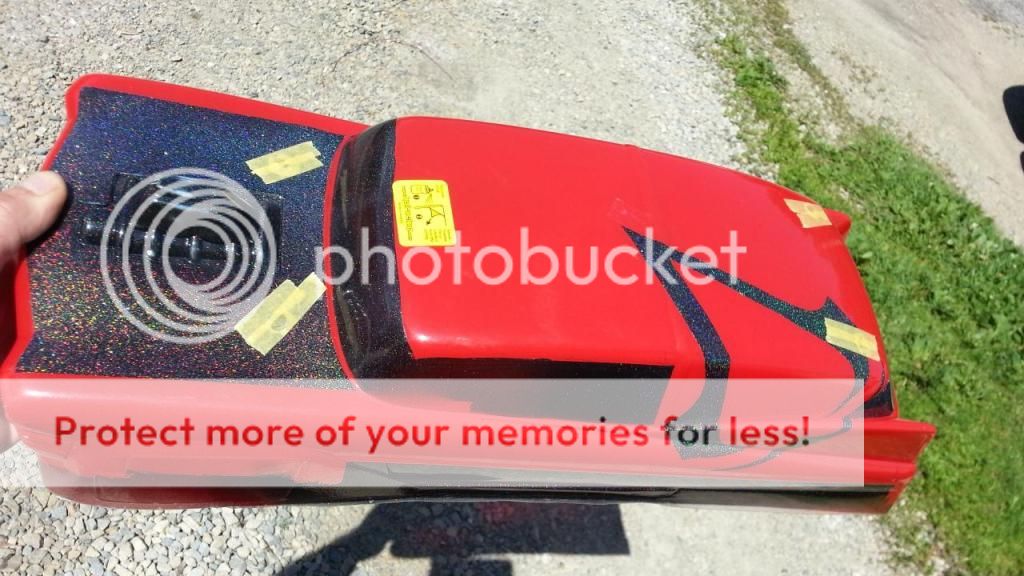
2nd coat of red. I think one more coat should do it for the red. Then the last and final mask and color backer and I can move onto the outside decals. The body came with some very good quality decals. Some of the best I have seen.
 
Same here. Started with the first one and finished with Black Flag. The franchise has come a long way and I am on the edge of my seat waiting on Unity. I almost hate that I bought the XBox One, because I can't go back and play the old ones!!!
 
Nice looking Body Fixxer.... I like painting also, just not alot of time or money lately to do so......
 
:whoo:

Nice paint job! Looking forward to seeing how it looks finished.
 
Thanks guys. Gotten pretty good at painting over the years.

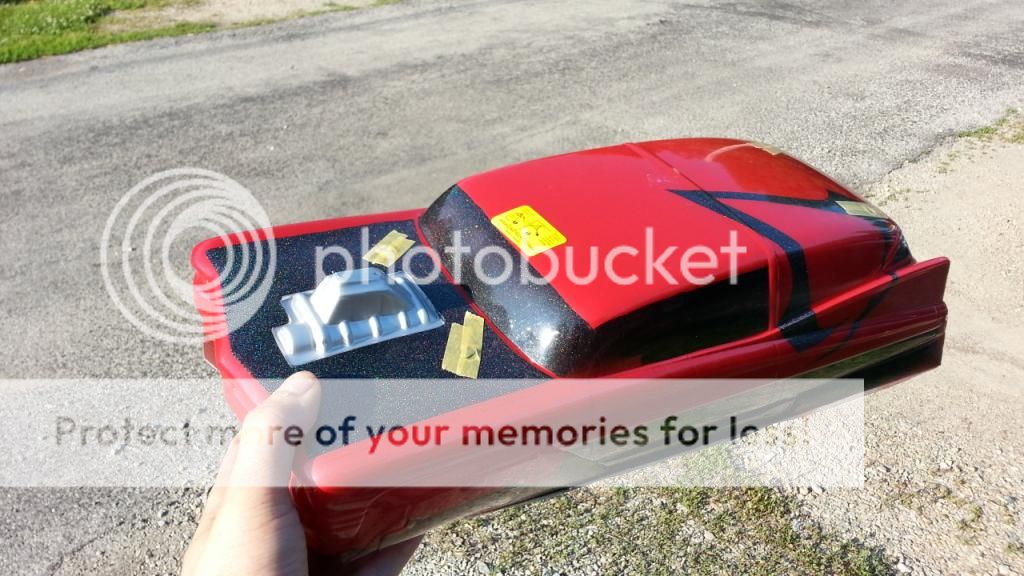
Here is the final coat of red and the silver backer all done.Paint is all laid down. I will let it dry over night then trim it all up and decal in the morning.
 
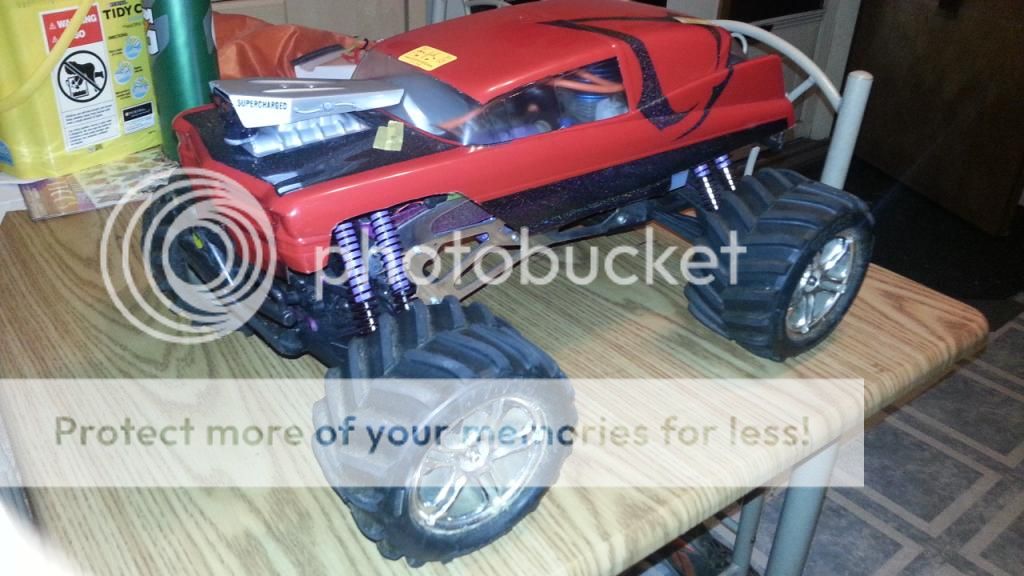
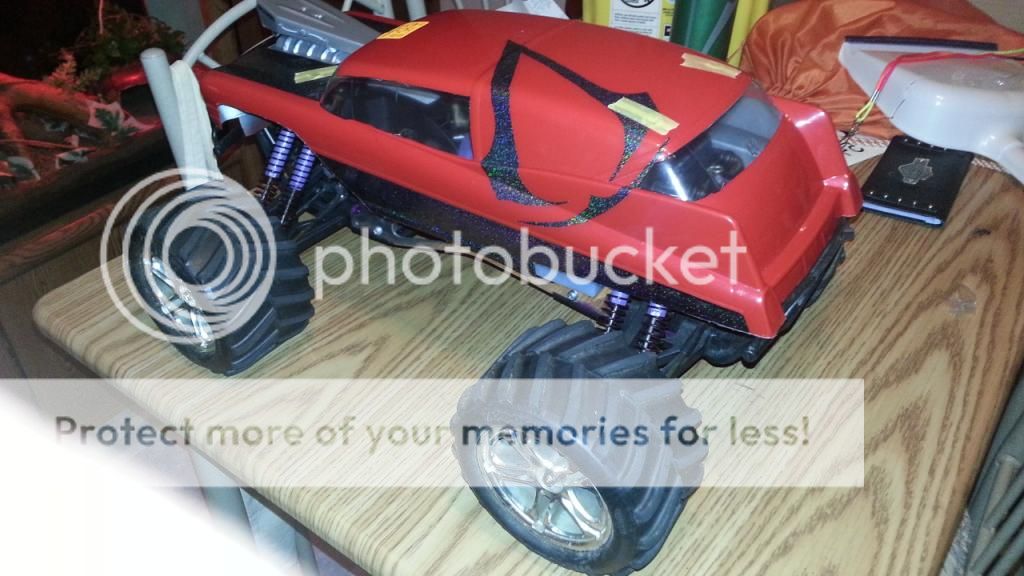
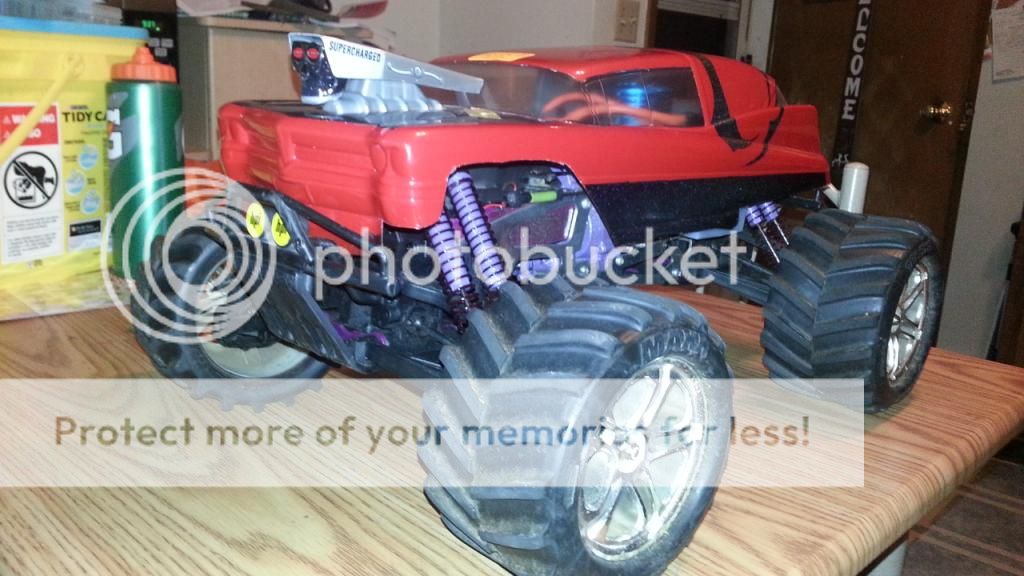
One side trimmed out and mocked it up on the truck. Still have to do the window tint, finish trimming, and put on decals,raise the rear body mounts, and pull off the overspray film. Now I realize I am going to have to do something about the purple stuff the previous owner did to it.


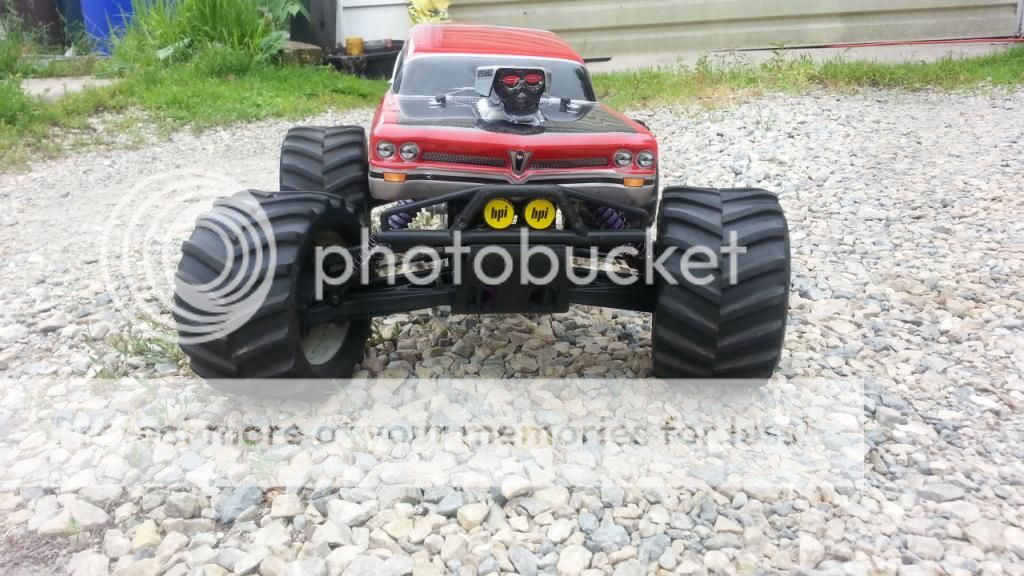
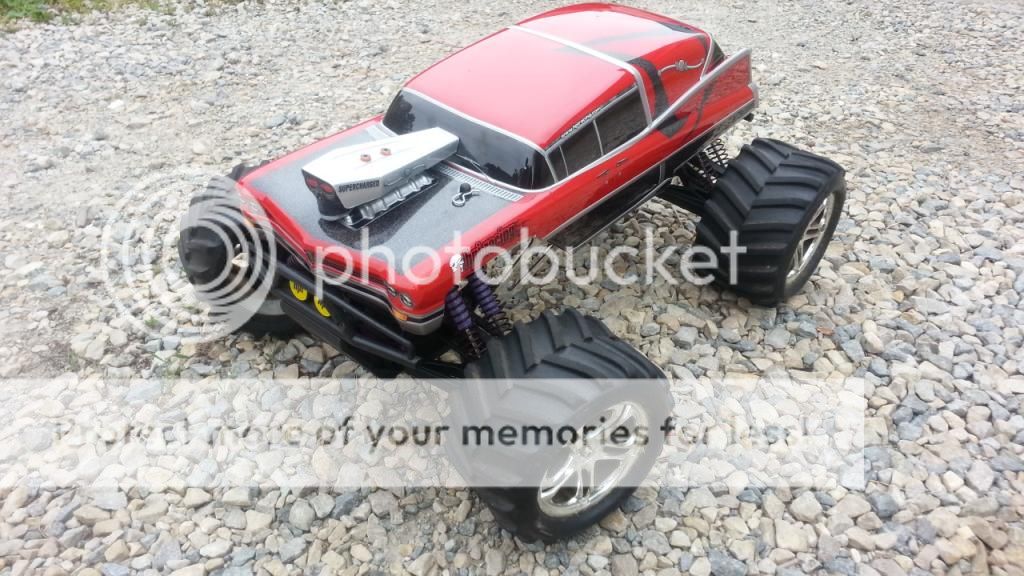
The wait is over!! Took 3 hours this morning to finish the trim out and decal application. I was waiting for the sun to come out to the best pictures but it doesn't look like it's going to happen. The Assassin's Creed motto vinyl is in the process of being cut as we speak so its not on there yet. Will be this afternoon.So, without further ado......Here is The Assassins new shell.


The rear posts are not quite tall enough to come through the body so I will either notch the rear bumper of the body to clear the truck bumper or see about some taller posts...Probably the latter. Now it time to go back into the shop and start working on the truck itself. First order of business to do a complete tear down and do something about the hideous purple stuff. That has got to go. Thinking black chrome or use Duplicolor anodizing kit and make it red.

So......what do you guys think?
 
Me personally, I would use the same black you used on the hood/ rocker panels. I would do taller posts instead of notching the body. I think the body could benefit greatly from a little rake. If you notch the body then it will just be dropped down further in the wrong direction.
 
That looks SWEEEET!!!
Very nicely done!!
X2 on the longer posts and the rake of the body!!

Kudos, man!!!
 
Me personally, I would use the same black you used on the hood/ rocker panels. I would do taller posts instead of notching the body. I think the body could benefit greatly from a little rake. If you notch the body then it will just be dropped down further in the wrong direction.

Yep, settled on black to redo all the stuff that was painted purple. Got it all torn down and it's all been sprayed with oven cleaner to strip the purple and metal flake off. Hopefully it's all black original plastic and I can just clean it up really good. While I wait for the paint to strip I'll get the tires and rims glued up.

Noted about the posts. Taller ones it shall be. I looked around the web and most guys are raking this particular body and it looks tough.
 
Updates coming. Working on some reassembly tonight. This thing is looking sick. I've done 4 of the mods so far with the servos, linkage, battery packs, and tiger drive. Waiting on a part for the mid tank mod. Everything is picumented (<---made that up...its mine) so expect a big update soon.
 
So, for the most part it's all back together. I say for the most part because the tiger drive mod is aggravating the bejesus out of me. I have got the the shock tower so modified that I am positive the strength has been compromised. I have just about given up. I can't find a single write up or picumentary (<----again...my word) about how guys have done this with the stock set up.

So I got to thinking......Sullivan products website says it will work with and extended chassis with no modding needed. So I went on a search for an extended chassis for my SS. No luck, at least not that I can find that is called an SS specifically. I have found a ton of extended TVP's for XL. So, I am looking at this http://www.ebay.com/itm/NEW-HPI-SAV...Control_Parts_Accessories&hash=item58b263e2bc
and wondering if it is what I need. Maybe I am just tired and need a break away from the work bench.

Advise?
 
Lots of extended TVPs out there. Innovative RC, Fast lane machine, Platinum RC to name a few. I can link them when on get on my comp later.
 

Latest posts

Members online

Back
Top