GRKSTL
Well-Known Member
- Messages
- 226
- Location
- Homer Glen, IL
Hi everyone, as some of you may know already I just purchased my Savage because I destroyed my X1 truggy bashing. I now have a dedicated bashing rig. I will be posting pictures here through the build and upgrades. Please feel free to comment, I would like to upgrade more parts in the beginning, but money is kind of tight right now.
Have fun.
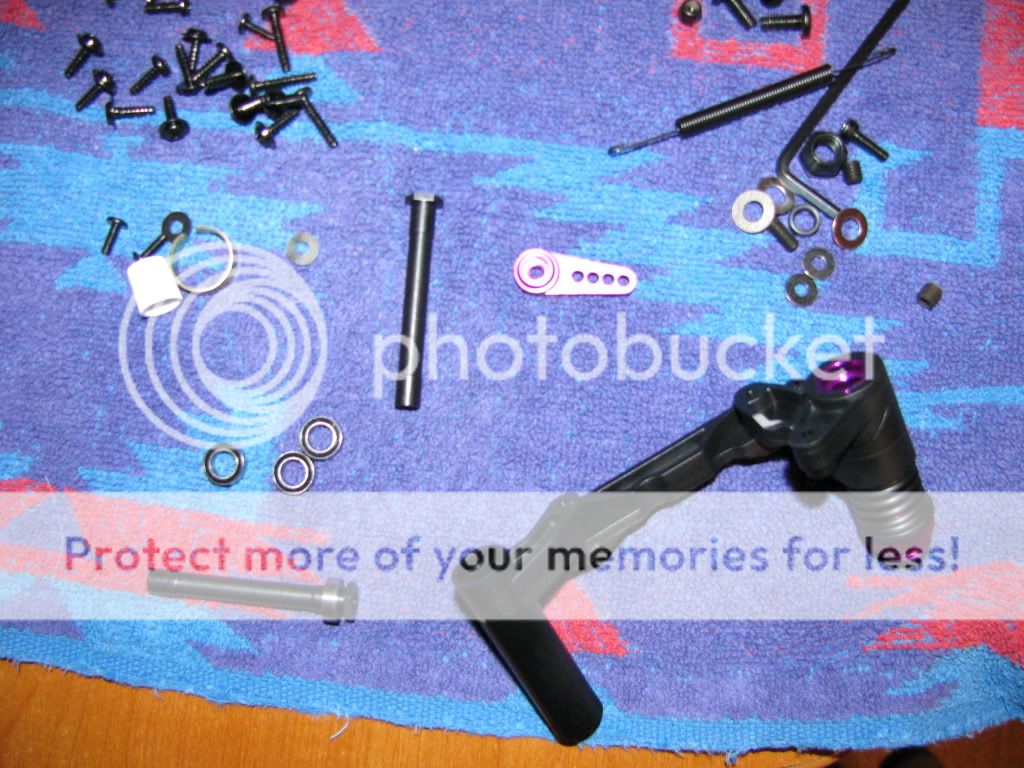
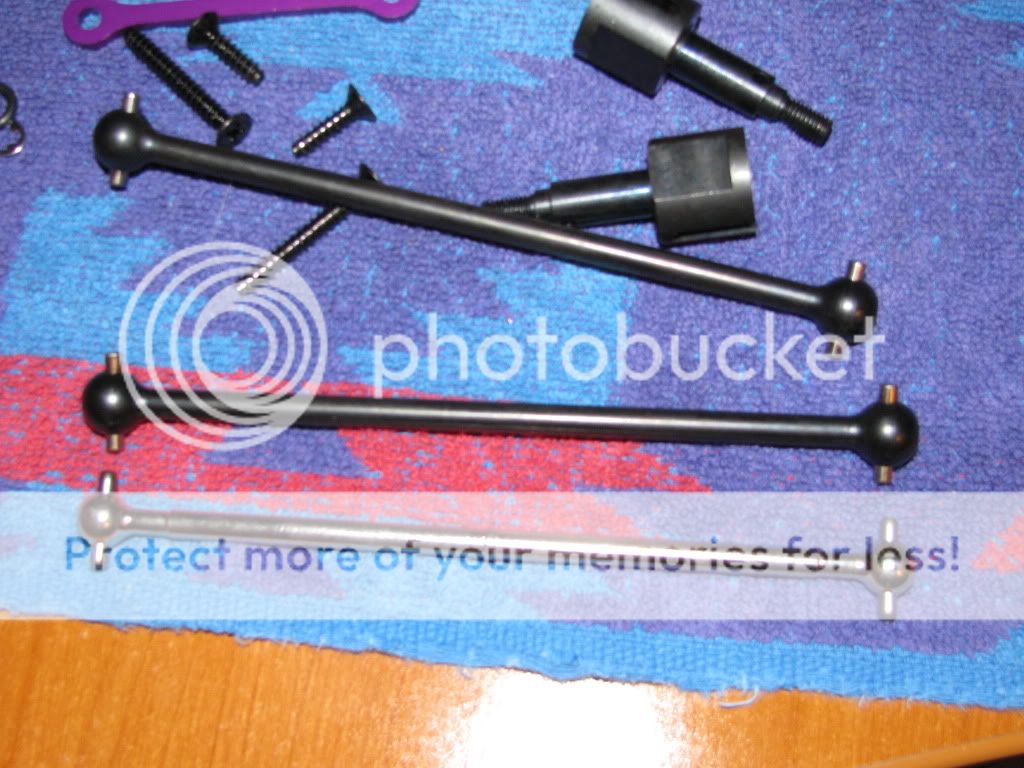
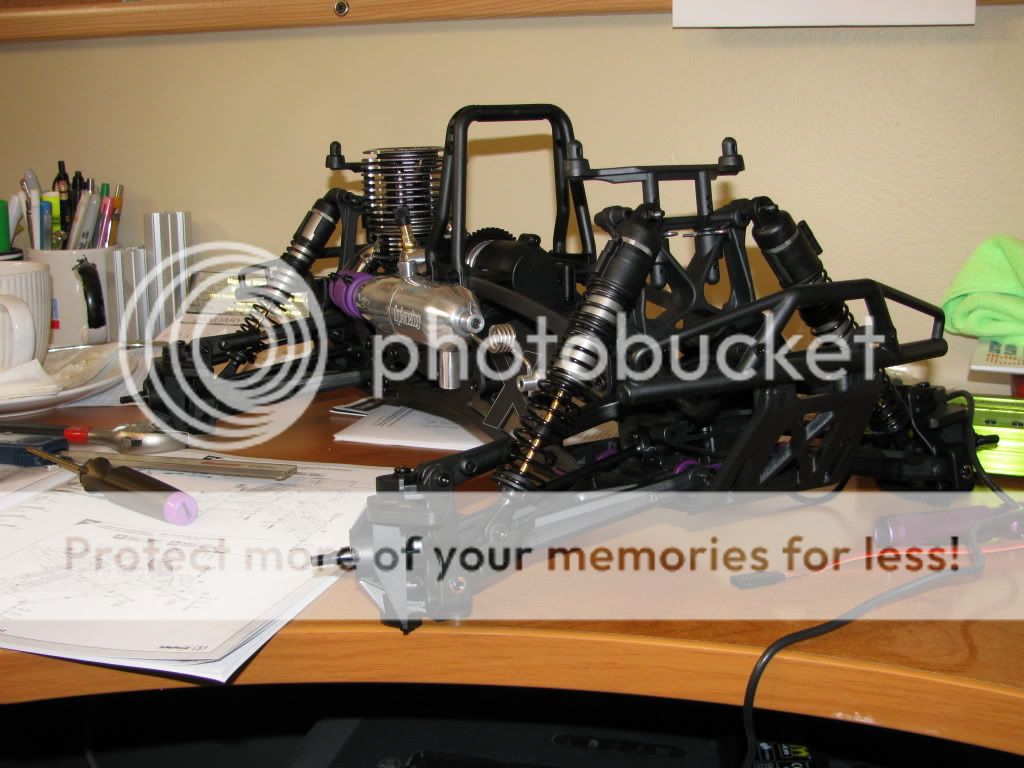
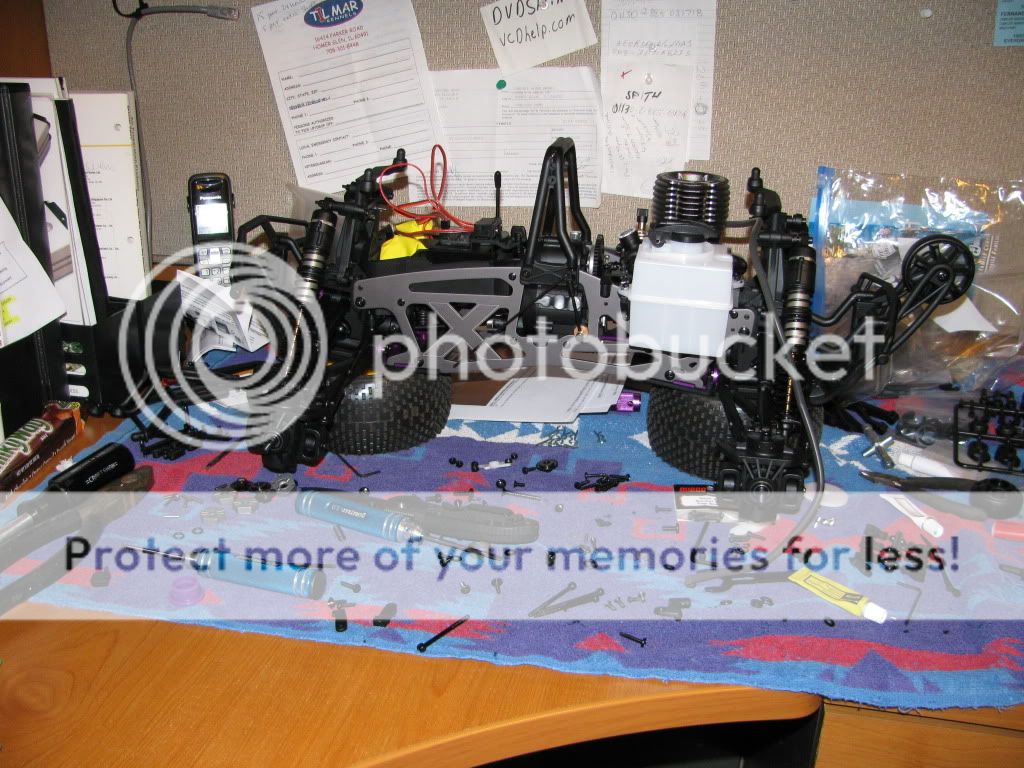
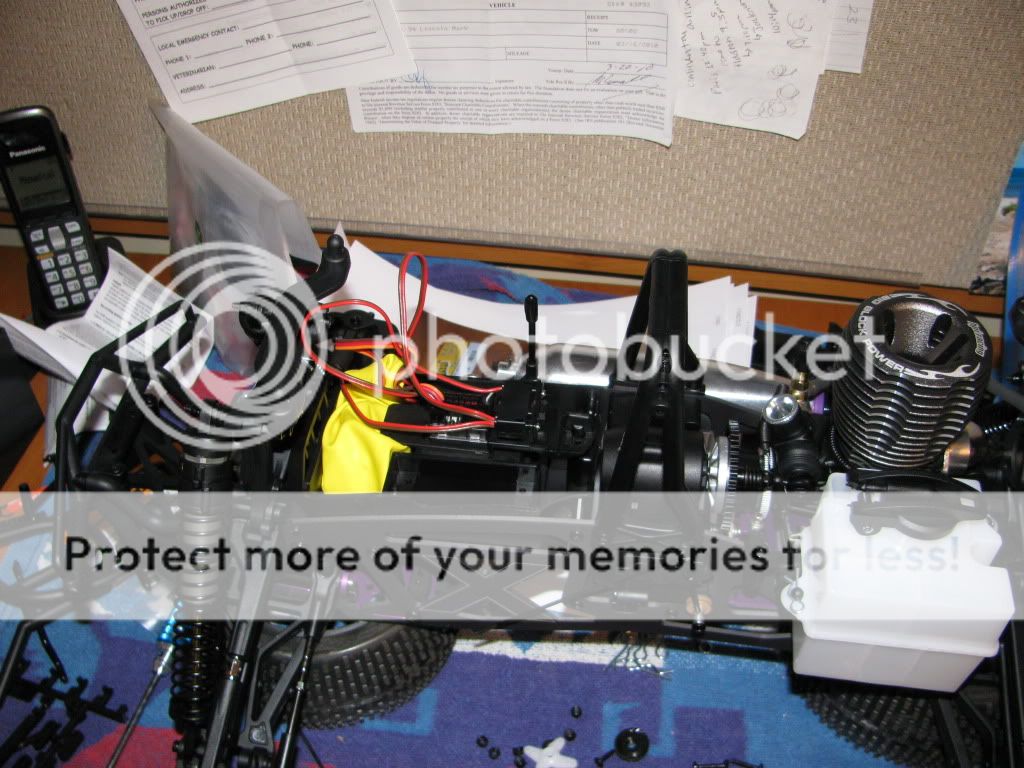
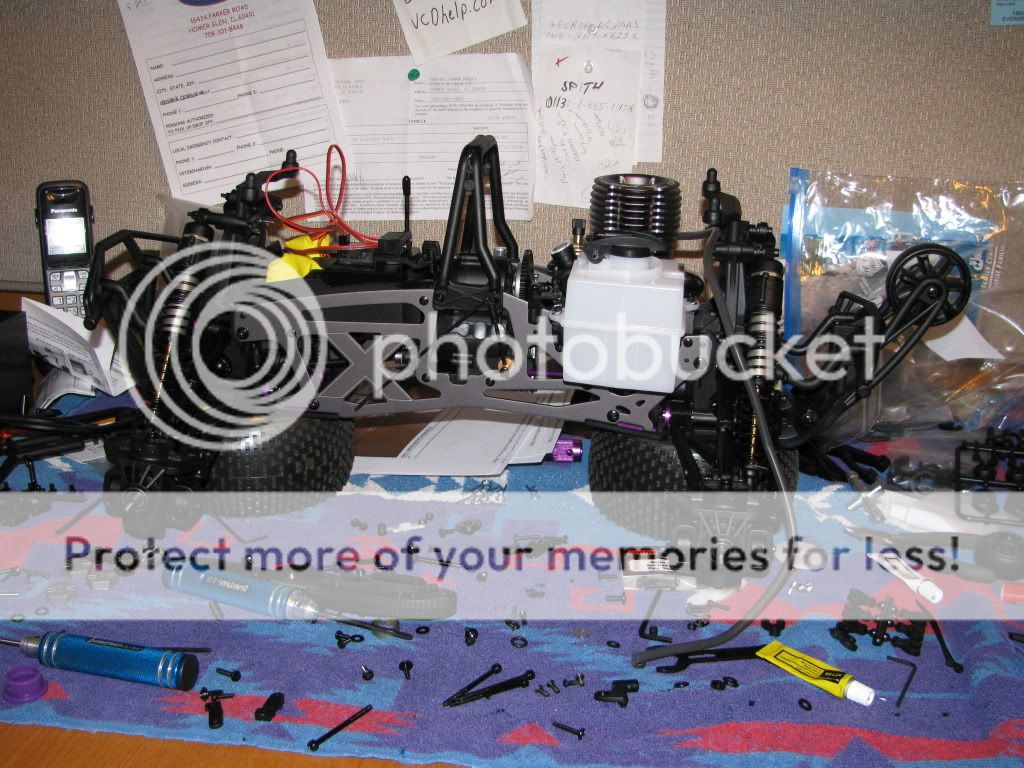
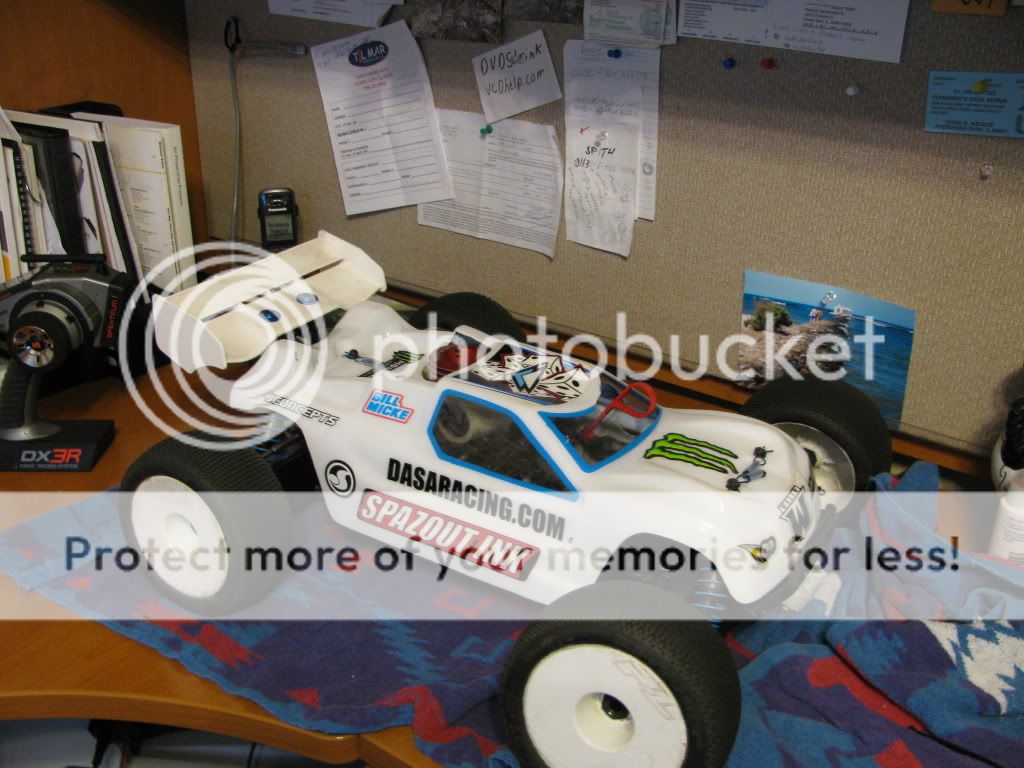
This is the truggy gettting a wipe down after putting it back together from parts I got from Nitrohouse.
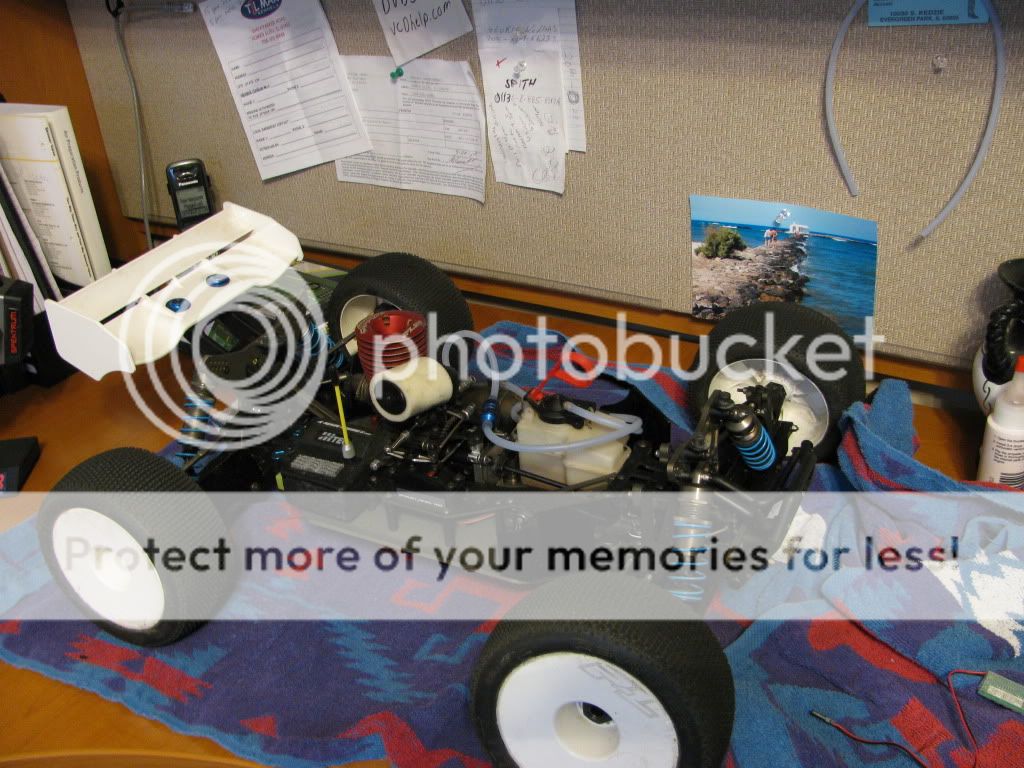
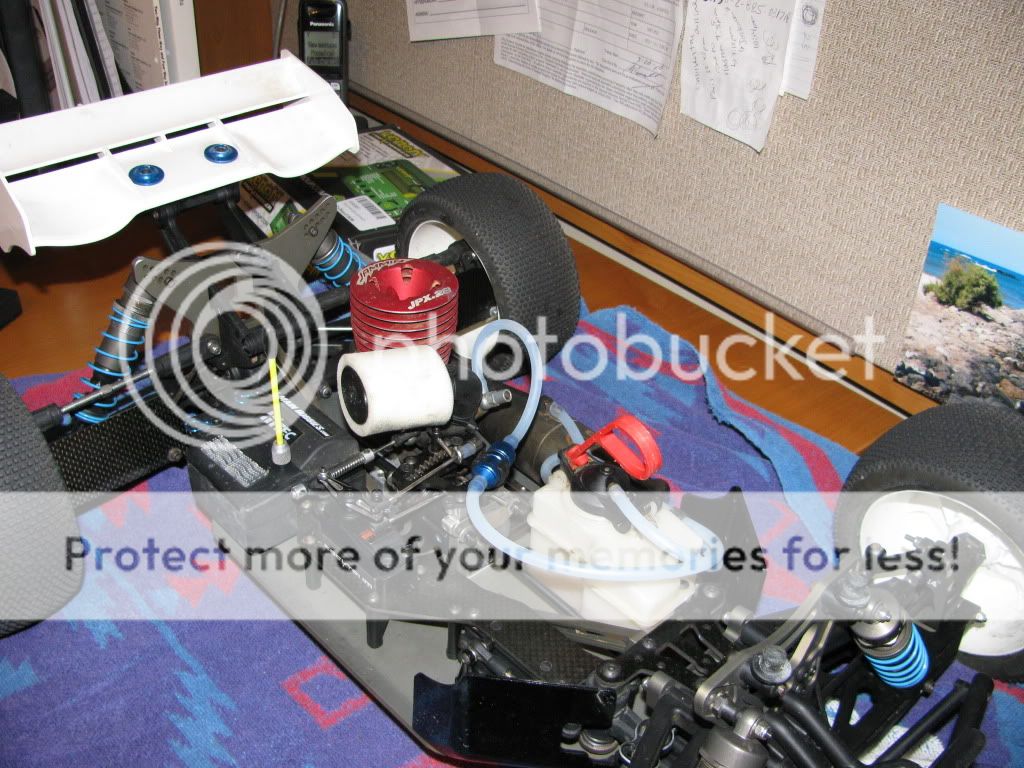
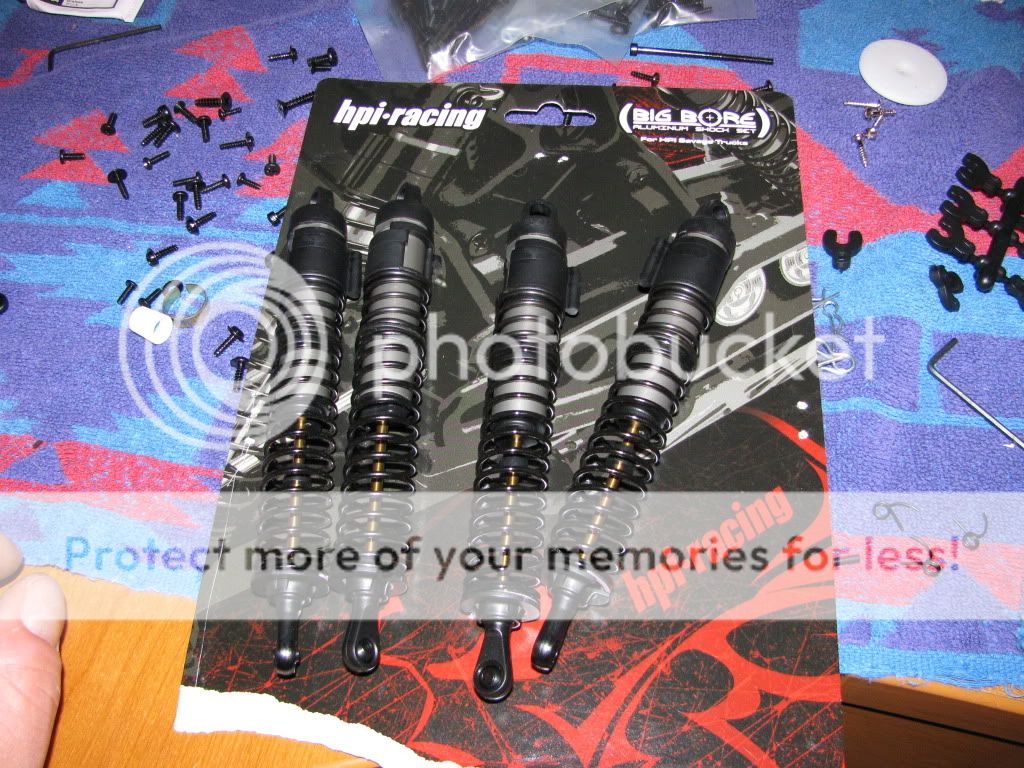
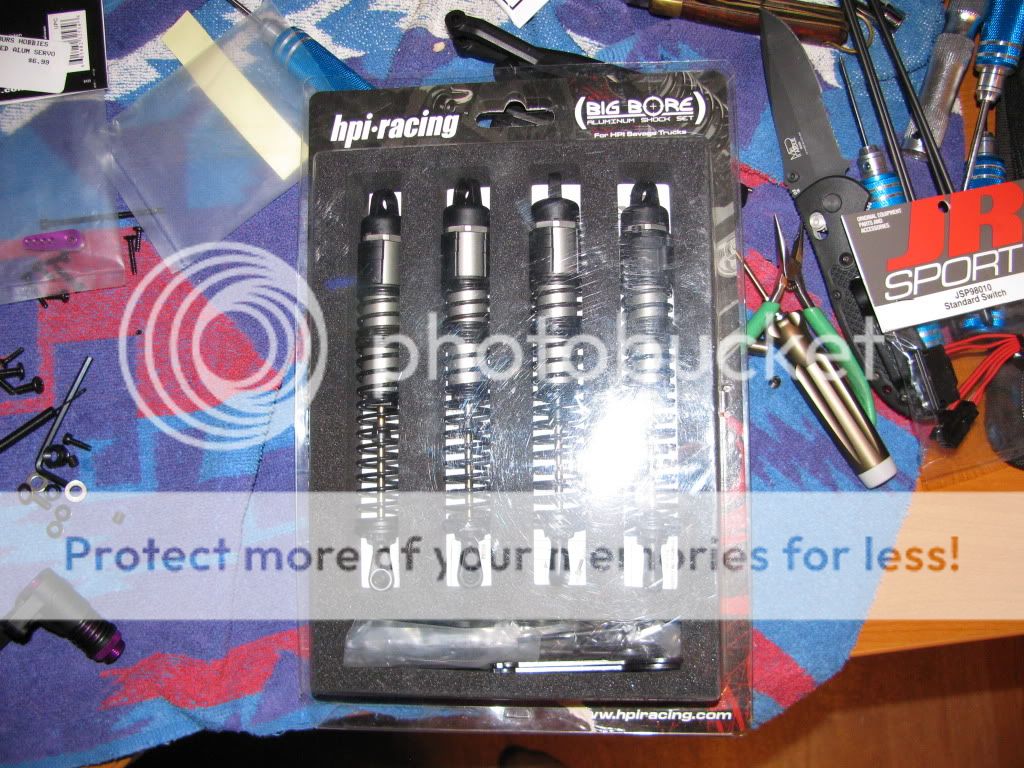
Jammin 16mm Big bores shocks


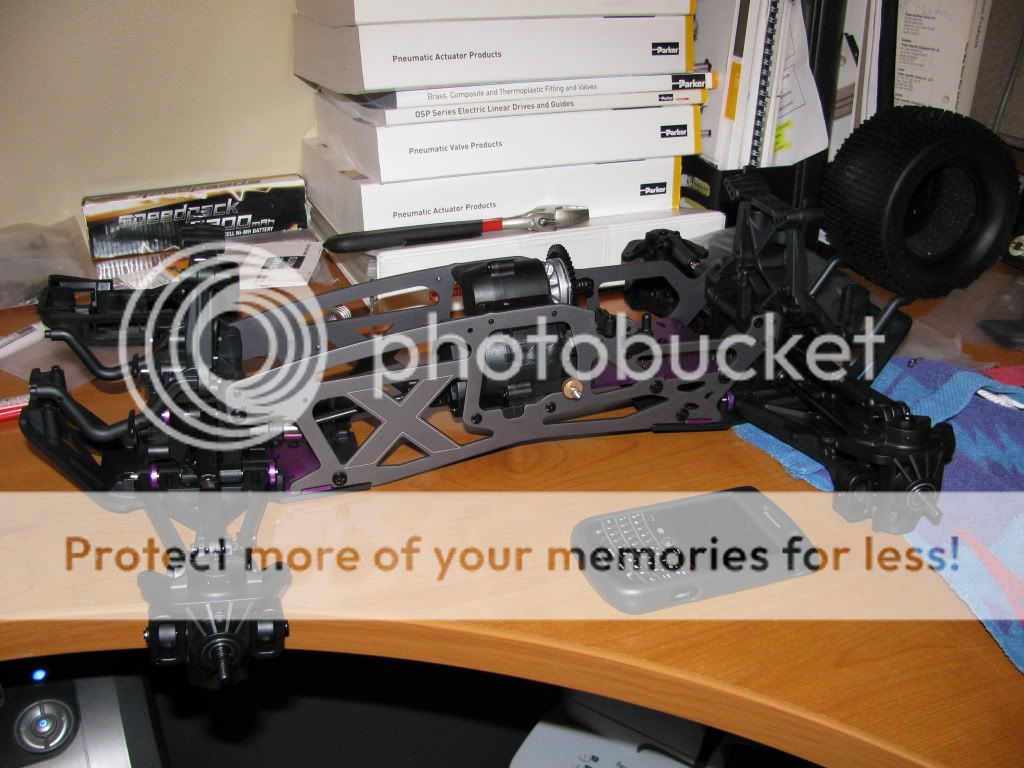
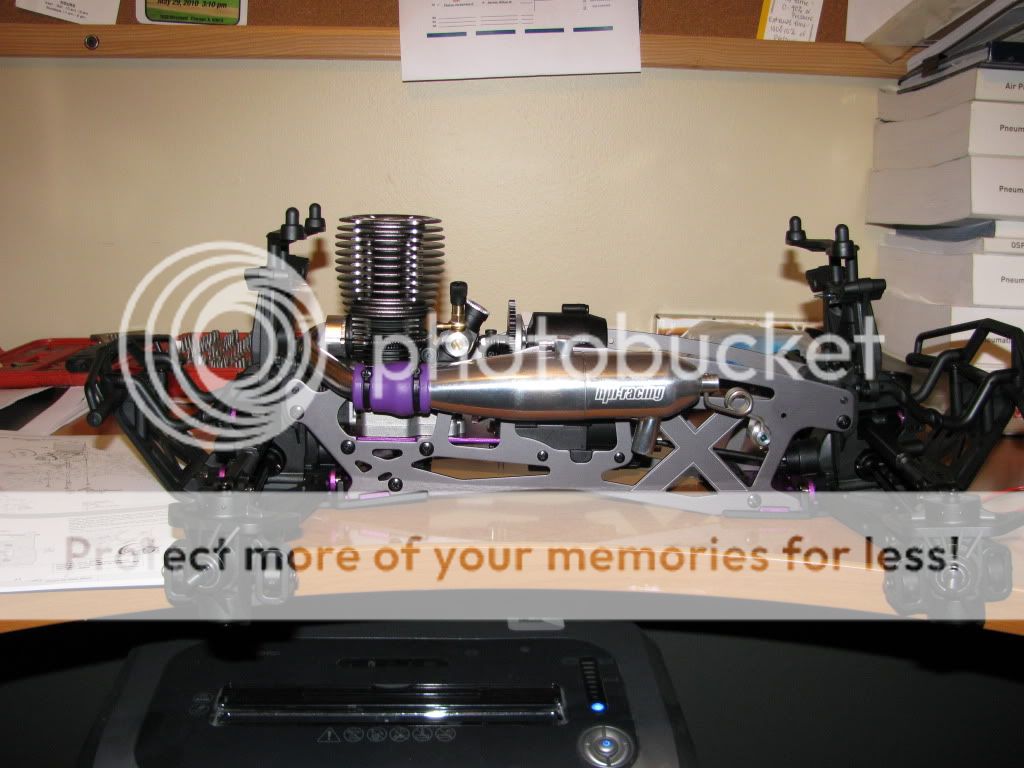
Ready to go
But put on the shelf

FOR:
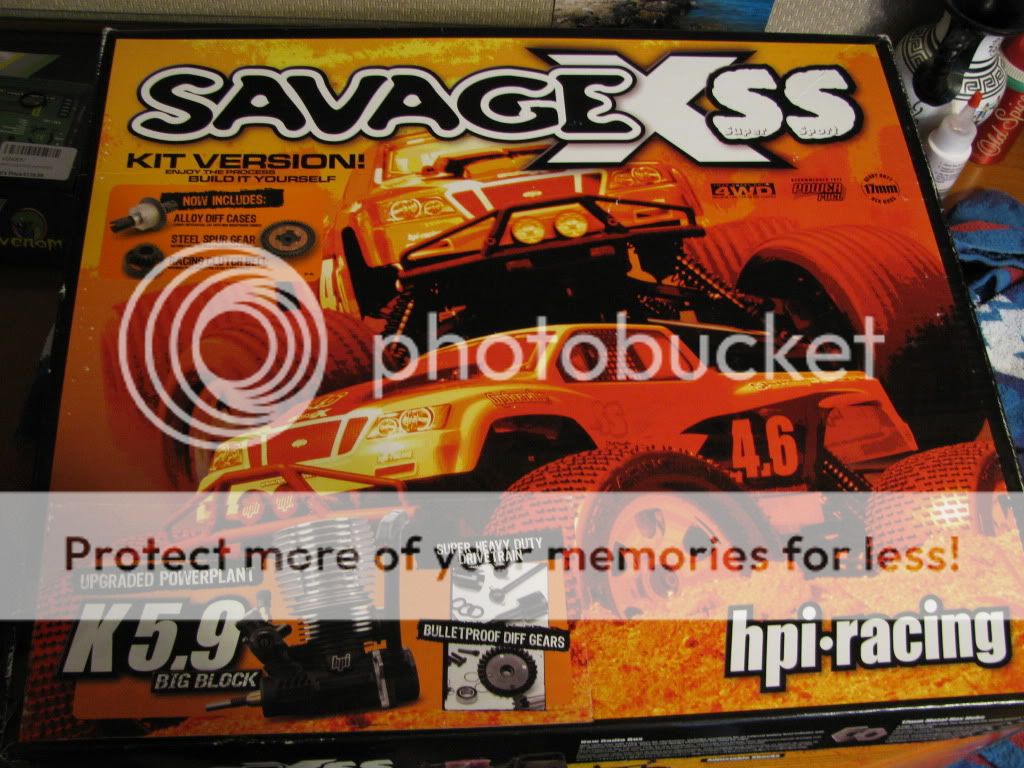
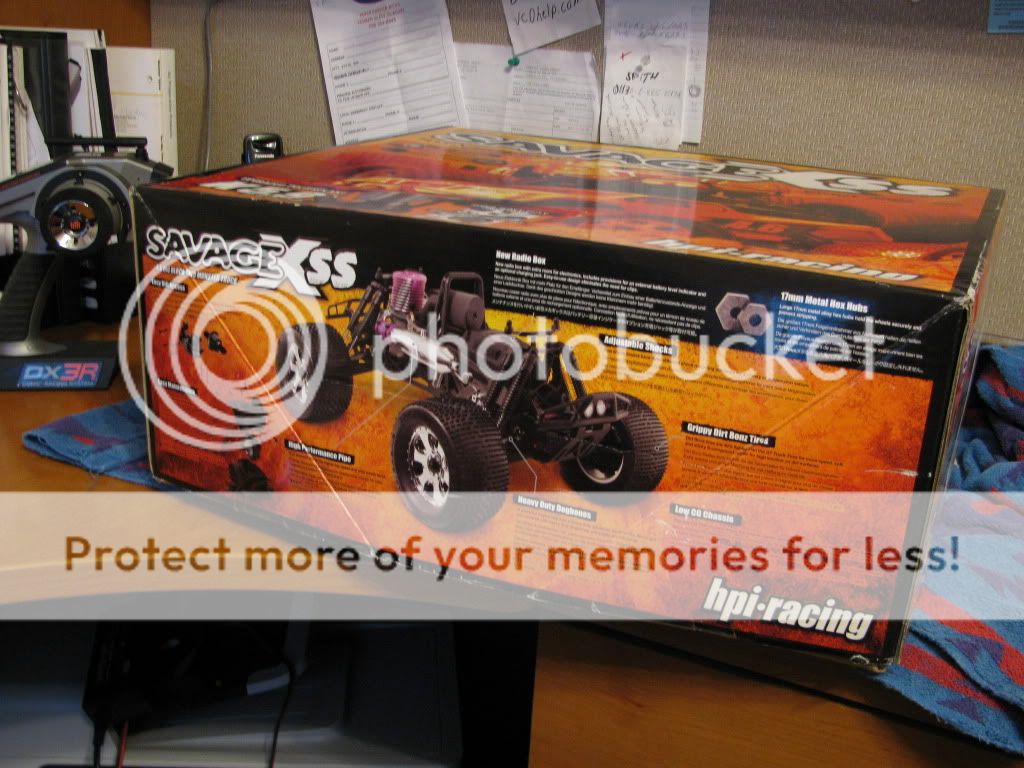

Looks like
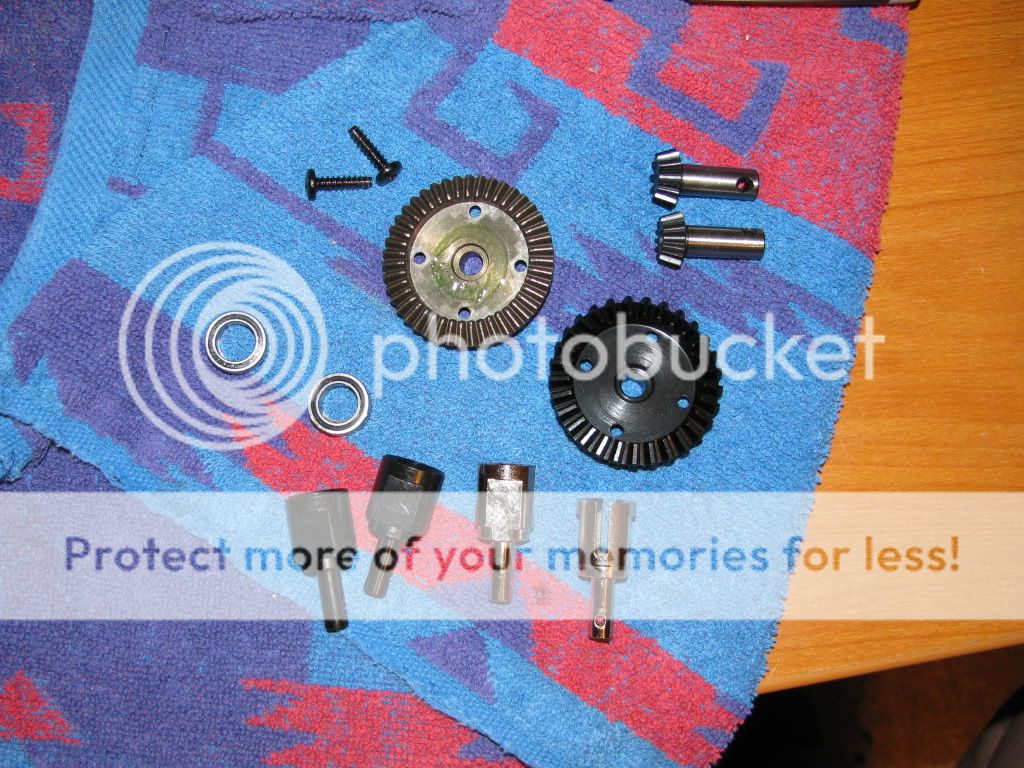
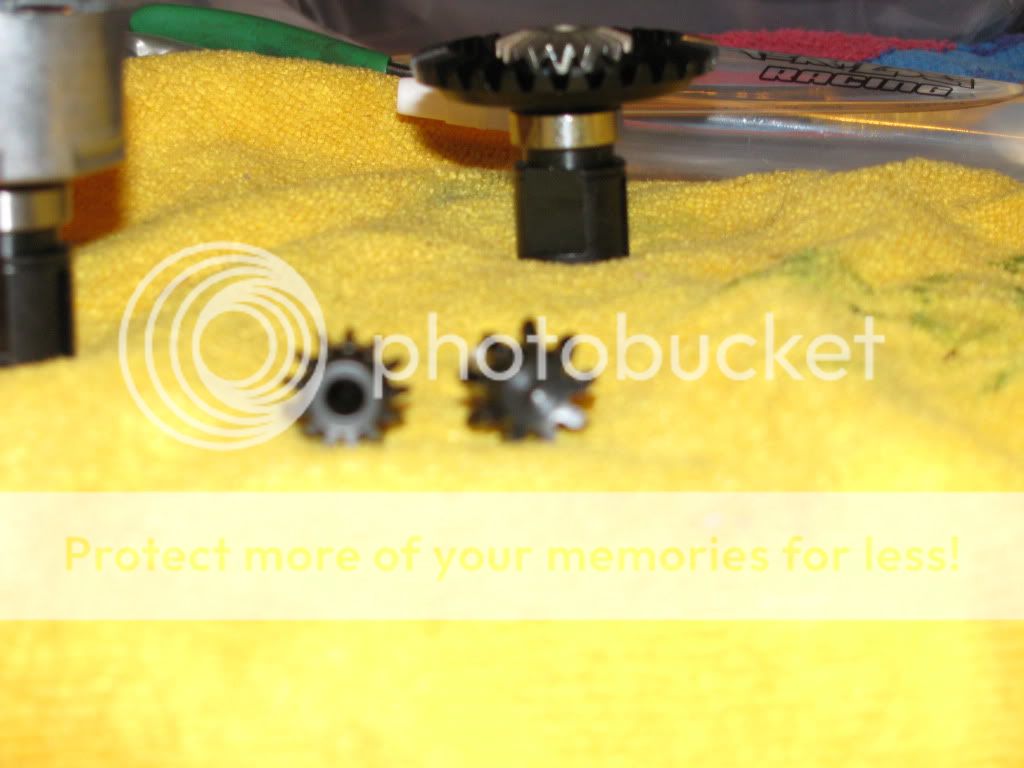
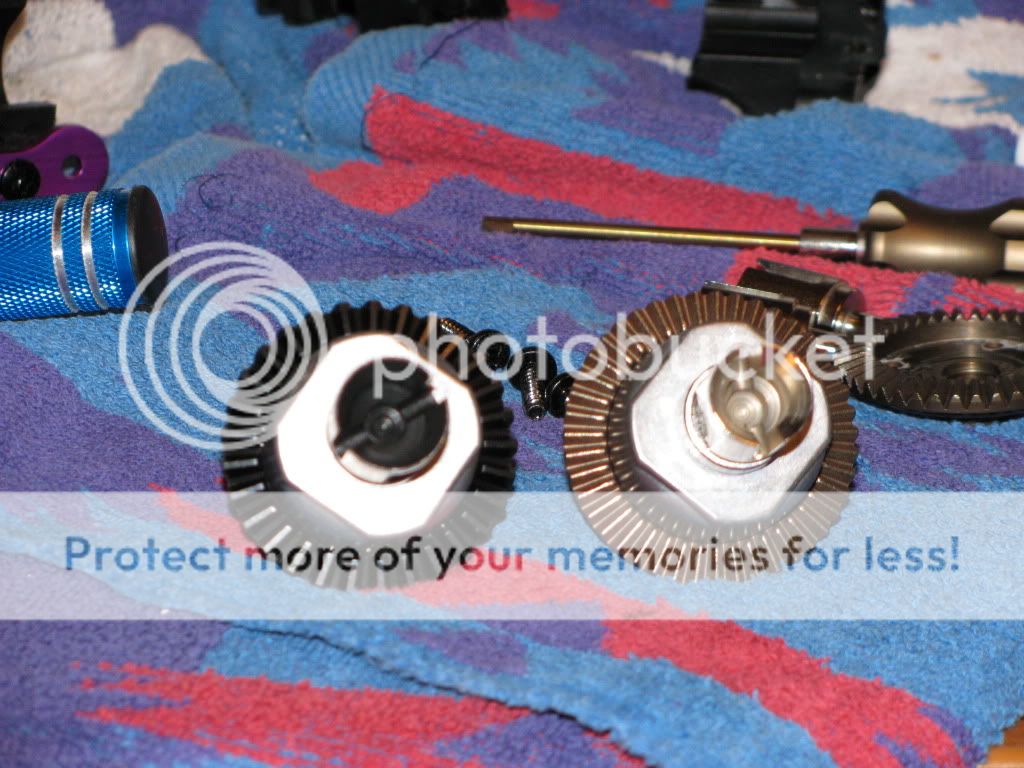
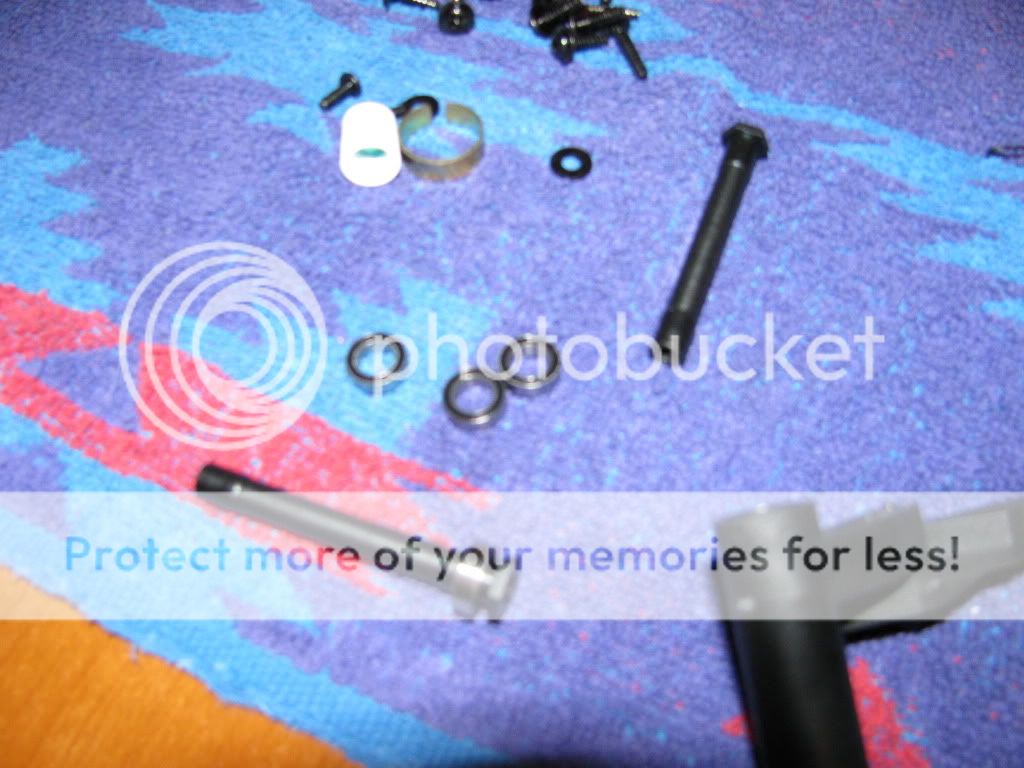
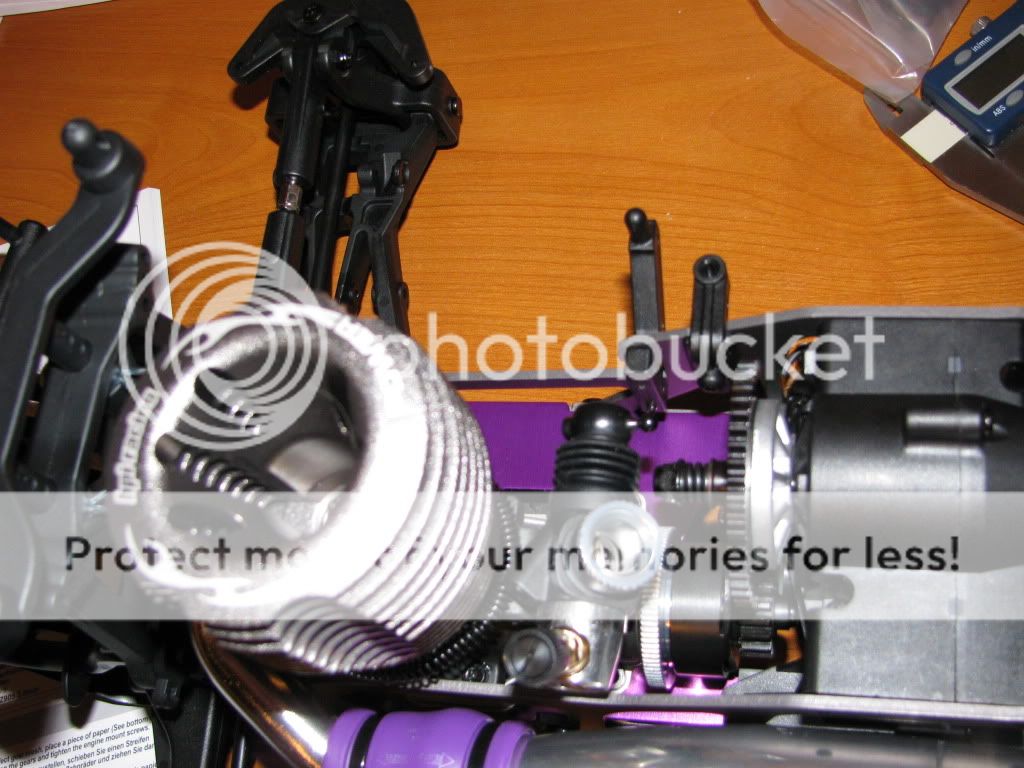
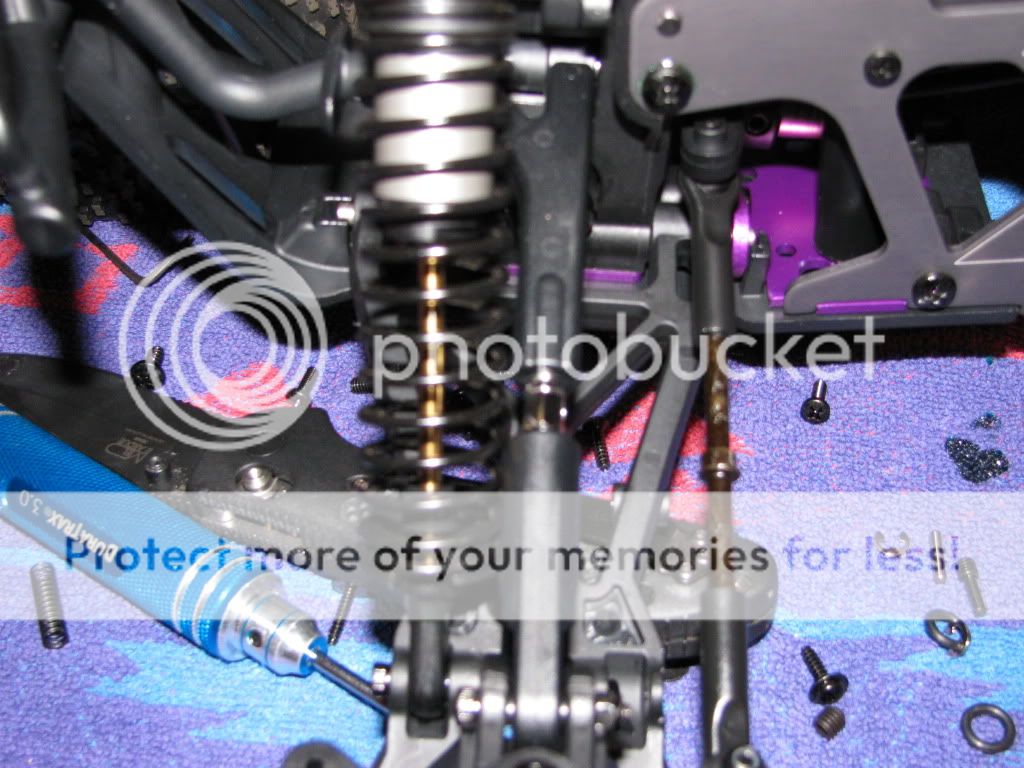
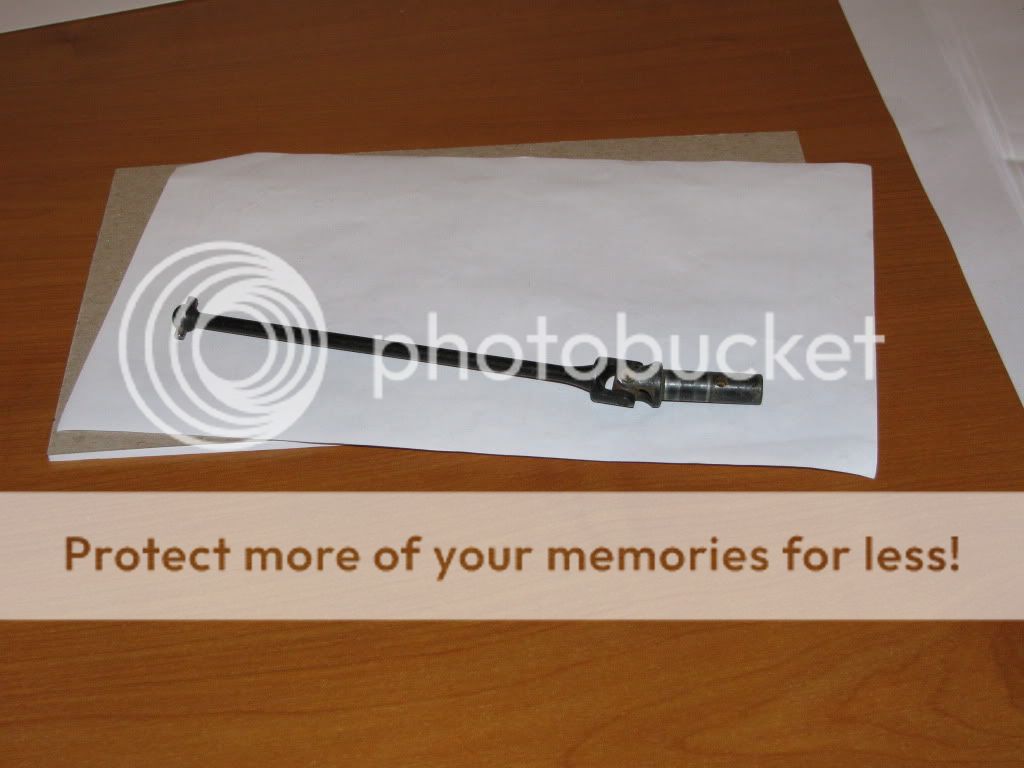
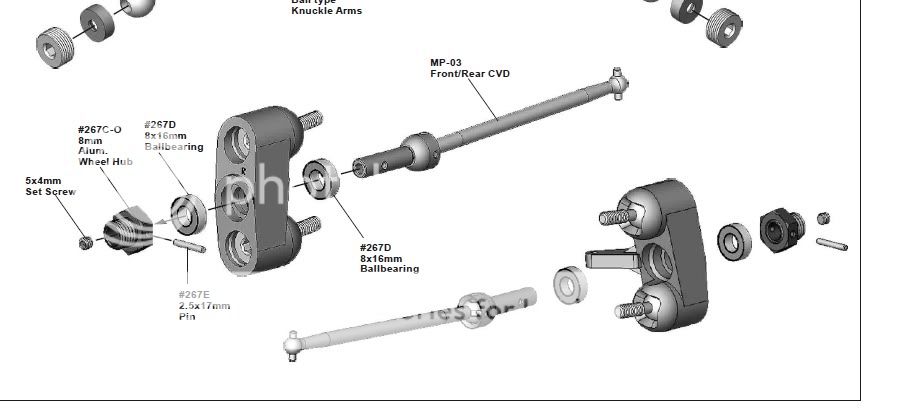
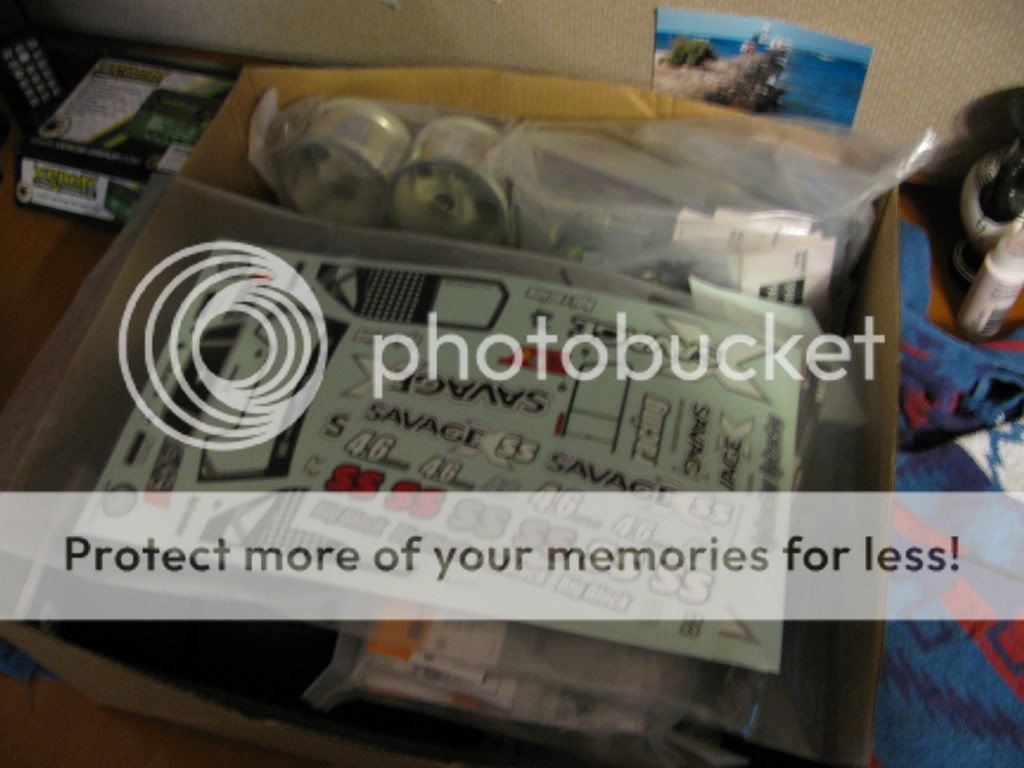
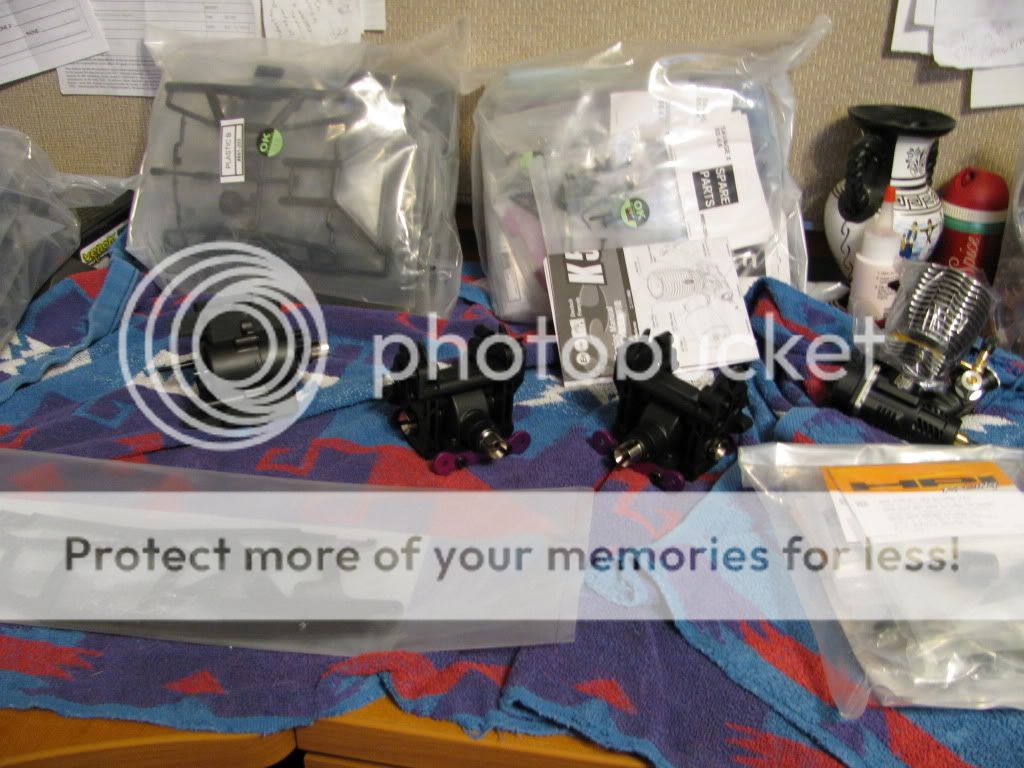
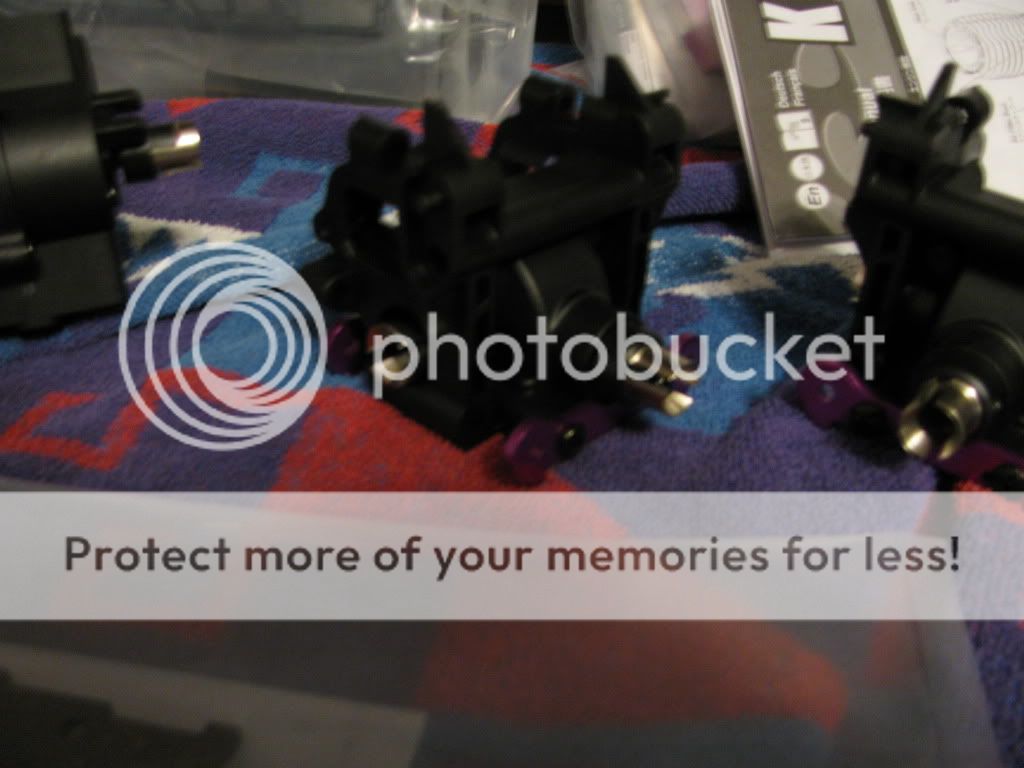
The diffs will need to be torn down and the upgrades need to be installed separately.

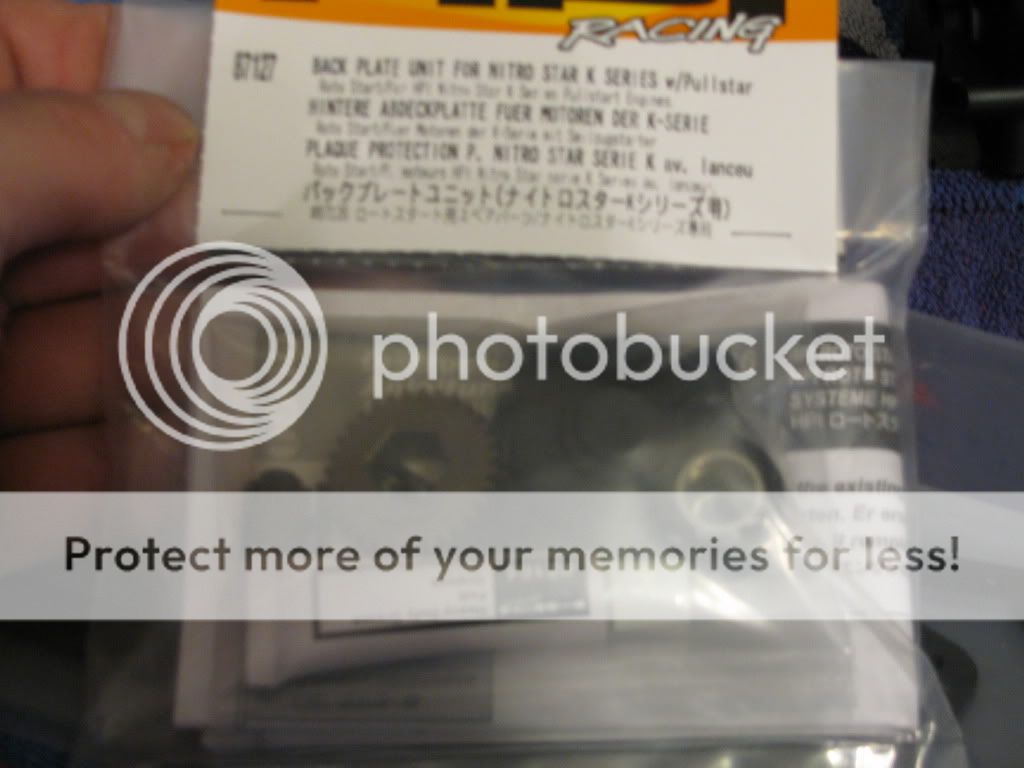
Going to stick with the 5.9 after seeing some YOU TUBE videos yesturday. But I will not put up with a pull start coming from bump boxes so I picked this up at my LHS today
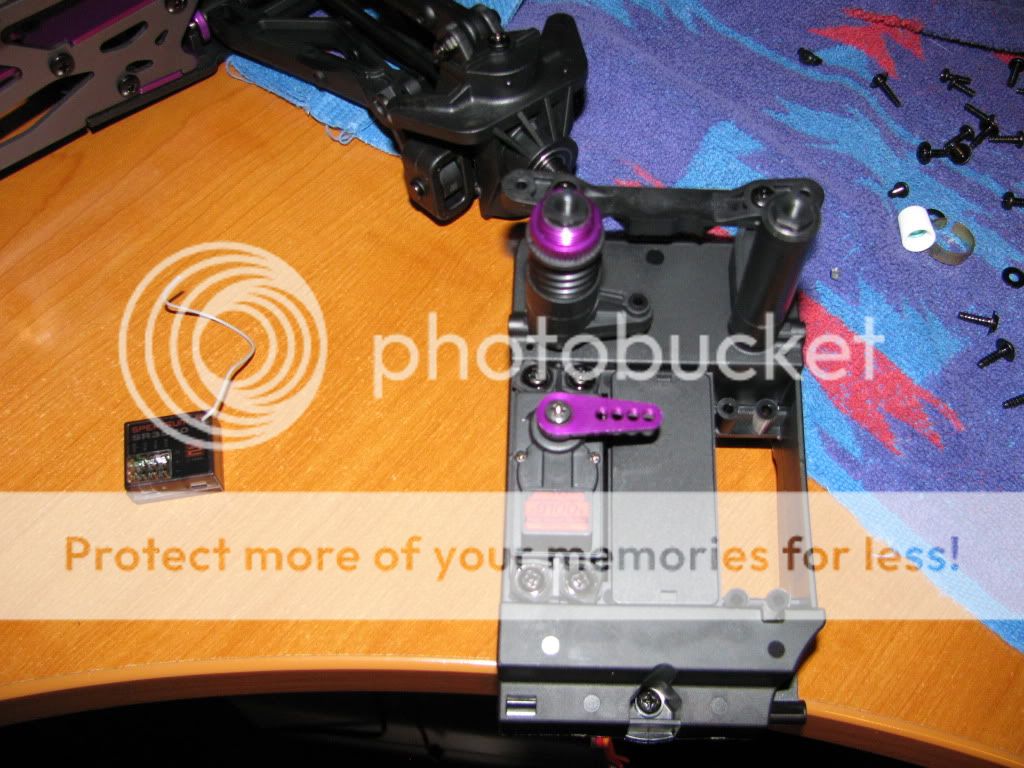
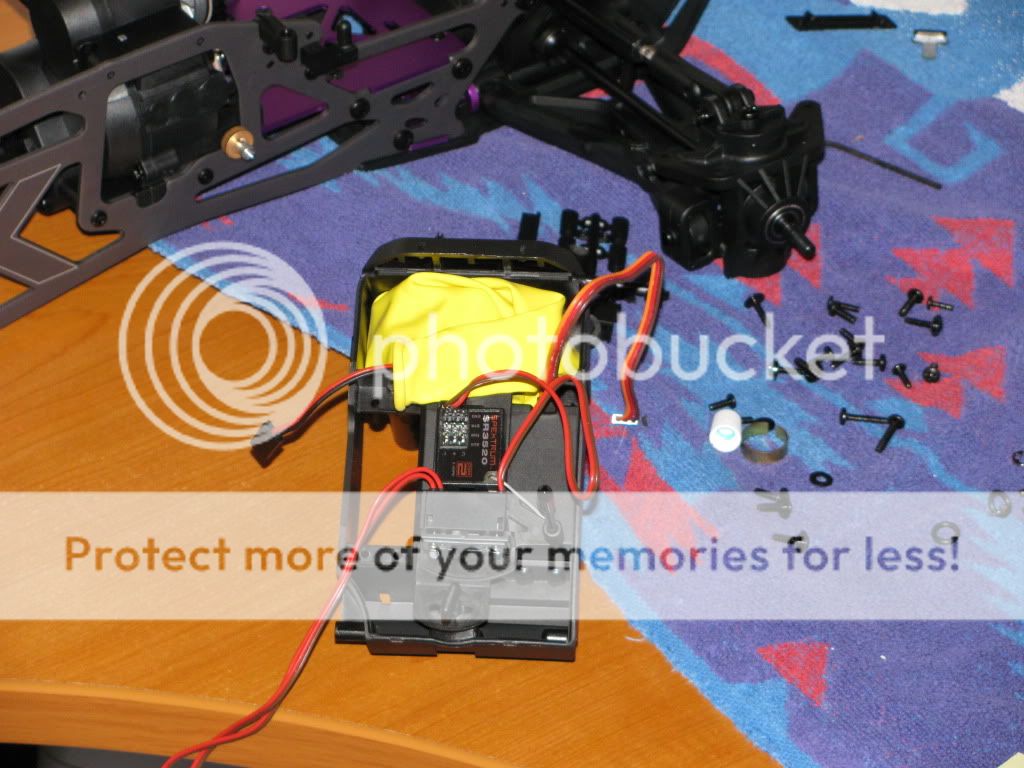
My reciever came in for my DX3R

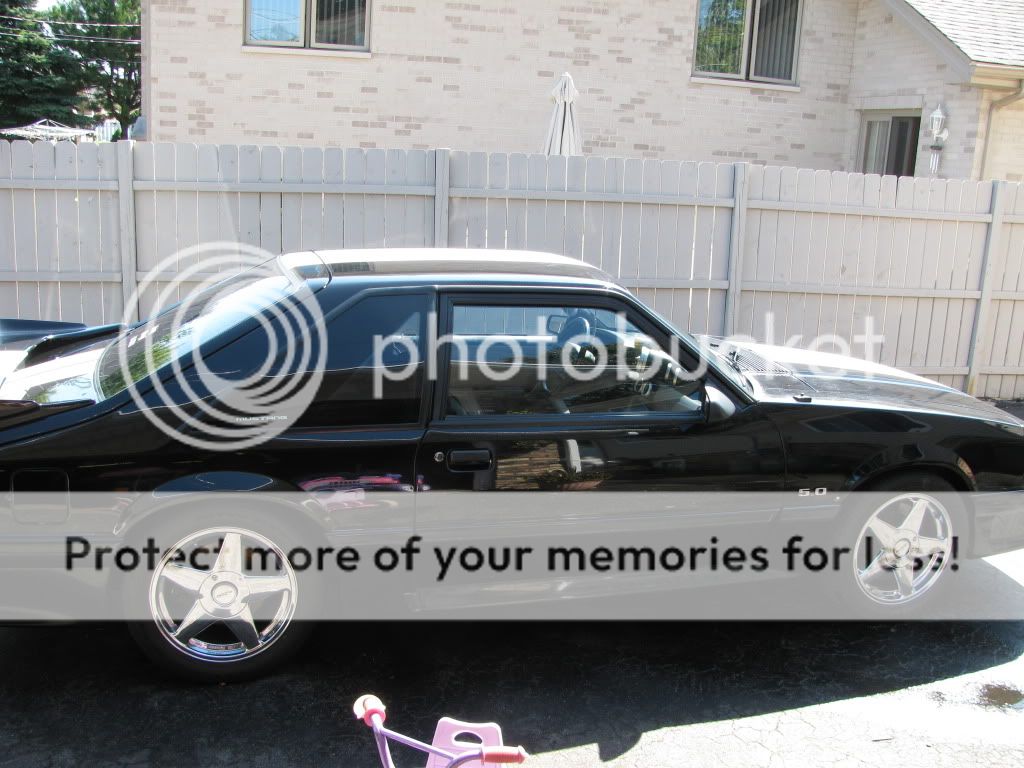
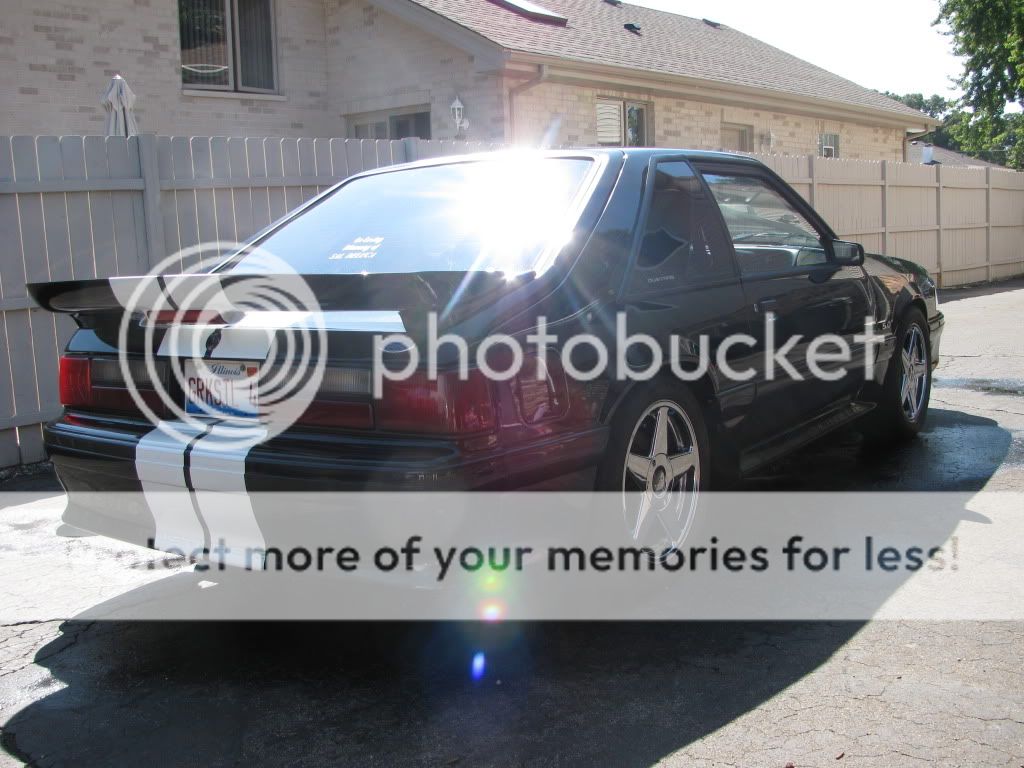
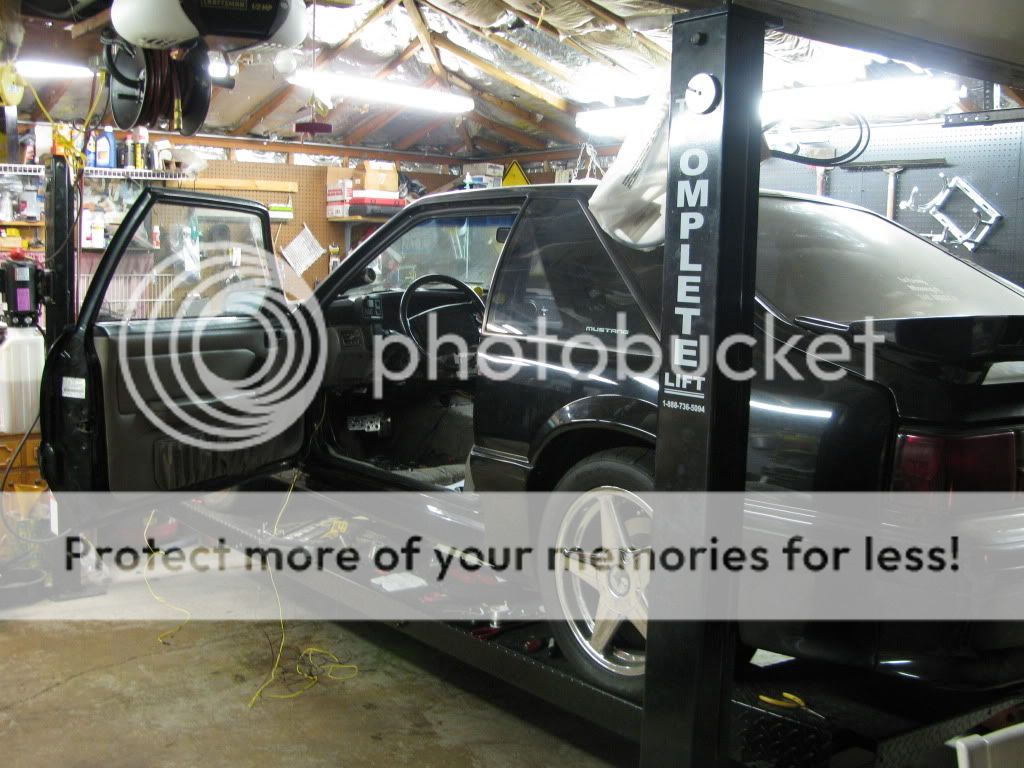
Just wanted to throw these in here: pictures of the real race car sitting int he garage
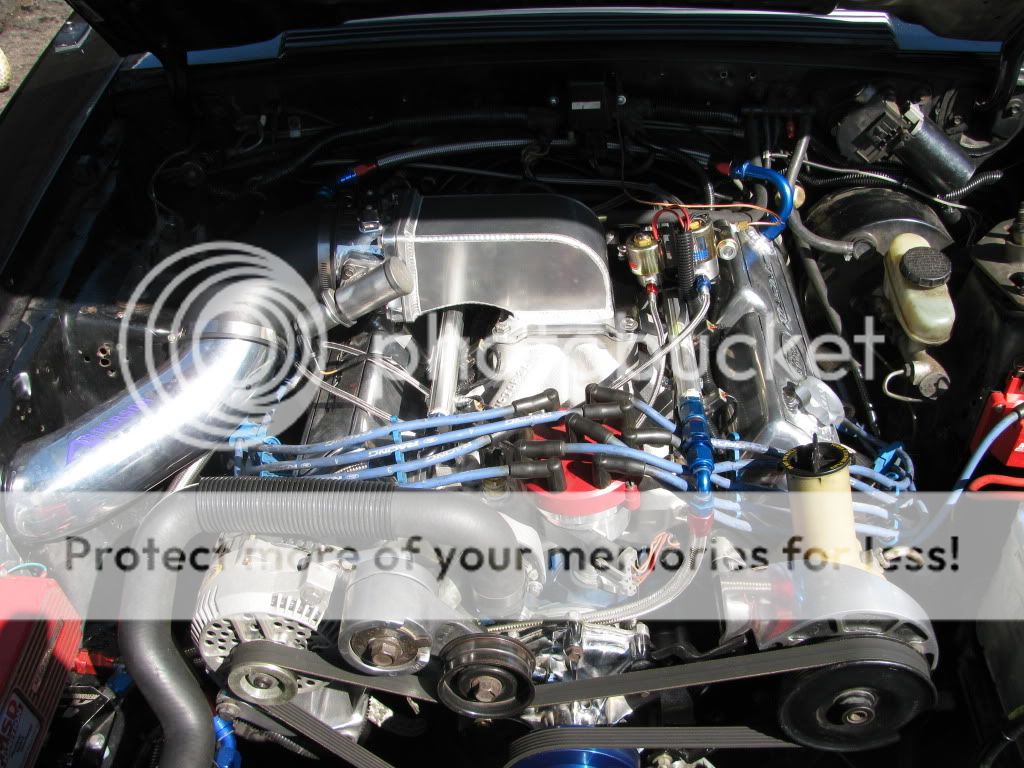
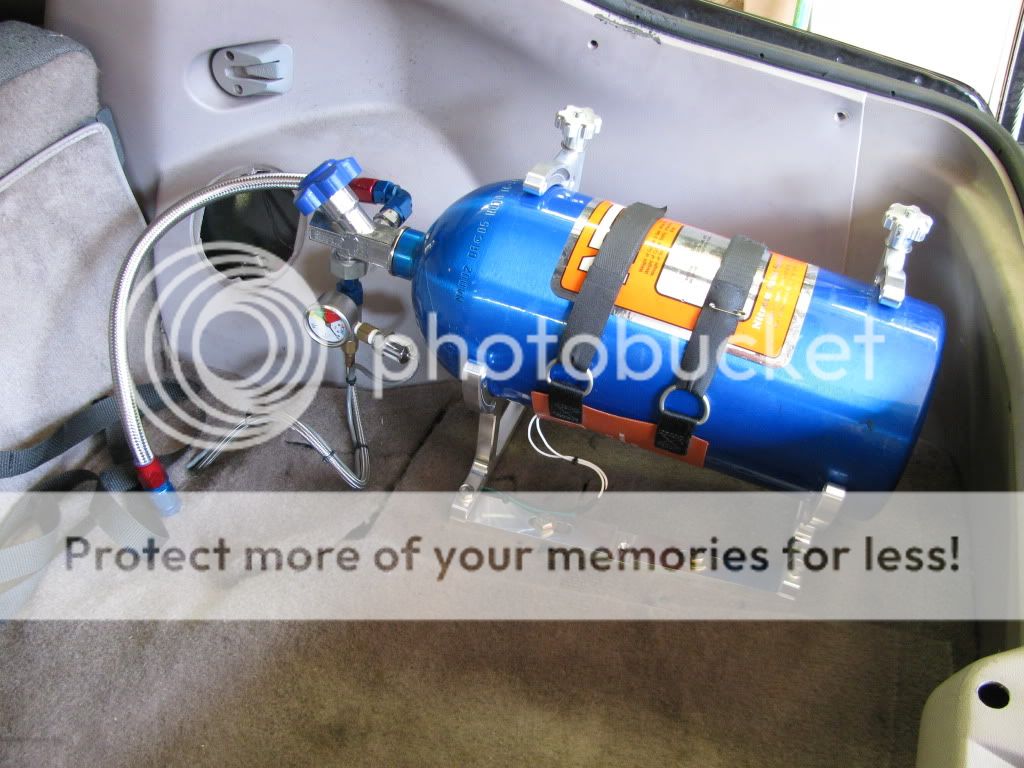
She runs on the bottle
I will keep updating this thread, but due to New Years Eve, and plans to go out and party it up with the wife this will take a little time.
Bob
Have fun.
This is the truggy gettting a wipe down after putting it back together from parts I got from Nitrohouse.
Jammin 16mm Big bores shocks
Ready to go
But put on the shelf
FOR:
Looks like
The diffs will need to be torn down and the upgrades need to be installed separately.
Going to stick with the 5.9 after seeing some YOU TUBE videos yesturday. But I will not put up with a pull start coming from bump boxes so I picked this up at my LHS today
My reciever came in for my DX3R
Just wanted to throw these in here: pictures of the real race car sitting int he garage
She runs on the bottle
I will keep updating this thread, but due to New Years Eve, and plans to go out and party it up with the wife this will take a little time.
Bob
Last edited by a moderator: